Climbing Mount Baker hadn’t been on my radar until quite recently.
It all started when I reached the summit of Mount Kilimanjaro. I consider stepping onto that summit to be one of the most cathartic experiences of my life. The slog, the suffer-fest of summit night. It was my first introduction to what I would later learn is called Type 2 Fun.
After it was all over, there was a nag to my adventures. Sure, something like visiting historic Athens is amazing and fun, I loved it, but it just didn’t have the same sort of mental payoff. There was no skin in the game for something like that.
My mind constantly drifted back to that Kilimanjaro summit moment.
Initially, I had planned on going to Iceland in September, but after some self-reflection, I hit myself with the almighty, “Wtf are you waiting for?” Waiting another year would only serve to push other climbing-related trips farther into the future. I needed to get at it.
Naturally, being an American, the first thing that came to my mind was climbing Mount Rainier or Denali. I already knew that Denali was way out of my wheelhouse at the time, so my focus shifted to climbing Mount Rainier.
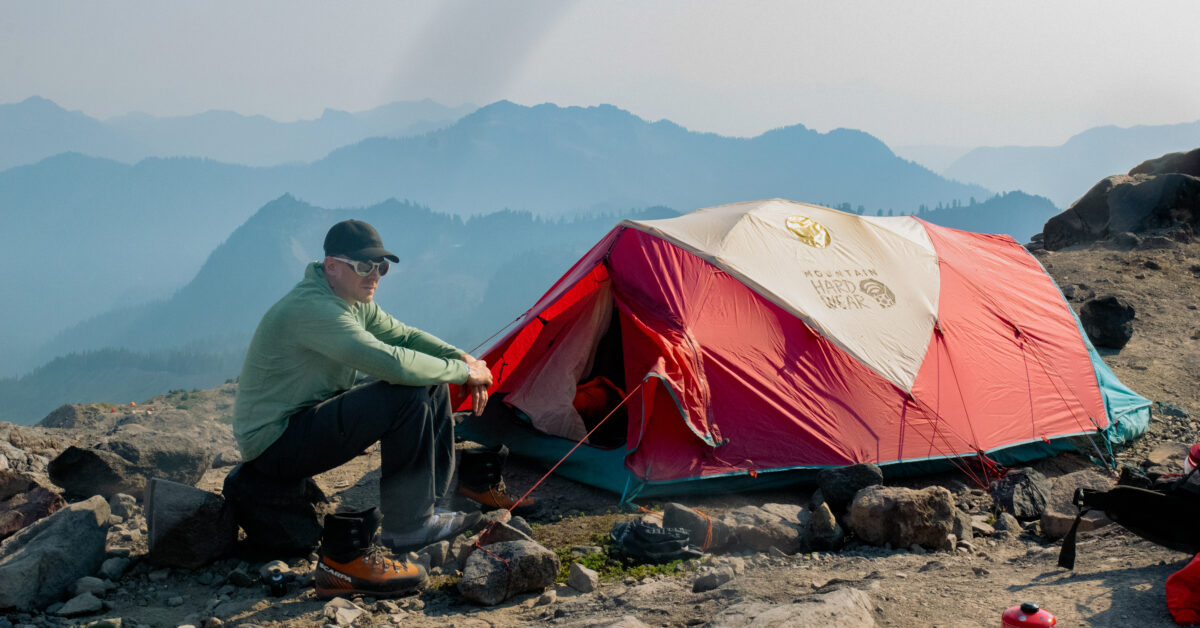
Chilling at high camp. See that shadow across the sky? That’s what a cracked camera lens looks like. (Not mine.)
Taking Time Off
As many know, I’m not a full-time blogger. I still work a regular -if you can call it regular- job, for at least forty hours per week.
While I may get an abundance of vacation time, it still needs to be scheduled well in advance. We start picking vacation dates in mid-October for the following year, so unless you have something specific in mind, planning a trip often involves a lot of guesstimation.
I pick a few specific weeks for a planned destination or event, but beyond that, I just snag up random blocks of two weeks and then see what looks good once they get near.
This often causes problems in terms of getting dates to fit. And that’s exactly what happened with climbing Mount Rainier.
Everything was either sold out, or it was during weeks that I didn’t have off. Another thing I noticed was that available climbs often started on odd days. Note to all operators out there *most Americans get a week off and it stretches from Sunday to Saturday, not Thursday to Wednesday.
Seriously, what’s up with that? Come on, guys, play to your audience. I’d fashion a guess that it has to do with obtaining permits. Okay then… looking at you, National Parks Service… Un-fuck yourself. But it’s not just for things like these climbs. In fact, oftentimes climbs like this run nonstop through the season. I see it for everything when I travel though, especially tours which are the real offenders here.
Regardless, all Rainier climbs were sold out. However, as I searched, I became aware of longer five to six-day mountaineering courses on Rainier. Those were sold out as well, but they did get me to expand my field of view.
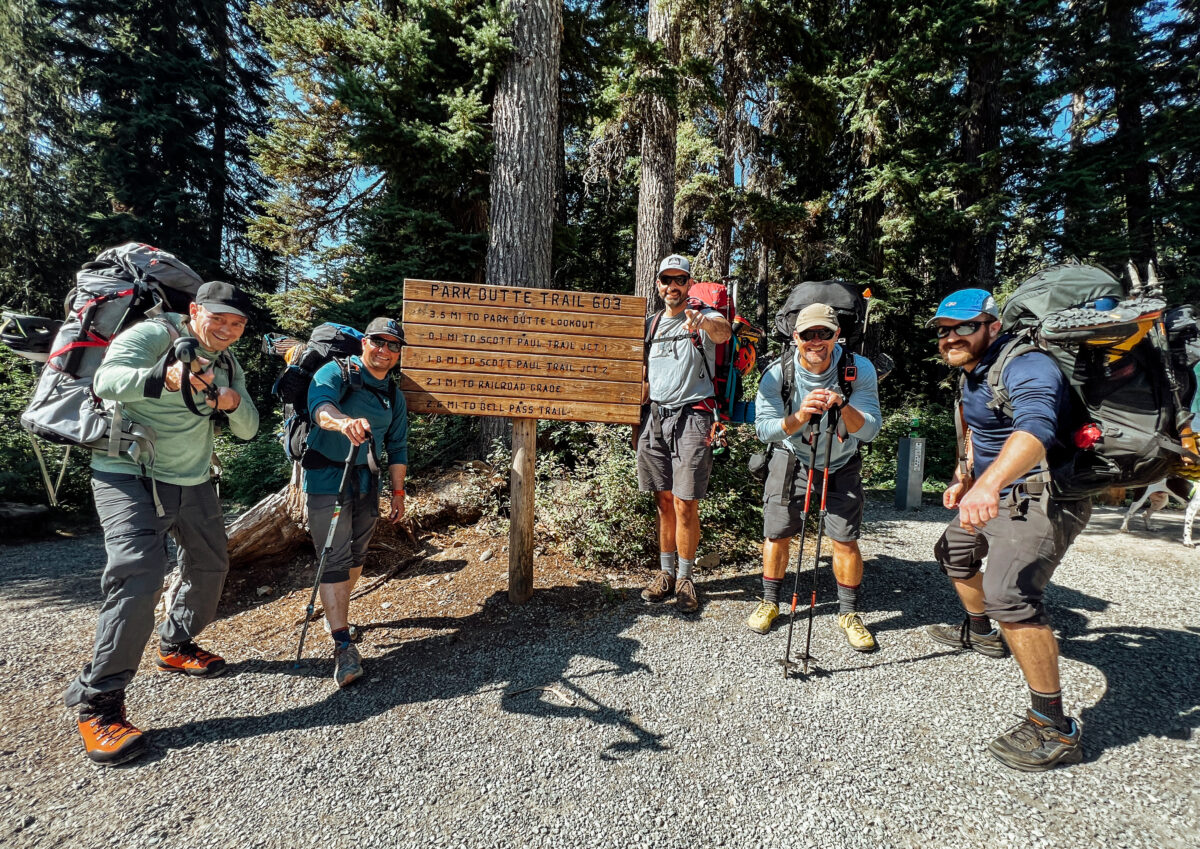
Team picture time before we start climbing Mount Baker! Not sure what’s up with these proportions, but I look smushed lol
Mount Baker Glacier Mountaineering
Taking a general mountaineering course that included a summit seemed like the logical approach, so I started researching them. Upon doing so, I discovered Northwest Alpine Guides and their Five-Day Glacier Mountaineering Course. I looked, and blessedly, the dates worked. I was excited. Sure, I could have waited until next year, but once I get a specific trip into my head, it’s gonna happen. It was time to get to work.
Mount Baker, where the course was to be held, is the second most glaciated peak in the lower 48 states and the fifth highest in the Cascade Range. I knew I was sold, and went all in on climbing Mount Baker.
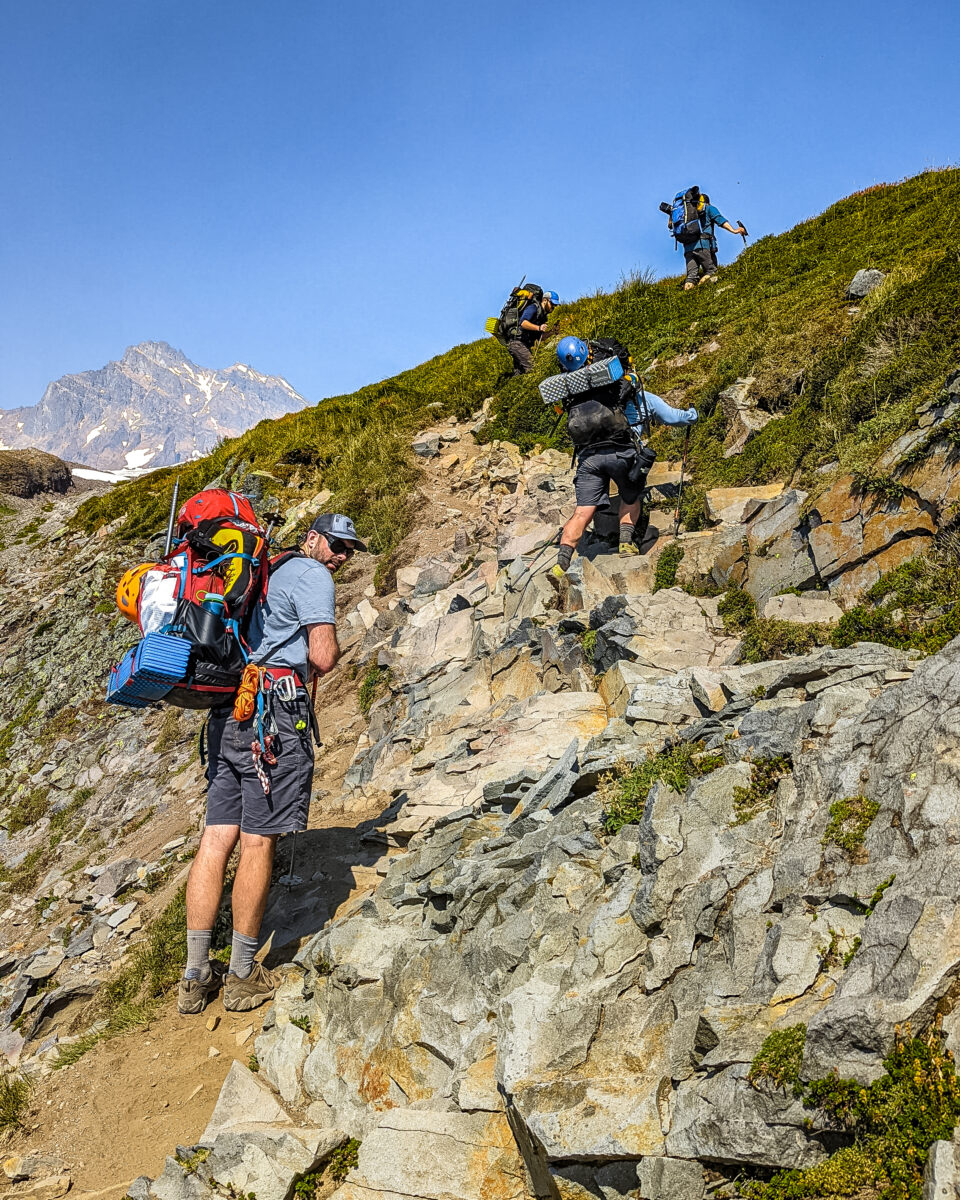
The start of the Railroad Grade section of the trail.
The Cost
Admittedly, the cost of this trip was steep, though, to a degree, that’s my own fault. The course itself currently comes in at $1,345 which isn’t that much, but like with Kilimanjaro, the gear list for this climb was a mile long, and while there was some overlap in terms of what I could bring, I still needed many expensive specialty items.
Luckily for most people, Northwest Alpine Guides offers you the opportunity to rent much of the gear you’ll need.
Since I’m stubborn and don’t like using other people’s stuff, I opted to buy most things and only ended up renting my harness and crampons. At one point, one of my best friends pointed out how much money I was spending and asked if I was sure this would be something I was going to stick with. It was, after all, something I had never done before.
Naturally, I said of course I would, though internally, I told myself that I damn well better. $600 for a pair of boots I’d only wear once would have pissed me off.
Boots are the one thing I would have been glad to rent, but the La Sportiva Nepal Cube GTX, which is the standard rental boot, doesn’t fit my wide feet. They felt like wearing a pair of ballerina slippers. The Scarpa Mont Blanc Pro, however, has a wider toe box and when sized up, fit me perfectly.
Luckily, things went well, and I loved it so much that I’ve already booked a guide to climb Mont Blanc next July if you’d like to show up in Chamonix and stalk me.
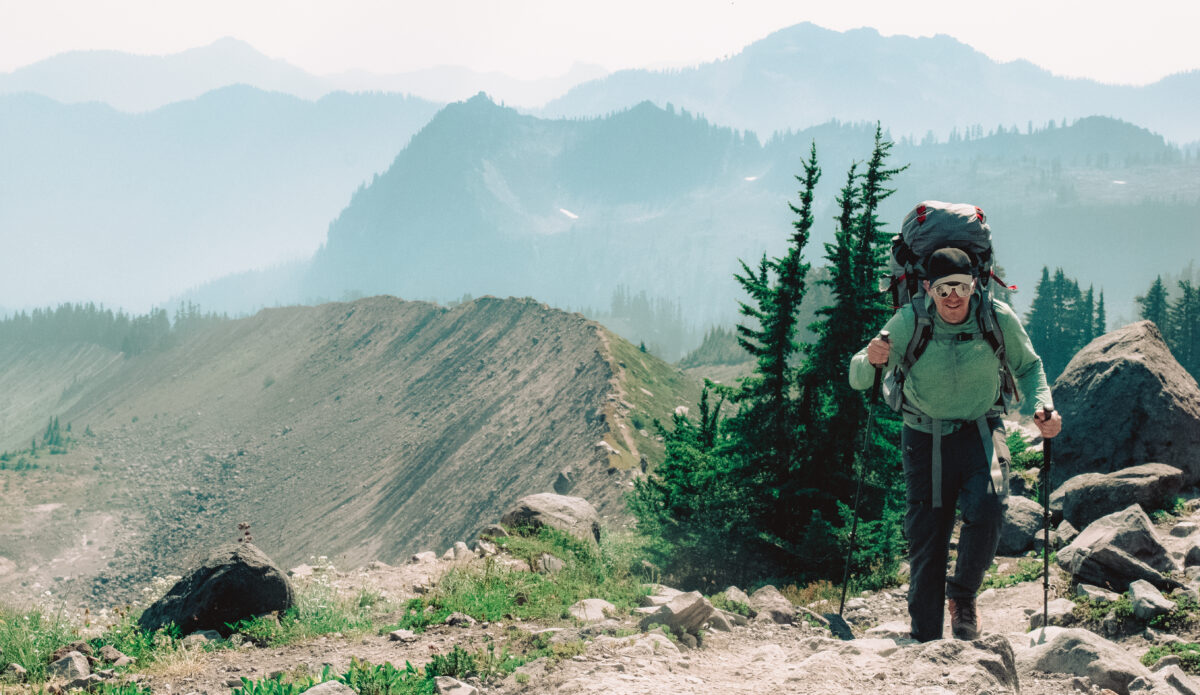
Hiking up the railroad grade trail. It looks like I have a gut here lol
Preparation
As mentioned, I booked my course through Northwest Alpine Guides. The process was pretty simple; apply for the course, list your experience if any, and how you’ll be preparing. If they deem that to be thorough enough, they will let you know if you were in or out.
To physically train for mountaineering, the best thing to do is just hike. A lot. While I did do several long sessions on a Stair Master with a heavy pack and in my mountaineering boots, there’s just really no comparison to a regular hilly hike with a heavy pack.
So I got to it. I wasn’t in distance hiking form, so I started with a regular hike of about two hours. After that, I started wearing boots and a bag with some weight in it. Let me tell you, I got some weird looks when I would unload all of the rocks after a hike.
I gradually increased the weight until it hit fifty pounds. Hikes became longer and more frequent. I still felt like I could have done more to prepare, but when time is up, it’s up.
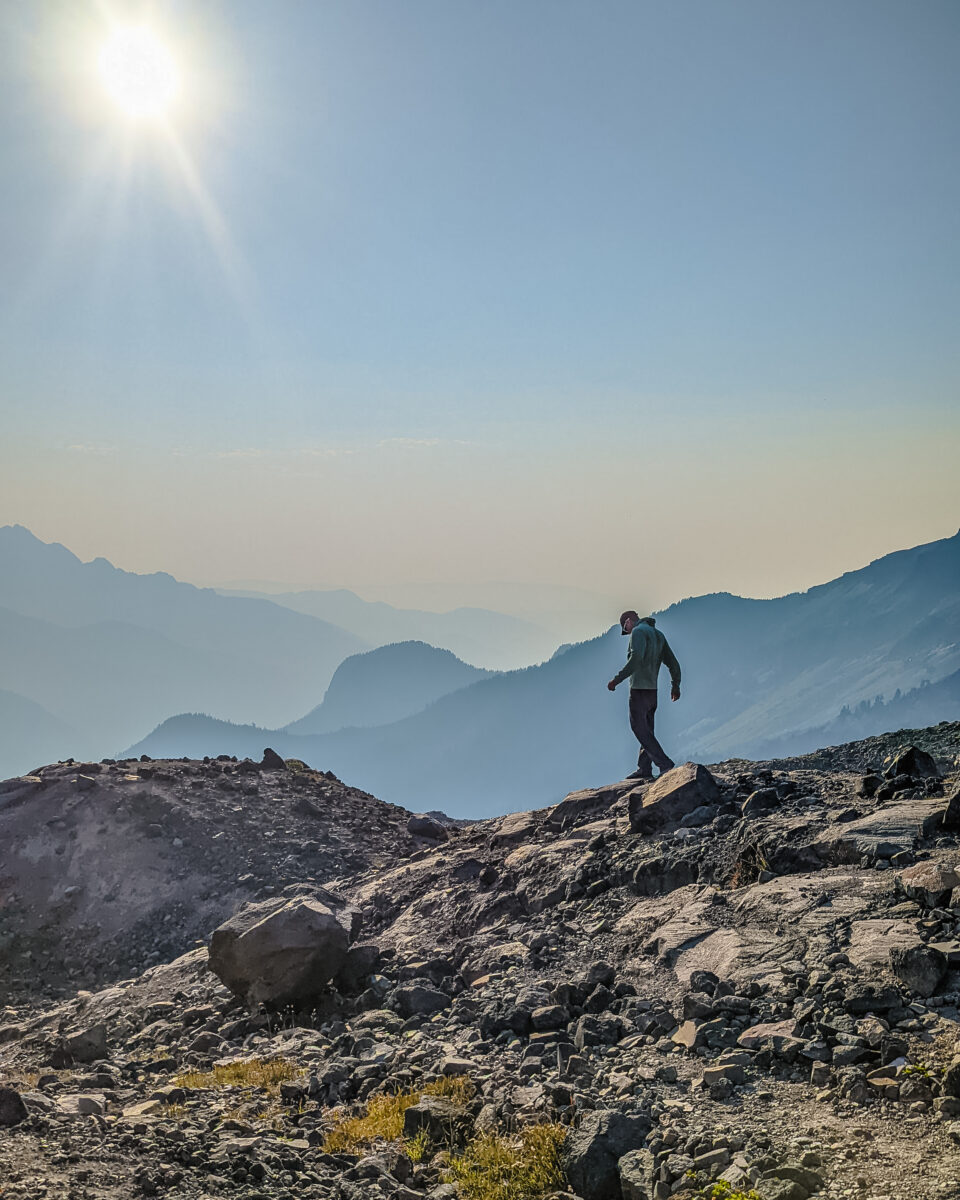
Strutting my stuff… Or trying to not slip and fall on the scree.
Northwest Alpine Guides, Sedro-Woolley, WA
As ready as I was going to get, I headed to Seattle, and on to Sedro-Woolley, WA where I’d be spending the night.
After an early wakeup, I reported to the guide hut at 8:00 a.m. sharp. I would have liked to have gotten there a few minutes earlier, but I failed to grasp just how slow things move in that part of the country. Especially when compared to NY and NJ.
Waiting nearly 20 minutes (not exaggerating) for two subpar bagels was both irritating and stressful since I had somewhere to be.
I did end up arriving on time, but everyone else was already there with their gear laid out for inspection.
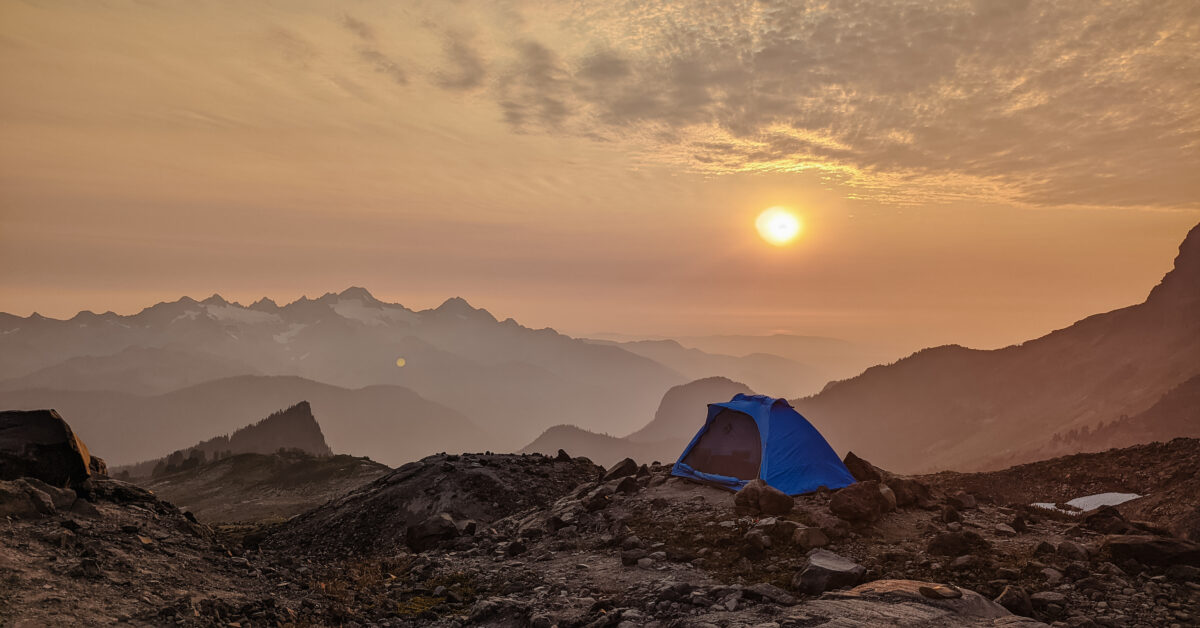
End of the day! The sky was extra hazy on day 1 because unfortunately there are multiple wildfires in the area.
The Guide Hut
At the inspection, I met my guide, Ryan McGuire. Ryan has been a guide for seven years and is full of both knowledge and experience.
He had a full list of gear, which I had previously obtained. We then proceeded to go through it piece by piece to be sure that I had everything I needed.
Afterward, I repacked everything, but this time, it went from my duffel to my 70-liter Osprey Aether Pro pack. Recommended bag size for this trek is 65-75 liters, and I chose the Aether Pro which is not to be confused with the regular Aether 75L, which contains the unnecessary bells and whistles that add weight.
Designed for mountaineering, the Aether Pro is a very stripped-down bag that can be broken down even further for use on a summit push. The big sell, though, was that it still has incredible support and suspension while only weighing 3.45 pounds.
Usually, the first thing companies seem to cut while trying to shave weight is the shoulder strap cushioning and back support. Blessedly, the mad scientists over at Osprey, my favorite pack company, managed to figure out a way around that.
While I did end up having the smallest of the packs, I still had space to spare without having anything strapped to the outside of my bag other than my ice axe and helmet.
A good adage is, the bigger your bag, the more you’ll carry, so if you’re going to bring a 100-liter bag that weighs 6.625 pounds, which one guy did, expect to fill it up, just because you can. This is especially true for a new sport when you might be less inclined to sacrifice something you’re not sure if you’ll need or not.
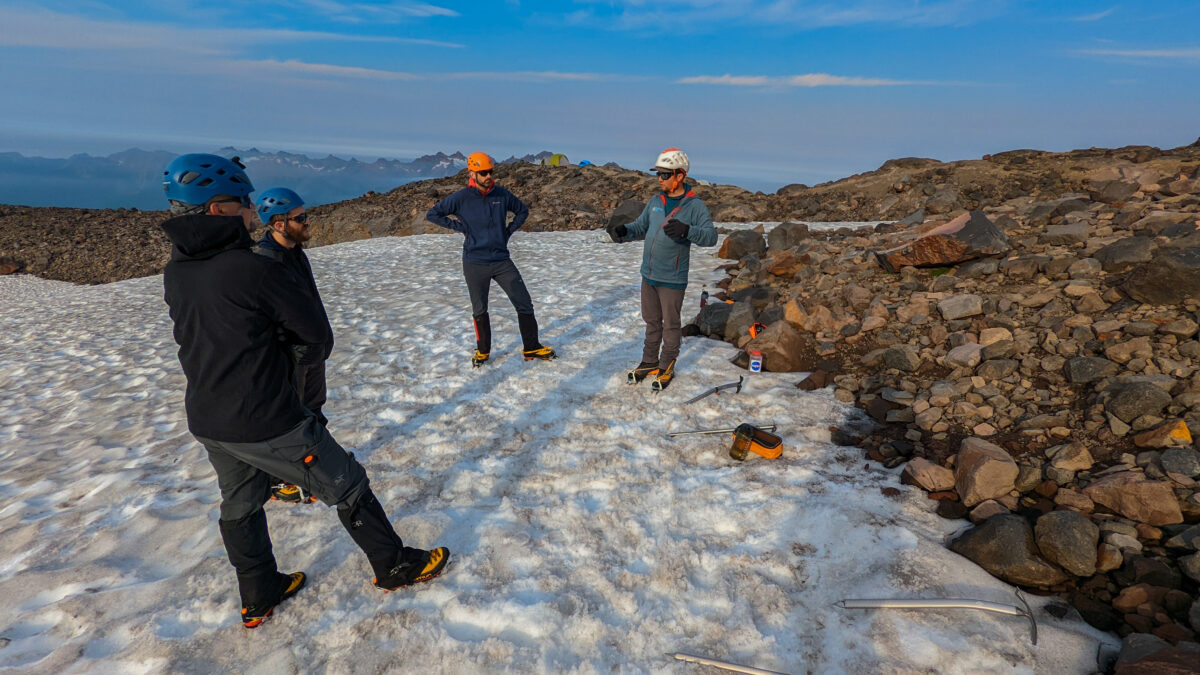
Day 1 of snow school. Our guide Ryan, droppin the knowledge.
Climbing Mount Baker
From there, it was on to the mountain. Okay, well, not exactly. We were all supposed to meet at a small market to drive up the dirt road at the same time, but I missed that part of the conversation and went straight there. I didn’t realize this until they called looking for me, but no harm, no foul. I still managed to find the starting point on my own.
It should be noted that cellular service is spotty on the mountain for all providers except for Verizon, so I’d recommend you download the offline map for the area before arriving.
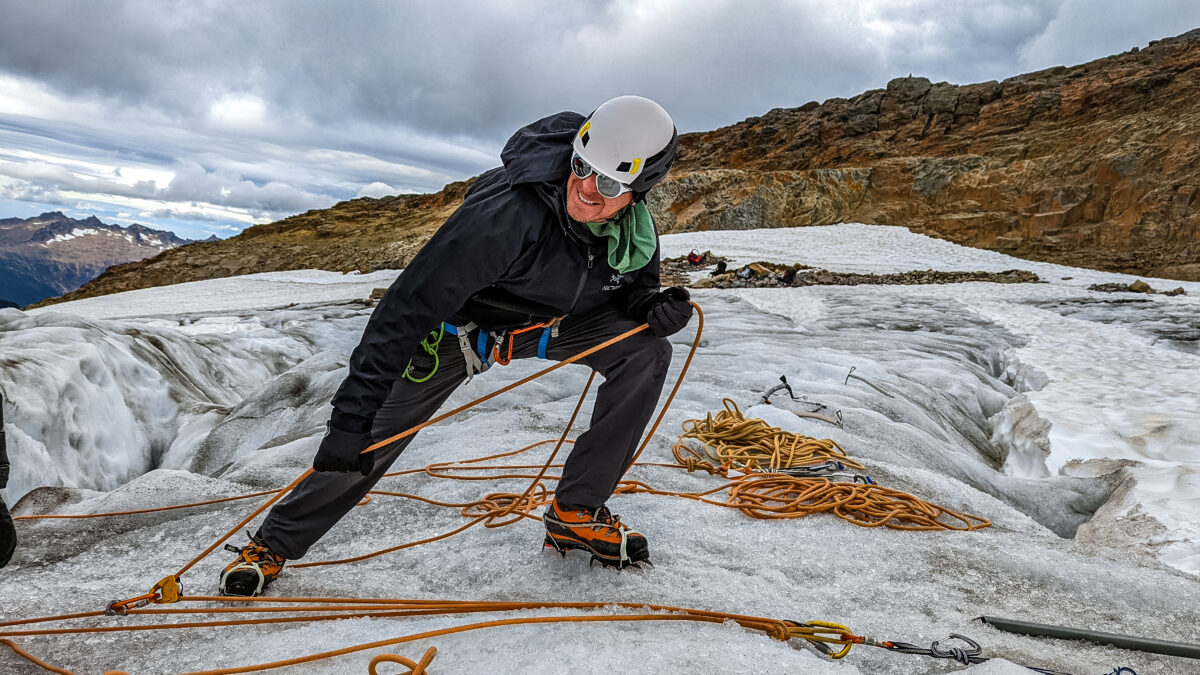
Learning crucial crevasse rescue skills for climbing Mount Baker. The guy I’m hauling up is about 6’5″ so this was WORK!
Introductions
Introductions all around! At this point, we all took the time to introduce ourselves to each other in a bit more detail. This involved giving a breakdown of what prior experience we had, if any. Our group combined for a grand total of zero mountaineering experience.
I probably came the closest with my climbing of Mount Kilimanjaro, but that’s more prolonged hiking at altitude, with no technical skills needed. We also had one team member who had completed the entire Appalachian trail, quite an impressive feat! As well as two friends who wanted to take the course in preparation for a Mount Rainier ascent, which seemed to be off the table for one of them after we summited Mount Baker because “The itch has been scratched.”
I’ll tell you, it didn’t scratch my itch. If anything, it just exposed it to the air and made it itch more.
After posing for a few pre-climb pictures, that was it, and we were off!
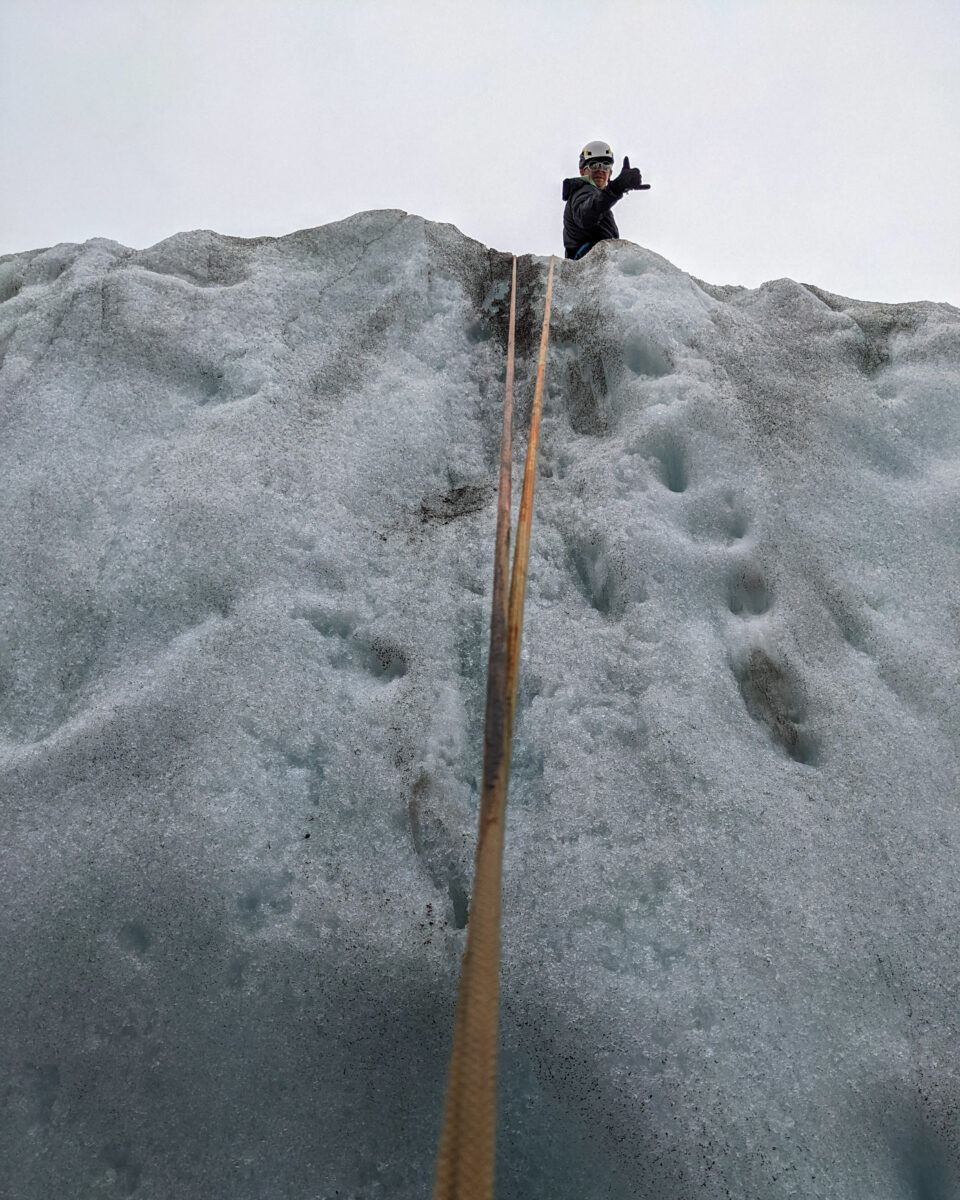
You okay down there, bud?
The Trekking Begins
The hike to the high camp was pretty standard. There was a gradual incline and some fantastic scenery over the next 4.5 hours. Climbing along what’s known as “the railroad grade trail” was especially cool because it follows the crest of a glacial moraine with steep drops off to both sides, another first for me. This is also where I saw my first marmots.
For those who live on the East Coast, I thought they looked bigger, but basically, they’re smaller versions of groundhogs and live in colonies of up to twenty instead of alone.
We did have one team member who struggled with leg cramping so I hung back with him and maintained a slower pace until it got really bad. At that point, we took some of his weight. With the lighter load, he perked right up and made it to camp with no further issues for the rest of the trip.
Eventually, after a few breaks, we made it to what would be our high camp.
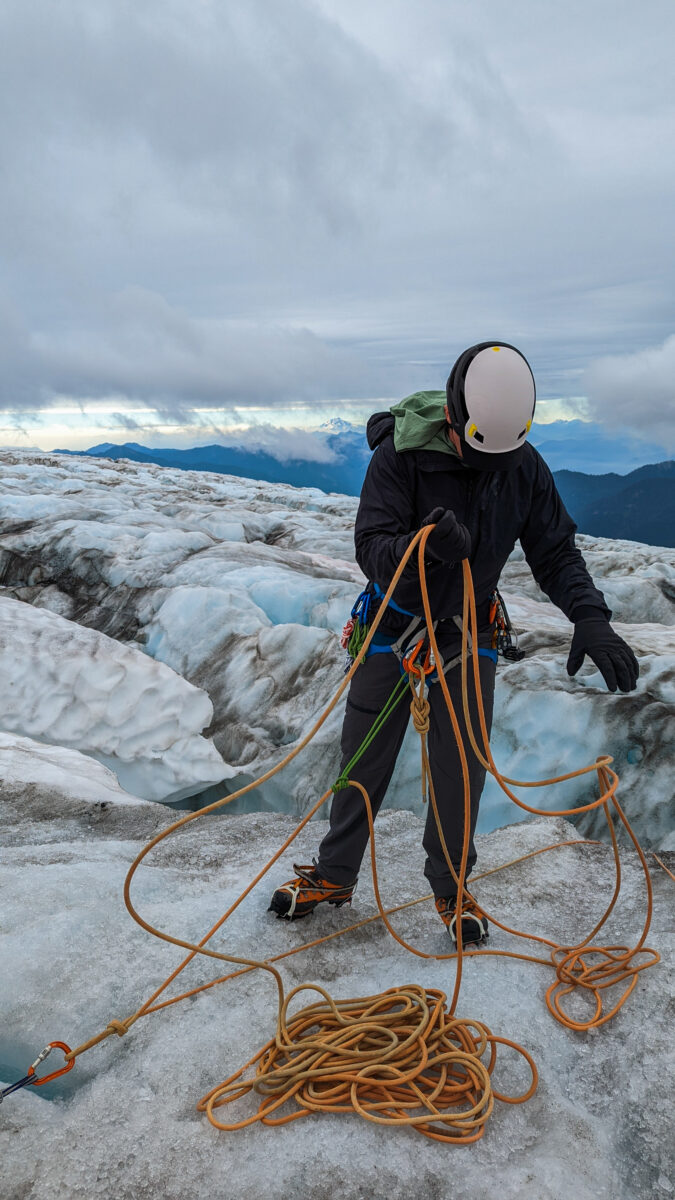
Wrapping things up. Now that’s a mess of ropes!
High Camp
One thing that did annoy me a bit about the high camp was false summit syndrome. This gets me all the time. While climbing, there were three or four times when we saw a tent and thought it was our destination, only to get the rug pulled twenty minutes later.
A minor gripe really, but false summit? More like false hope!
Since Northwest Alpine Guides maintains a presence here almost daily for the entire year, they have a quasi-fixed camp above the other camps with tents that remain on site from the beginning until the end of the season.
I was more than fine with this because it meant we didn’t need to carry the extra weight of tents, stoves, and fuel like some other companies have you do.
Once in camp we met back up with the other teams we saw at the guide hut. We chatted with the others during the downtime, and at this point I learned that one of the girls in the female-only team thought she left her car unlocked back at the parking lot. (Yes, ladies, there are female-only climbs with a female guide if you don’t want to deal with the men!)
Being a trail runner, she… ready for this? She ran all the way back to the lot, checked her car, and ran back to camp in about an hour! I was so impressed and smitten that I actually got shy when we talked the following day. Admittedly, I’m a bit of a flirt so this reaction on my behalf had me all kinds of rattled. I didn’t even get her name. Sigh.
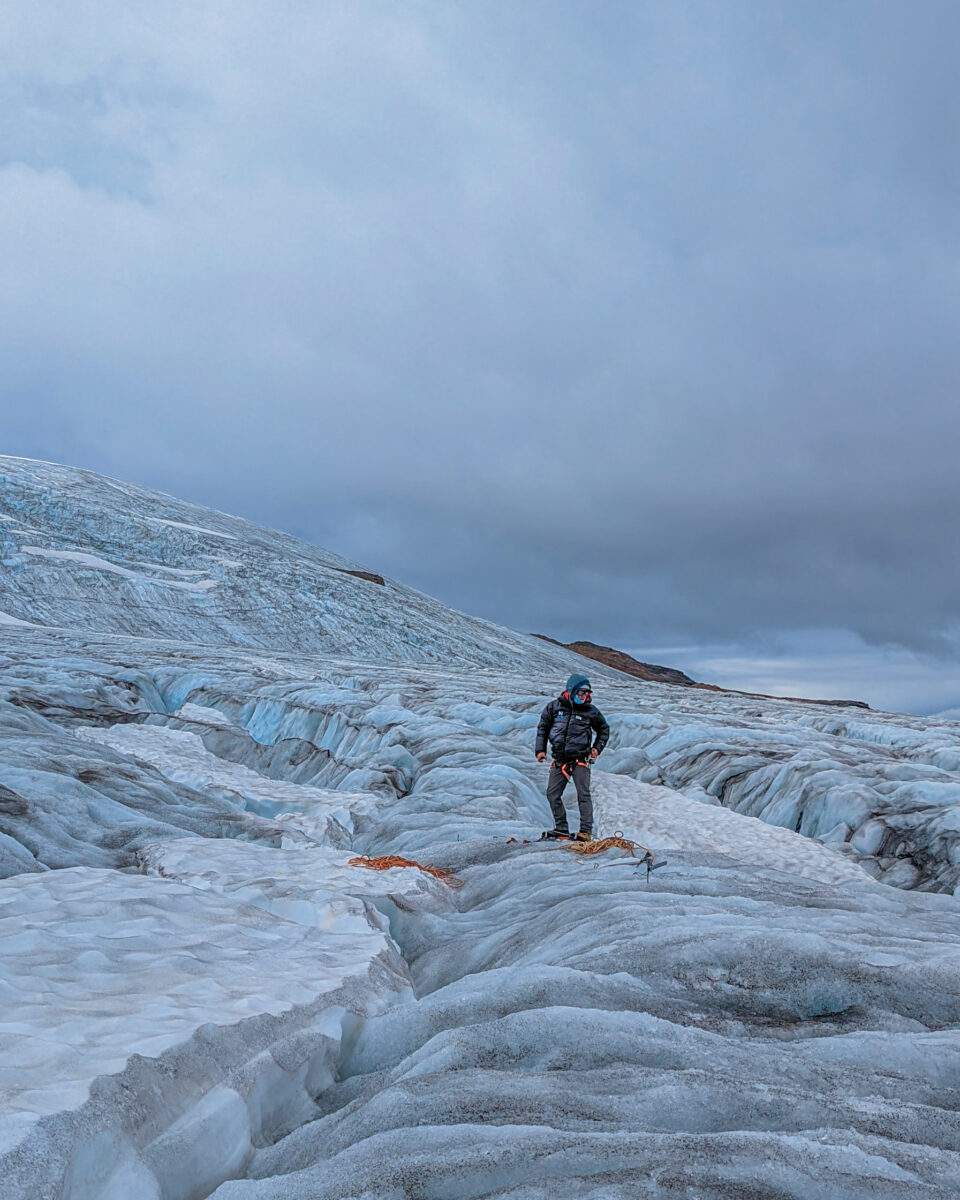
Our guide Ryan retrieving his anchors after we finished for the day.
Day #2 – Intro to Mountaineering School
Day two was snow school! While the other teams who signed up for the three-day climb were already off for the summit, we remained behind for two days of skills training.
The other teams did go over things like crampon techniques and self-arrest the evening before, but that was nowhere near as in-depth as what we did, nor was it for nearly as long.
Over the course of a full day, we learned what are considered the mountaineering fundamentals. Our instruction included snow climbing, ice axe and crampon technique, self-arrest, team-arrest, rope travel, basic knots, and anchors.
After finishing, it was back to camp for dinner. Nothing beats a good, fresh, hot meal after a day in the snow.
We settled for dehydrated meals instead. I’m half joking here because I do enjoy these meals in moderation. In fact, while they were provided for us, I brought my own preferred brand that are higher calorie and higher protein. I just wish they could make them with a little less sodium in general.
If you were wondering, the meals I use are from the Peak Refuel brand. One thing to remember, though, with any of these meals that you may not frequently eat, unless it’s something you’re sure you’ll like, be sure to at least try them in advance. You wouldn’t want to get to your camp only to find out that you hate what you brought.
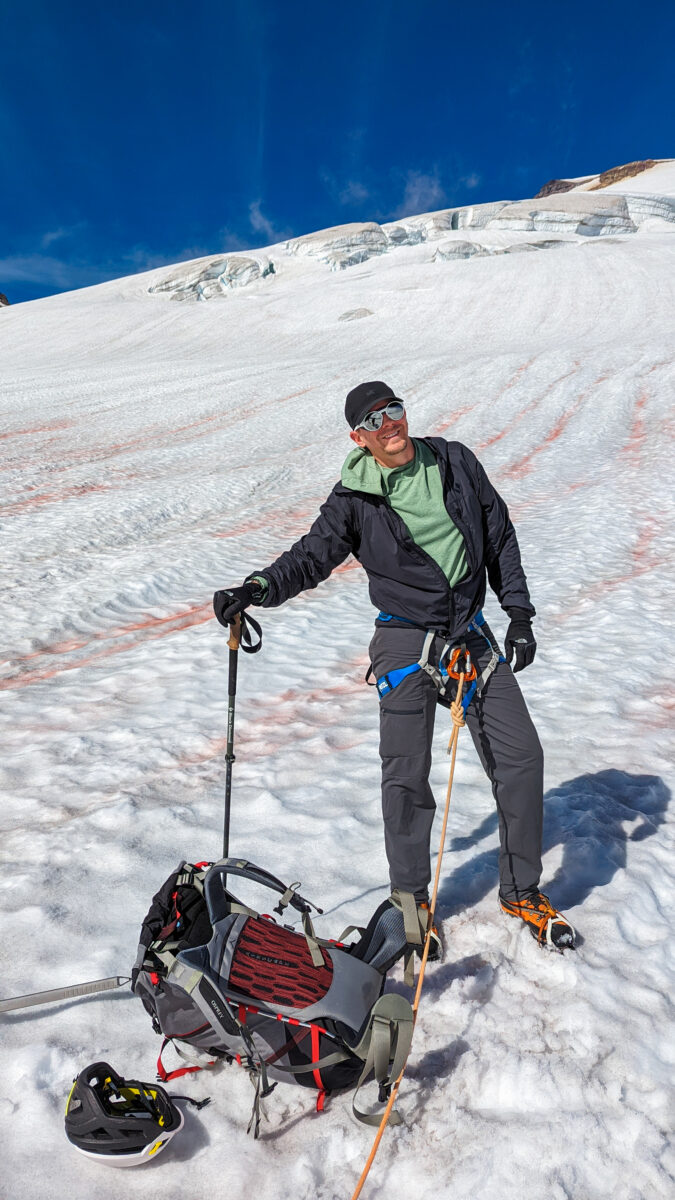
Break time!
Day #3 – Glacier Mountaineering School
On day 3 we continued to develop our skills. We practiced the advanced glacier climbing techniques needed for expedition mountaineering. These included things like snow protection, crevasse rescue, ascending fixed lines, belaying, rappelling, and rope management.
This was a fun day as this training is all hands-on. That means we got to do things like dangle in a crevasse while the other team members hauled us out through a system of pullies and knots that we set up while under tension.
By the way, it’s crevasse, not crevice, and they each have a different definition. Boom. Lawyered. I got into this discussion with far too many people trying to tell me that I’m not French and that it’s crevice! I mentioned this to Ryan and he laughed.
After we finished, we also got a great introduction to ice climbing. While this is dependent on the conditions, they were perfect for us.
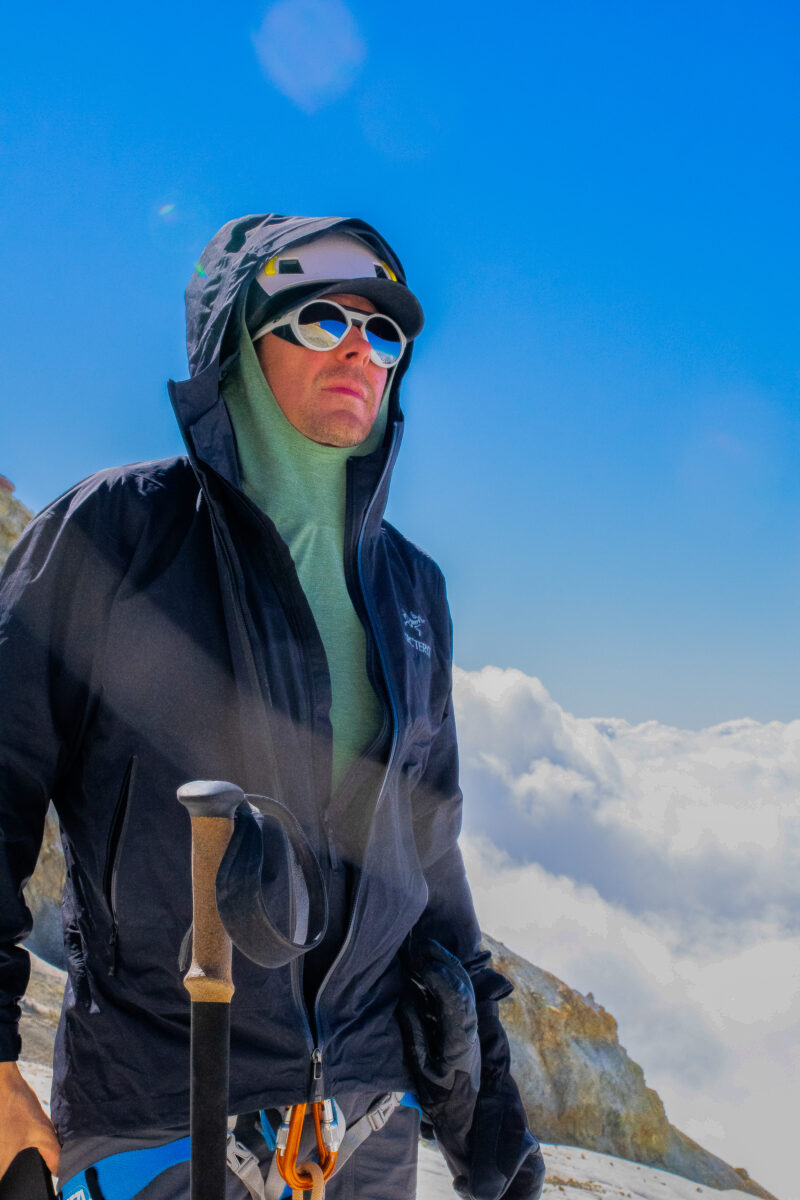
Focused. No idea what the heck I was looking at so intently. I’d say a squirrel but we’re too high for them.
Ice Climbing
I have an irritating non-history with ice climbing. I spent five years working at a climbing gym as a teenager, and several more climbing in general, but since I started at an early age, I was considerably younger than all of my coworkers and gym partners, even if I did crank harder than all of them but one. Oof! Face! lol
Anyway, being seventeen when they were all in their early to mid-twenties, we didn’t hang out while outside of the gym. We got along great and did occasionally go to the Shawangunks to climb or boulder together, but I never got the invite to go ice climbing. It also didn’t help that they all owned their own gear for it.
I remember getting so jealous at the time. In all of the years since, I never did it… until climbing Mount Baker.
No, it’s not a necessary skill for climbing Mount Baker. It’s just a bonus activity that you get to do as part of the five-day mountaineering course.
Let me tell you, I was the first one in the bottom of that crevasse. It was so much fun and everything I imagined it to be. Admittedly, it was more forearm-pumping than I had anticipated, so much so that I was the only one to do it more than once.
Unfortunately, I think I may have discovered another overly expensive hobby to take up. Perfect.
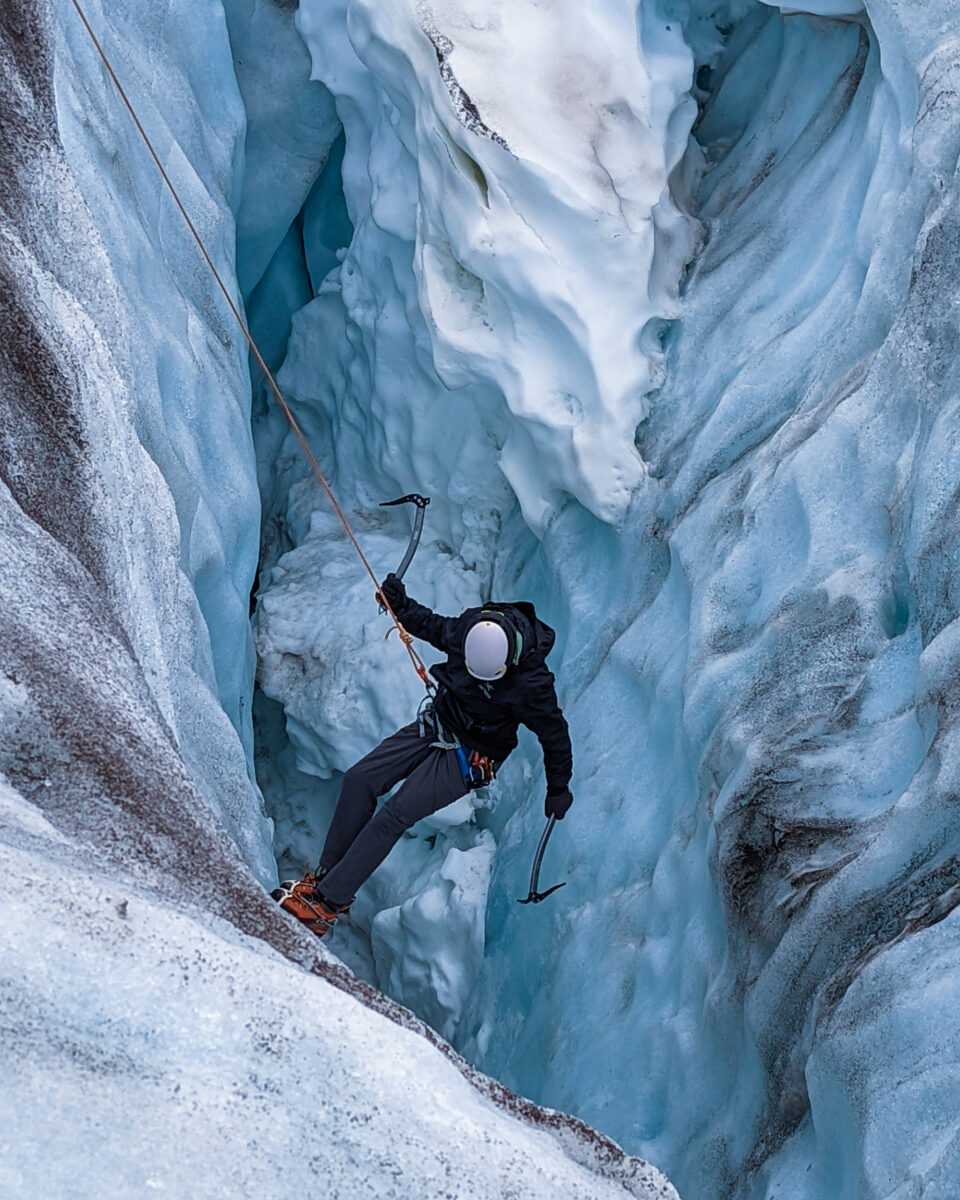
I will now perform my people’s native dance.
Early to bed!
We always planned on going to sleep early in preparation for our summit attempt. Unfortunately, we ended up going to bed super early because it started raining.
Fog rolled in and it poured pretty hard from around 5:00 p.m. until about 1:00 a.m. Luckily, it was expected so nothing got terribly wet.
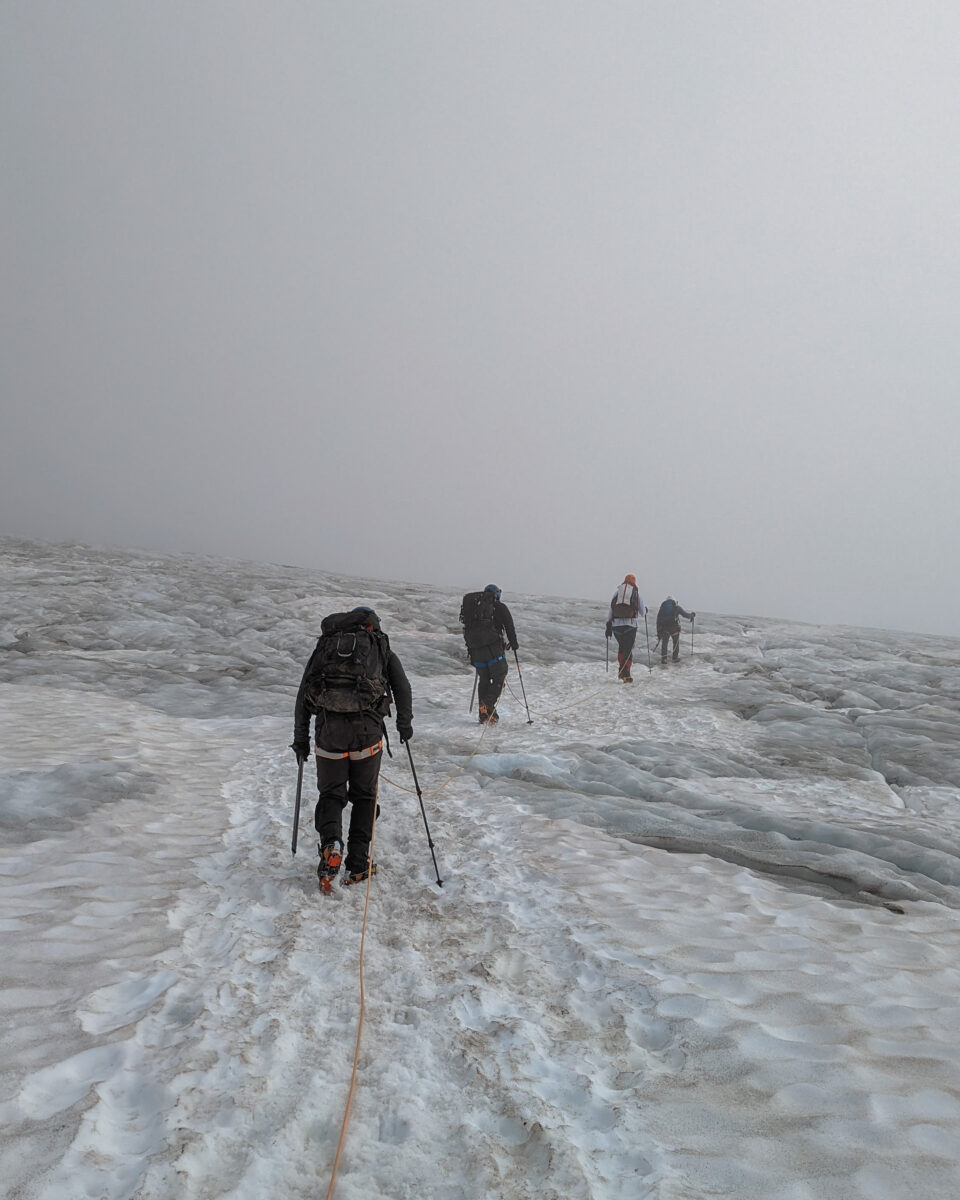
Summit day. Off into the unknown!! For about an hour until we broke above the clouds.
Summit Day
The next morning we were up at 6:00 a.m. and on the march by 6:30. I strongly prefer this to midnight starts. Unless there’s good reason for it, like inclement weather, I maintain my position that they’re useless for anything other than trying to finish off your day early.
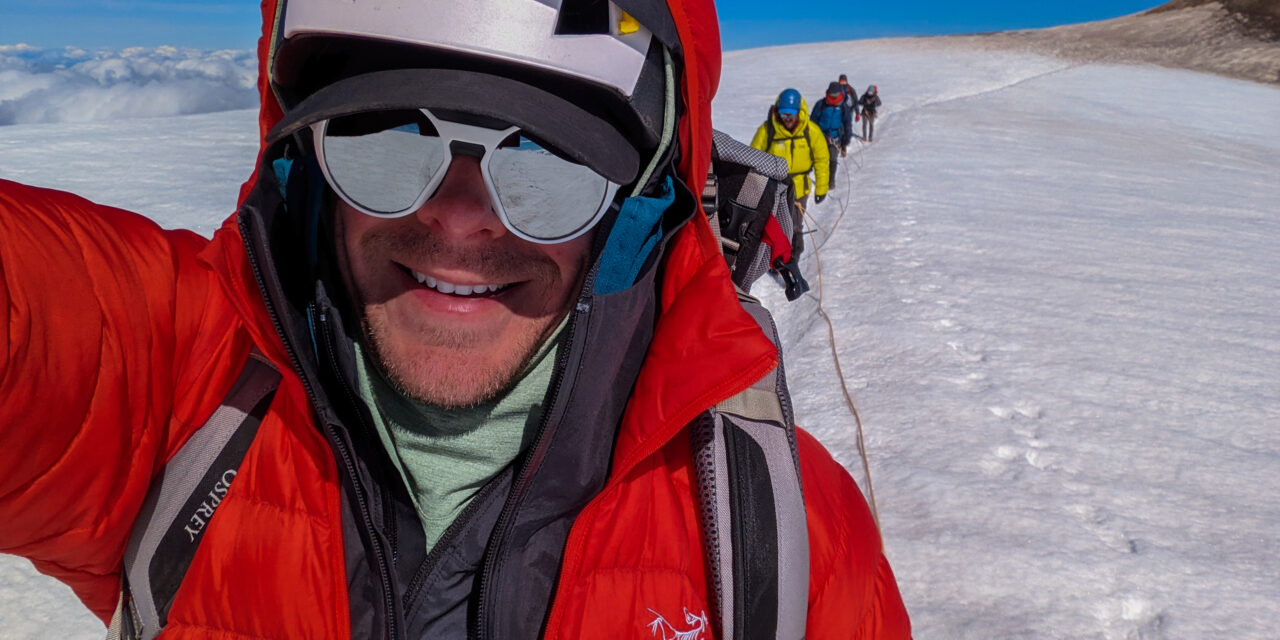
Once we reached the glacier, crampons went on, we roped up, and stomped away. I requested the rear point on the rope as I’m a shy wagger.
For those who don’t know what I’m talking about, on mountains like this, there are strict, leave-no-trace practices that are followed. So if you have to go to the bathroom, there’s no digging a cat hole, or going behind a tree as you might do on a regular hike. Instead, you go in what’s known as a WAG Bag.
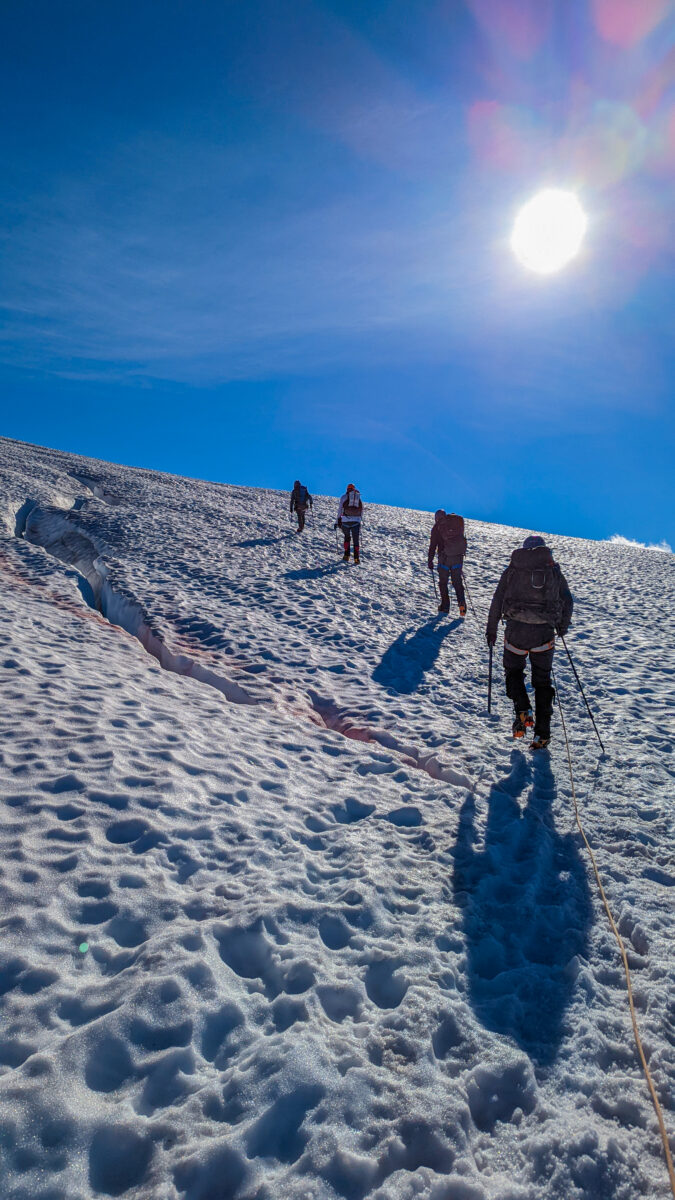
Clear skies from then on! Perfect conditions for climbing Mount Baker.
Today I Learned
If you didn’t know, a WAG (Waste Alleviation and Gelling) Bag is basically a toilet in a bag.
They contain a NASA-developed solidifying agent, “poo powder” (feel free to laugh) designed to hide and contain any smells within the bag. While they contain enough gelling powder for three to four uses, most people are one and done.
A puncture-resistant double bag system keeps it spill-proof and hygienic. They also contain a small portion of toilet paper and some hand sanitizer. Neither is enough on their own, so I’d 100% recommend you bring some extra.
Once you’re done, most people store them beneath their tent until it’s time to leave. You can’t leave them in the open because animals such as ravens and marmots like to rip them open for the salt content. If that mess happens on your watch, congratulations, you’re cleaning it all up.
A double-bagged WAG bag is approved for disposal in any garbage can.
Luckily wagging never came into play for me while on the move so my placement in the rope team was irrelevant. We did, however, have one guy who WAGged on the summit.
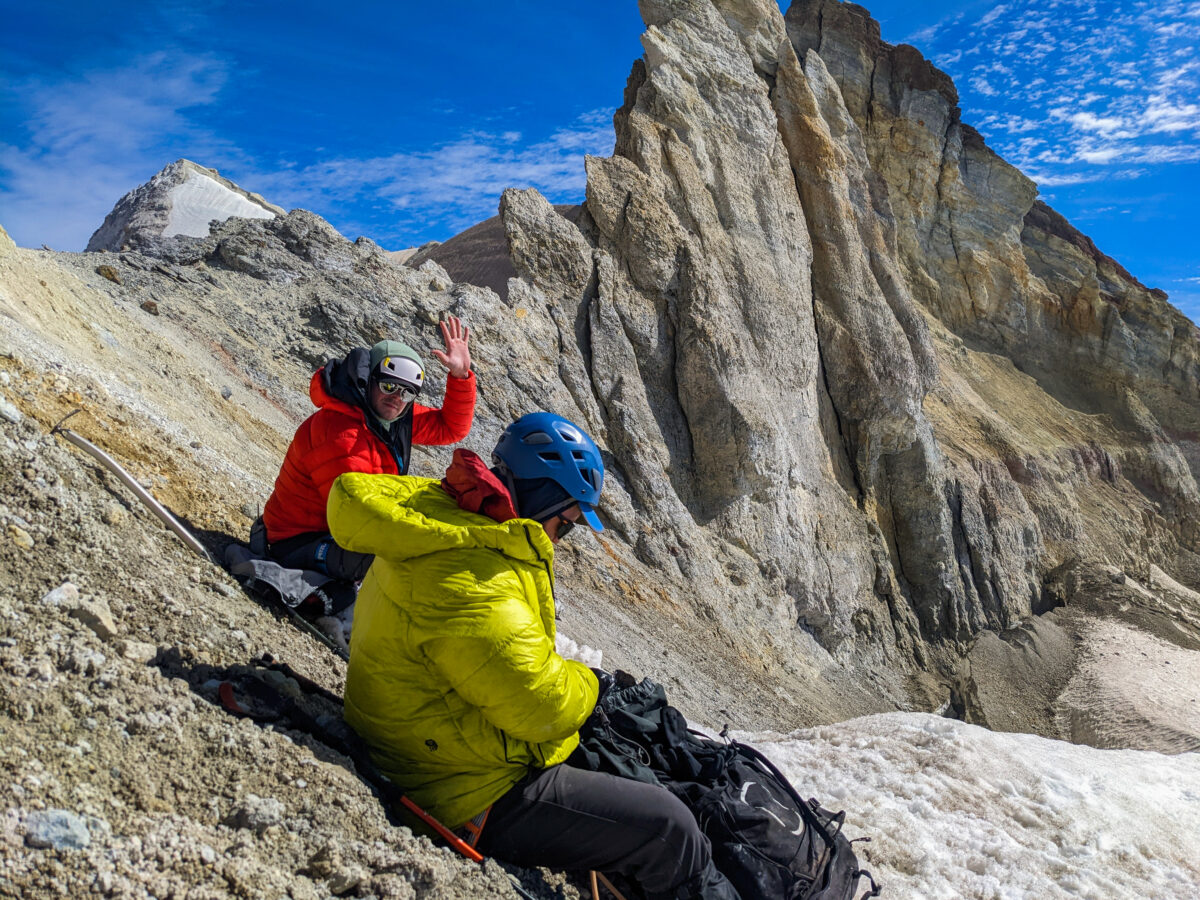
Break time at the crater. Mount Baker is actually a volcano, and right above my shoulder is the crater rim. There’s no active lava in it, only a bowl of snow, steaming at the edges, but boy did it smell like sulfur. Probably a dragon sleeping in there somewhere.
The Roman Wall
“Why is it called the Roman Wall?”
-Me
“Because the Romans were the first to climb it.”
-Ryan
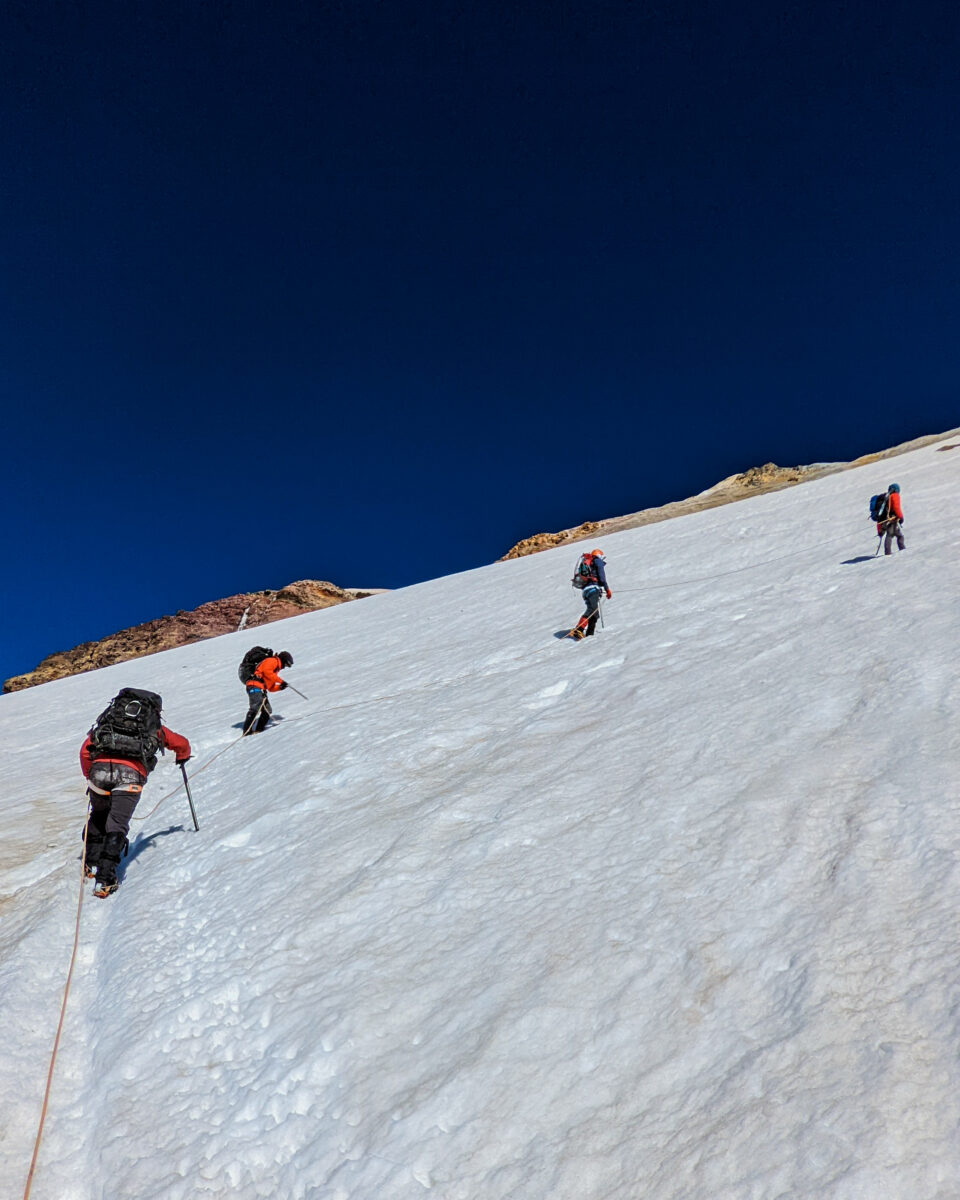
Pumping our way up the Roman Wall the same way the Romans did it. With grit and magic.
I’m not sure if I entirely believe him that the Romans were the first to climb it… hmmmmm. I laughed though.
The Roman Wall is the crux of climbing the Mount Baker Easton Glacier Route. It’s a steep headwall beginning at roughly 9,750 feet that averages around 40 degrees, depending on the season.
I loved this section. It felt great. I was bursting with energy here and stomped my way up without even getting a leg pump. Other than reaching the summit, this was easily my favorite part of the climb. Training hikes aside, I attribute this to my primary cardio in the gym being the Stair Master as it was very similar in motion.
In fact, after summiting, we reversed the rope direction, and I got to lead us back down it.
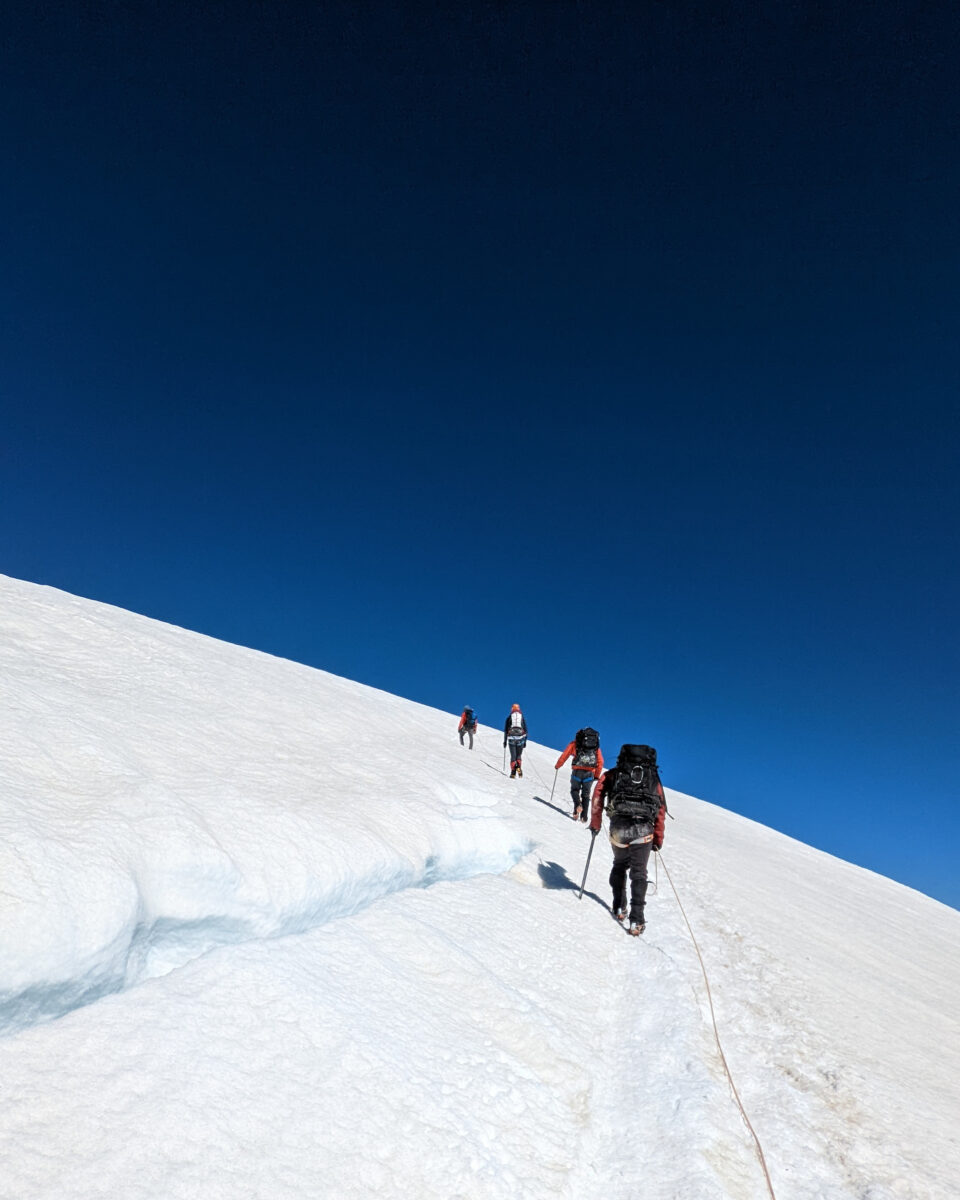
Almost to the top!
Summit Time!
I do have to say, summiting Mount Baker was amazing, but it still didn’t have the same payoff as Kilimanjaro. I think this can be largely attributed to the fact that there wasn’t nearly as much of a struggle or internal battle to get to the top.
As I’ve said in other posts, Kilimanjaro had me battling altitude sickness while slogging through a week of six to eight-hour days with a 12-hour summit night, rather than just two days of 4.5 and 8.5. So while Mount Baker is far more technical, I still find Kilimanjaro to have been my most strenuous climb when considered as a whole.
Though I should note that I did exactly ZERO prep work for Kilimanjaro, while I actually trained for Baker.
The descent from Baker was probably my least favorite part. It wasn’t difficult, but the speed we went through the choppy snow was a pain for me. I fell around five times due to uneven footing while the guy in front of me fell two or three.
A few times I even leveraged my position at the back to slow the group, primarily because I was so freakin’ sick of falling.
If not for my stiff mountaineering boots, I 100% would have sprained my ankle on at least two occasions. I felt it pull. (That’s when I started slowing things.) What’s the rush? Honestly, no reason. The weather was fine, and we had hours of light. I prefer the Kilimanjaro approach of pole-pole, which means ‘slowly’ in Swahili.
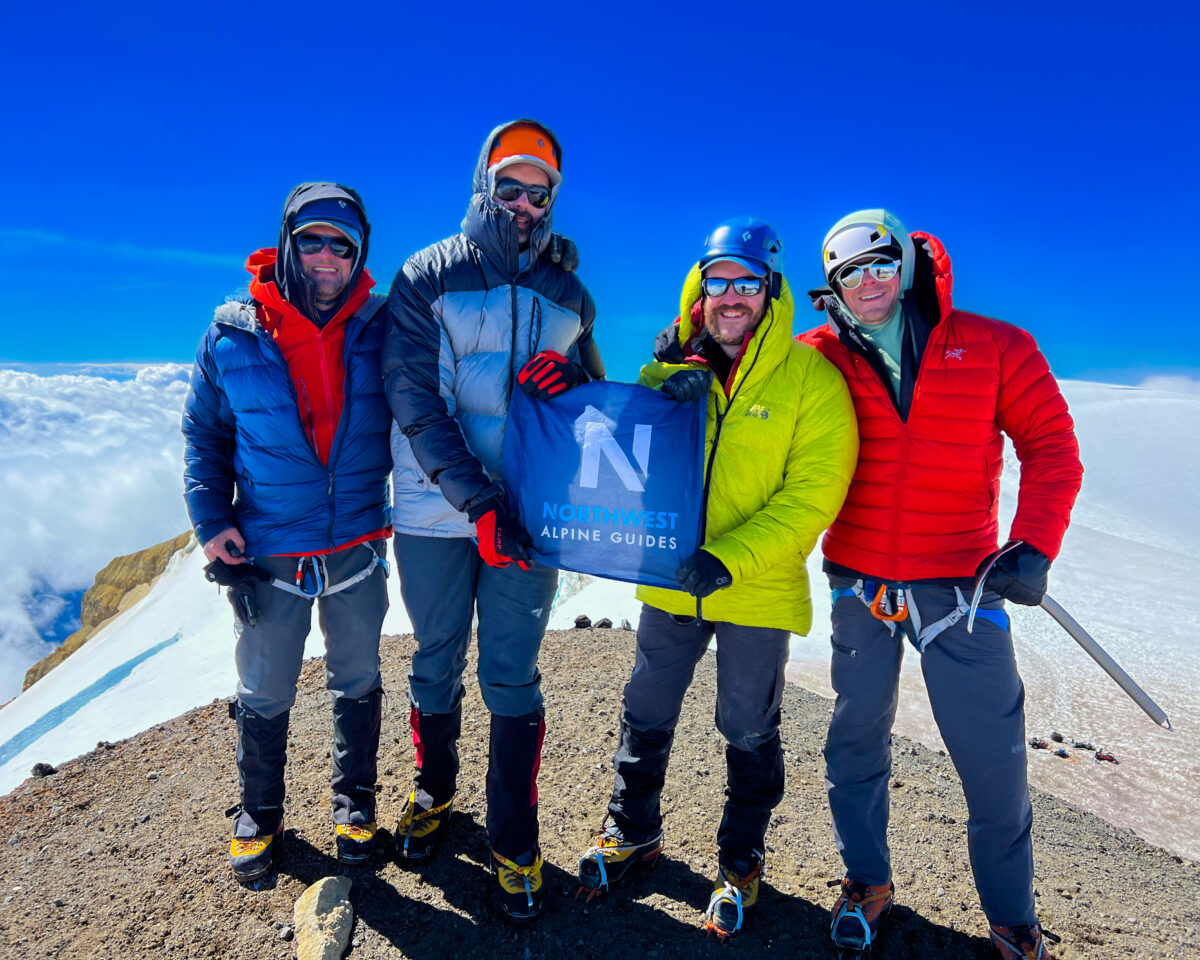
Standing on the summit of Mount Baker!
Back to the Base
After one last night in camp, we were up early and off for the base of the mountain. I don’t know why, but this felt like the longest leg of the entire climb. Maybe it was the fact that everyone we passed for the final hour told us it was only ten more minutes to the parking lot.
Something I determined long ago while hiking with my dad and brother, is that most people hiking have zero sense of time on trail.
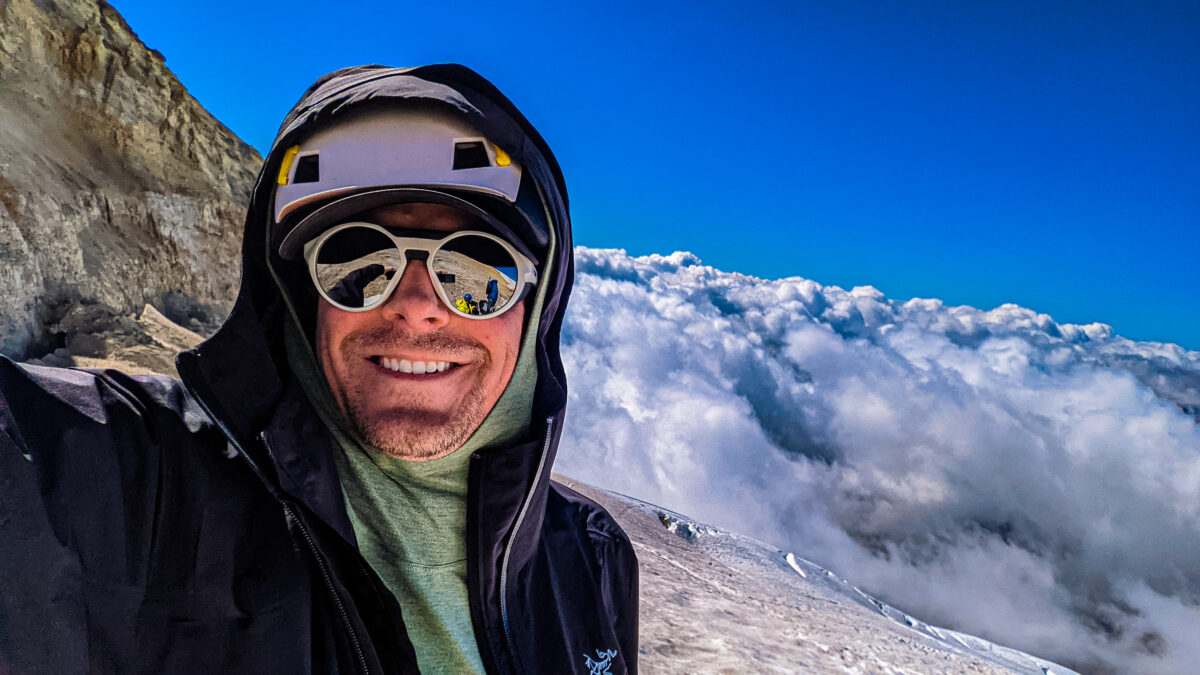
The mission of climbing Mount Baker was accomplished. All smiles as we head back down and retrieve our trekking poles that we left at the crater.
In all, I had a great experience on the mountain and I can’t wait to get back at it. Northwest Alpine Guides was awesome and I’m glad I chose them. In retrospect, I’m also glad that I started with a skills course rather than jumping right into mountaineering with no training.
So what do you think? Is climbing Mount Baker something you’d be interested in trying? Or maybe just mountaineering in general?
DID YOU ENJOY THIS ARTICLE? PIN IT!



[…] you may notice the lack of a stove or tent on my list. Well, for the mountaineering course I took, I used the operator Northwest Alpine Guides and they maintain a fixed tent camp throughout the […]
[…] for while on a mountain. If you go where there’s no path you’re greatly increasing the odds that you’ll […]