Climbing Mount Kilimanjaro is a major bucket list item for many people, but what is it like, how do you do it, and why should you do it?
“Because it’s there.”
-George Mallory
When asked by a reporter, “Why did you want to climb Mount Everest?” George Mallory cut to the heart of the adventurous spirit with his three simple words. “Because it’s there.”
While not Everest, this is the same response I give to many people when they ask me why I do the things I do, and yes, I did say it when I was questioned by friends about climbing Mount Kilimanjaro.
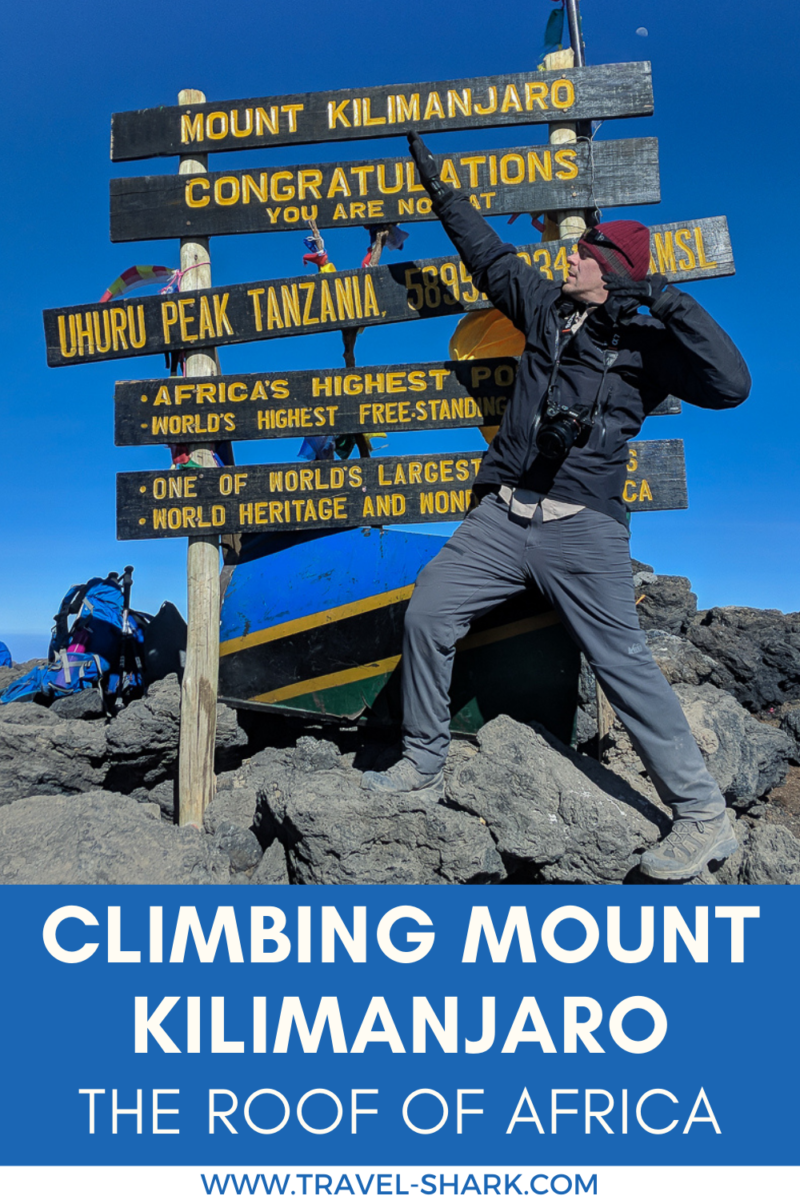
I consider climbing Mount Kilimanjaro to be one of the most fulfilling physical experiences of my life. I’ll never forget that sensation when Uhuru Peak came into sight. I’ve never felt anything like it before. It wasn’t a tremble but more like a jolting shake of the upper body with a bit of weakness in the knees—pure joy.
It was highly cathartic in a way. No, I didn’t cry, though there were many people who were.
Table of Contents
Tanzania
Mount Kilimanjaro is located on the African continent in the country of Tanzania. Tanzania is beautiful in its own respect and is the place where I first fell in love with Africa.
While things may change in the future, it is currently open to American travelers who present a negative COVID RT-PCR test with the sample collected within 96 hours of departure to Tanzania.
The international standard amount of time for a test is 72 hours, so it seems that Tanzania is giving travelers a little more leeway.
A common place I usually check these things, including which countries are currently open to Americans, is this webpage. I’ve found they do a very good job of keeping it updated, as well as linking you to the local embassy and necessary locator forms.
The Seven Summits
The Seven Summits of the world are comprised of the highest mountains on each of the seven continents. There are some variations in the list depending on what you use as the definition of a continent, but “many” people opt to climb all eight peaks just to put a definitive stamp on things.
They are: Mount Everest, Aconcagua, Denali, Kilimanjaro, Elbrus, Vinson, and either Kosciuszko or Carstensz Pyramid. My vote is for Kosciuszko as it is actually in Australia.
Mount Kilimanjaro
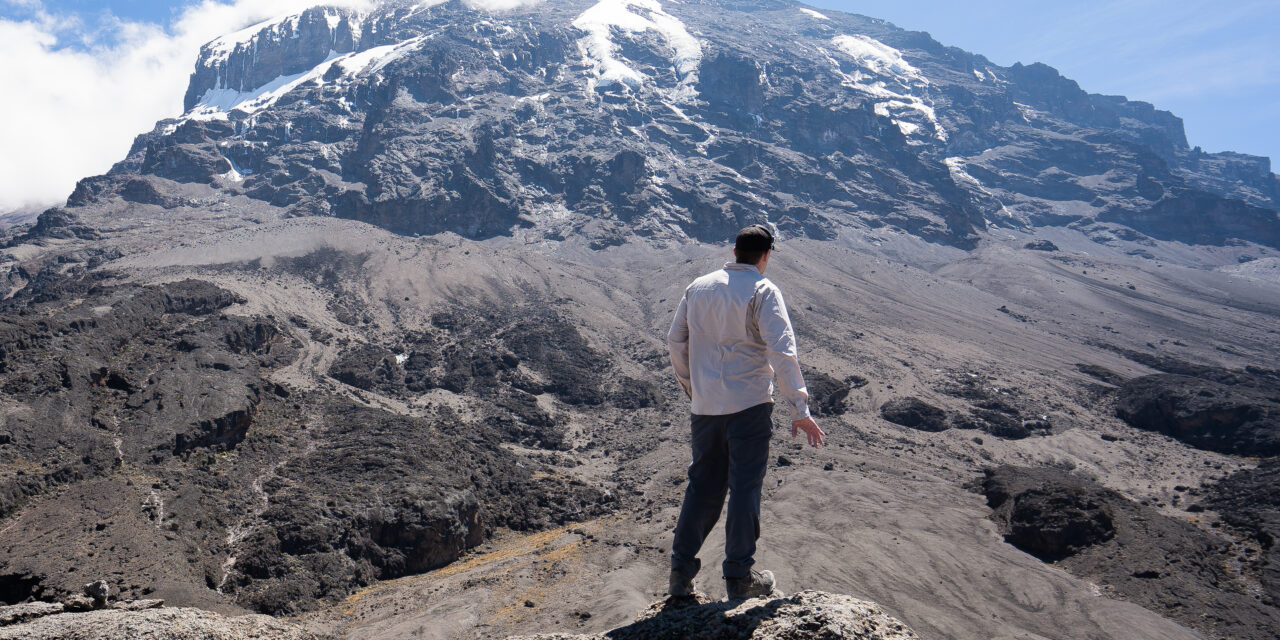
Mount Kilimanjaro, one of the seven summits, is located on the African continent in the country of Tanzania and is considered to be one of the easiest climbs. It is a dormant volcano and also the highest free-standing mountain in the world.
To get to the top, there are seven routes that you can choose from.
- Machame Route (“Whiskey” Route)
- Lemosho Route
- Shira Route
- Rongai Route
- Northern Circuit Route
- Marangu Route (“Coca Cola” Route)
- Western Breach/Arrow Glacier Route
The one I chose to climb was the Machame Route because it is known to be the most scenic. Unfortunately, that has also made it the most popular in recent years.
Just for your planning’s sake, the Marangu Route is considered to be the easiest in terms of gradient and terrain. It also has huts at the camps for sleeping in. On any other route, you’ll be in a tent.
Operators
Climbing Mount Kilimanjaro isn’t cheap. This is a very expensive trip, so get any notion of the word budget out of your head right now. You might see budget operators offering treks for less than $1000, but you shouldn’t use them. I don’t recommend anything for less than $2000.
I wrote an entire blog post about choosing an ethical operator, but until I post it, just be sure that whichever company you choose is on this list. There are only 151 operators who qualify to be on it.
I know there are way more options than that around the world, but consider this list and the Kilimanjaro Porters Assistance Project (KPAP) to be the Kilimanjaro gatekeepers of human rights and ethics.
The operator I used for climbing Mount Kilimanjaro was Oreta Adventures, and I couldn’t recommend them more highly. Everything with them was perfect.
My Oreta trek up the Machame route currently costs $2255.00. It was $2400 when I climbed it. This is the cost for the six-day trek. There are also two additional nights in a hotel, both before and after. Then factor in travel, and you’ll need at least ten days to make the climb.
There is a seven-day climb available as well for the same price, which doesn’t make much sense to me cost-wise, but it allows for an extra acclimation day on the mountain and increases your odds of summiting.
Five day climbs are available as well but they’re not advised as they are considered to be more difficult as well as the bare minimum amount of time needed.
Success rate percentages vary depending on where you look and who you ask, but the last official data from the year 2000 listed as low as 27% for five days. This data is from over twenty years ago so the current rate is undoubtedly higher.
Some estimates now put it at around 45% – 65% depending on the number of days. I didn’t notice anywhere near that many people turning back, but hey, I’m not the one with the log books.
Machame Route
Other than the scenic aspects, another part of what makes the Machame route so popular is the trek high and sleep low path that it cuts around the mountain. This allows climbers to better acclimate to the higher altitudes they will be facing.
On some nights, when we couldn’t follow a high/low path, we hiked about thirty minutes further north of the camp, acclimated there for another thirty, and then hiked back to camp. This allowed us to better continue with our acclimation. Not everyone does this, but you’ll see others there as well. I believe it helps.
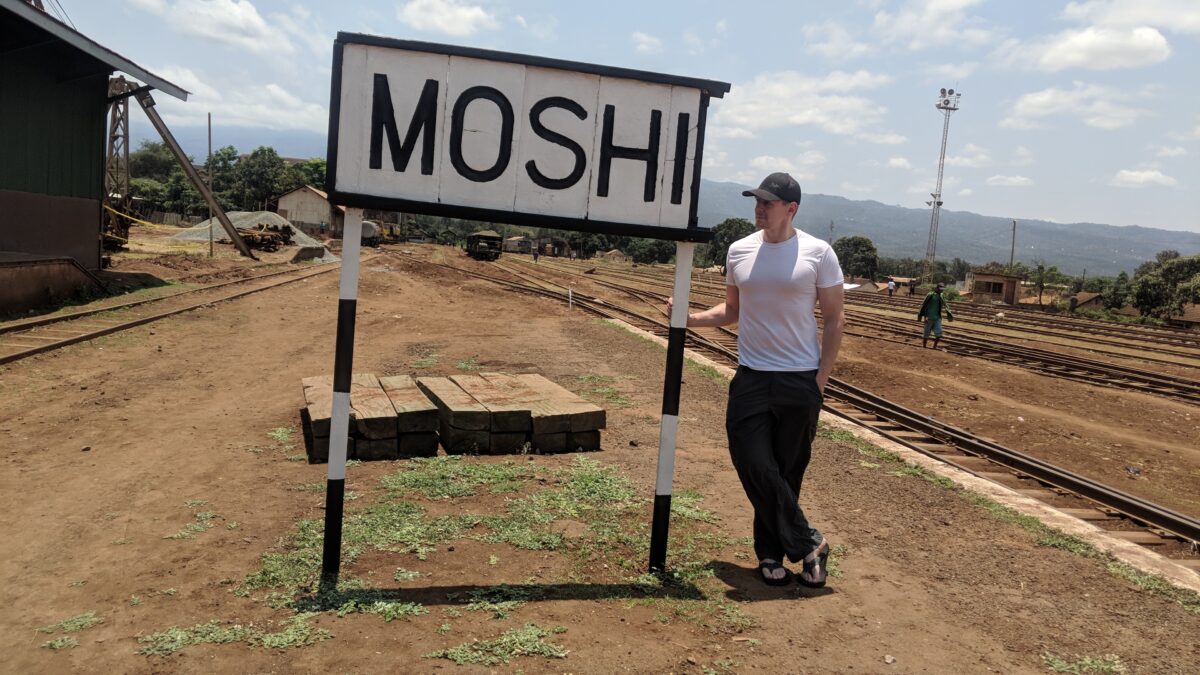
Day 1: Arrive in Moshi
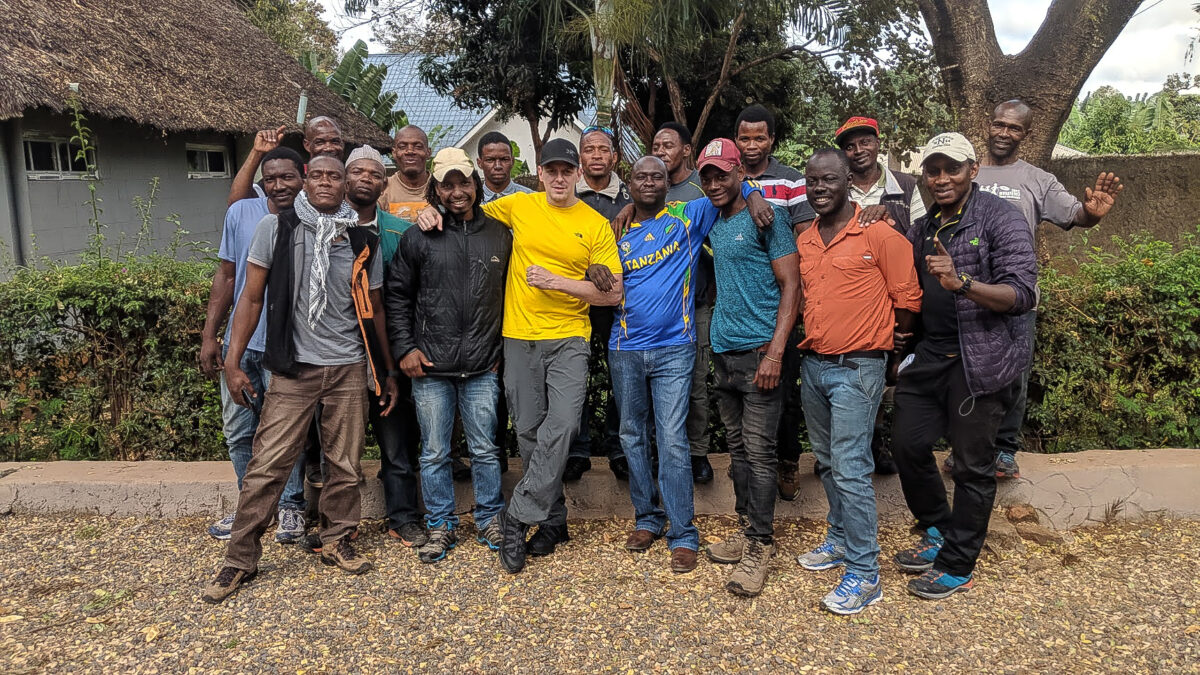
This first day will be spent meeting your team of guides and porters, as well as any additional climbers who will be joining your group. My group consisted of eleven porters, two cooks, two guides, one guide in training, two Australians, and one demon from parts unknown.
That night, you’ll have a gear inspection where they weigh your bag to make sure it’s below the limit for porters to carry, as well as go through everything to be sure that you have the necessary clothing and equipment to make it safely to the summit.
You’ll have two bags, your personal day bag, which you carry, and a larger duffel bag that the porters carry. The strict weight limit for the duffel bag is 15 kg or about 33 lbs.
My inspection went off without a hitch, and I will be providing my packing list in the near future. My compatriots, however… Hell, they would have been unprepared for a weekend hike through the woods, let alone climbing one of the seven summits. Cotton hooded sweatshirts, no boots, no headlamp… The aforementioned she-devil even needed to rent water bottles. Yes… she needed to rent WATER BOTTLES. Try to wrap your head around that one for a second.
I about choked on my tongue when they went through her gear. To have so little and still be grossly overweight blew my mind, but a hardcover book and wooden sandals are important, I guess.
Not to worry, if you are lacking in certain equipment, there are locations to rent it. Though I would recommend against renting any clothing items (in their case – coats, gloves, rain gear, or a sleeping bag.)
I don’t know about you, but renting a sleeping bag skeeves me out.
Take everything you don’t want to risk getting stolen!
Some of the more expensive hotels may offer access to a safe, but for most places, even if it’s behind a locked door, your excess luggage is most likely going to be stored in a community room with fifty bags belonging to other climbers. You don’t want to leave anything behind that you’re not okay with losing because stuff does occasionally disappear if it’s valuable. Dirty laundry? Nah. Camera lens? *poof*
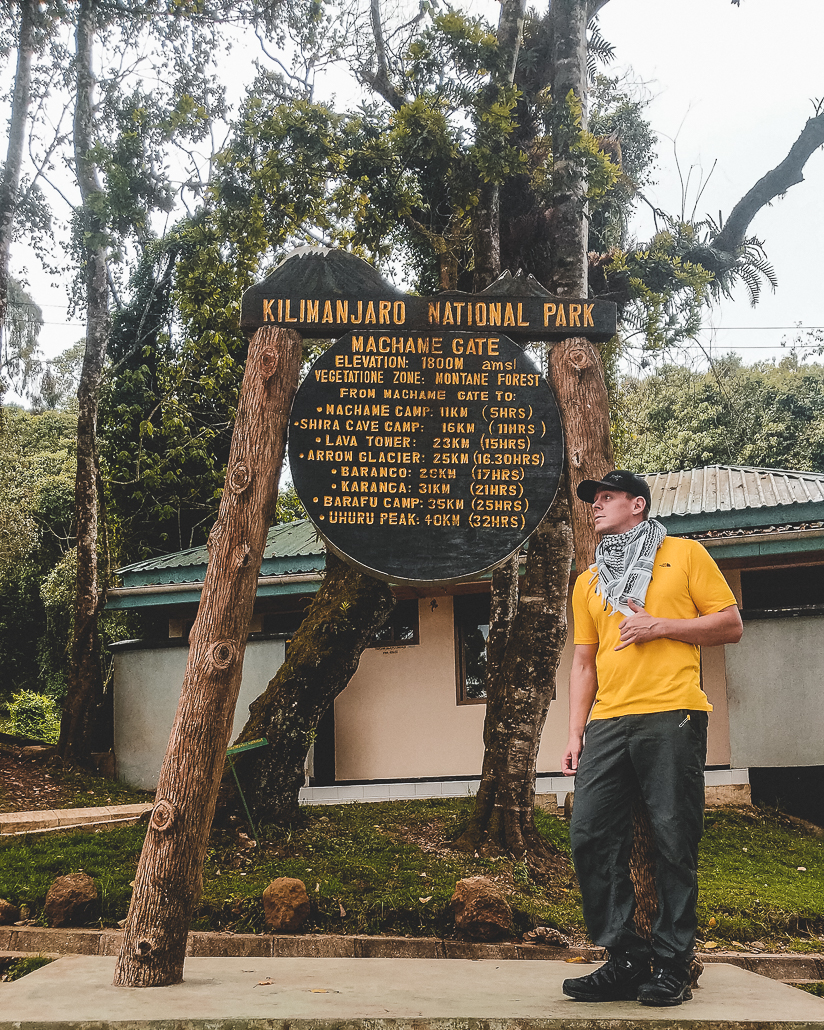
Day 2: Moshi to Machame gate to Machame Camp
- Hike Time: 5-7 hours
- Distance: 11 km
- Elevation: 1,800 – 3,000 meters
- Habitat: Jungle
Technically, Day 1 of the climb, but who is splitting hairs.
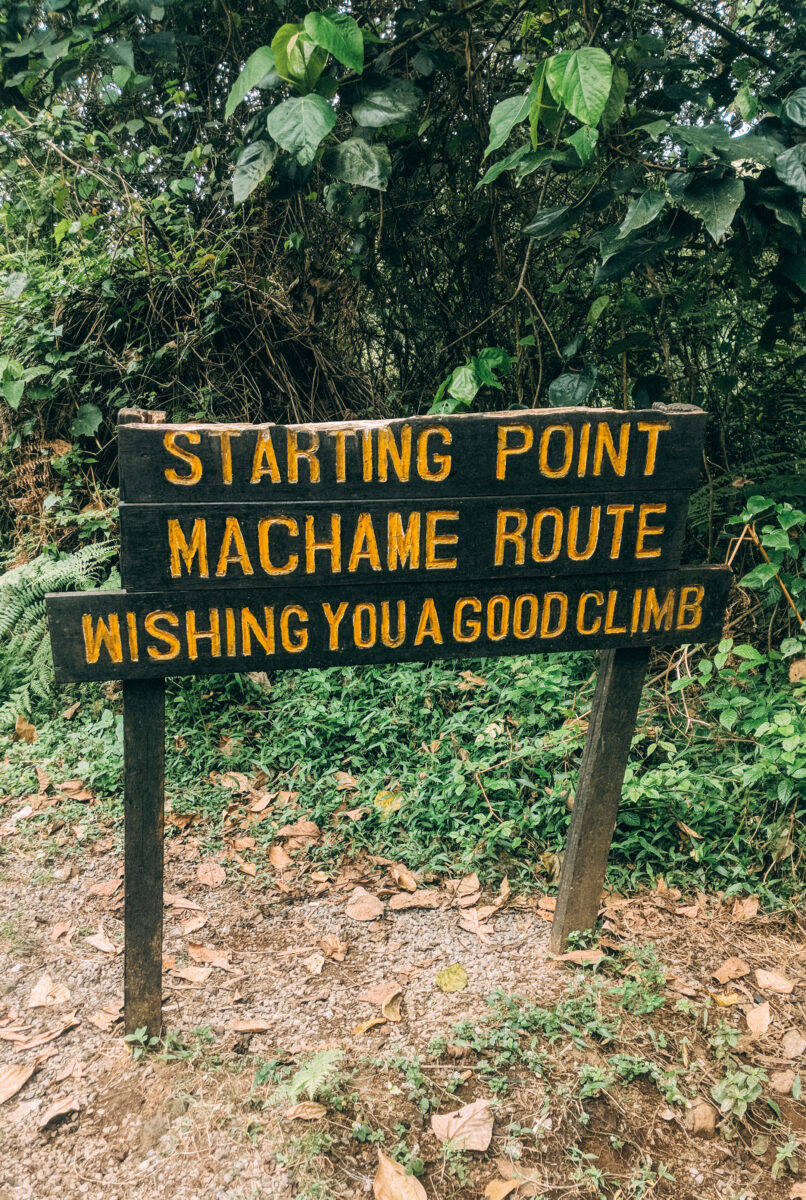
This is where it starts. After a lengthy van ride to the gate, everyone signed in, re-weighed their bag, and was given a boxed meal as well as a bottle of water. This was lunch for the first day, but we ate it there.
I didn’t fully understand the bottled water as no single-use plastics are permitted on the mountain. Instead, there were garbage cans overflowing with empty bottles. It would have made more sense if they had people drink their personal water bottle and then refill it from a tap before starting.
This first leg was simple. You start on a paved road before making your way into the jungle. You generally remain with your group though I did go ahead a few times so I could take pictures while waiting for everyone to catch up. Afterward, the head guide asked me to take someone with me if I wished to continue doing that.
Once you arrive at the camp, you’ll sign another logbook (they’re at each camp) so they can keep track of who is where and then go off to the tents for dinner.
Interestingly, these logs ask for your occupation. Being oh so clever, I was an astronaut, porn star, Christmas tree salesman, and an airsick lowlander.
Porters set up the tents, but everything else will be on you. After that, get ready for a week of terrible food and not enough calories. If you’re on the bigger side, this is where MREs (Meals Ready-to-Eat) can be a lifesaver. I ate one full bag per day, as well as a few high-calorie snacks, and I still lost a ton of weight. I talk about this in more depth in my Best Travel Tips post.
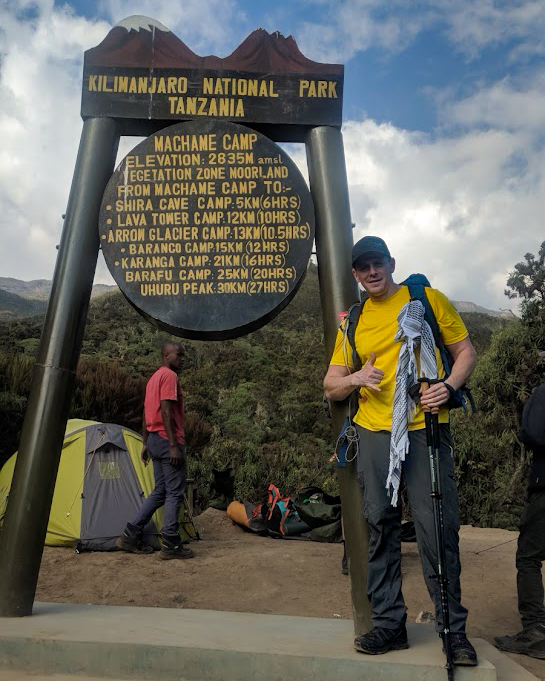
Day 3: Machame Camp to Shira Camp
- Hike Time: 6 Hours
- Distance: 9 km
- Elevation: 2,980m – 3,840m
- Habitat: Moorland
Hopefully, you slept because this is a difficult day. Not difficult in terms of the hiking itself, but difficult in terms of the altitude.
You’re already pretty high at this point, but this is when you get into the levels of oxygen depletion and possible Acute Mountain Sickness – AMS (altitude sickness).
The end of this day hit me hard. My head was killing me, my stomach was roiling, and I felt fatigued.
My pace slowed to a crawl, and I was the last to make it to camp. I had a guide with me, and at one point, he radioed ahead to a porter who came back to carry my bag for me. I’ll give you one guess how well that went.
In spite of my protests, he kept trying to physically take it from me until I snapped at him, “Don’t fucking touch me. I’m not having someone carry my bag for me on the second fucking day.” My exact words. Hey, I’m sorry, and I later made that known.
I was miserable and seriously hurting, but they both laughed and let me push through it. They understood. Embrace the suck.
When I got to the camp, the first thing I did was head behind the latrine, where I made myself throw up. It was a ton of stomach acid which I fully expected. This was the only time I flirted with AMS until after hitting the summit.
After…clearing my stomach, I felt much better. I then found and apologized to the porter I had snapped at.
He didn’t speak much English, but he understood what I was thinking. If I couldn’t make it through day two unassisted, then how would I be able to make it to the top? We shook, and I gave him a snickers bar which he loved.
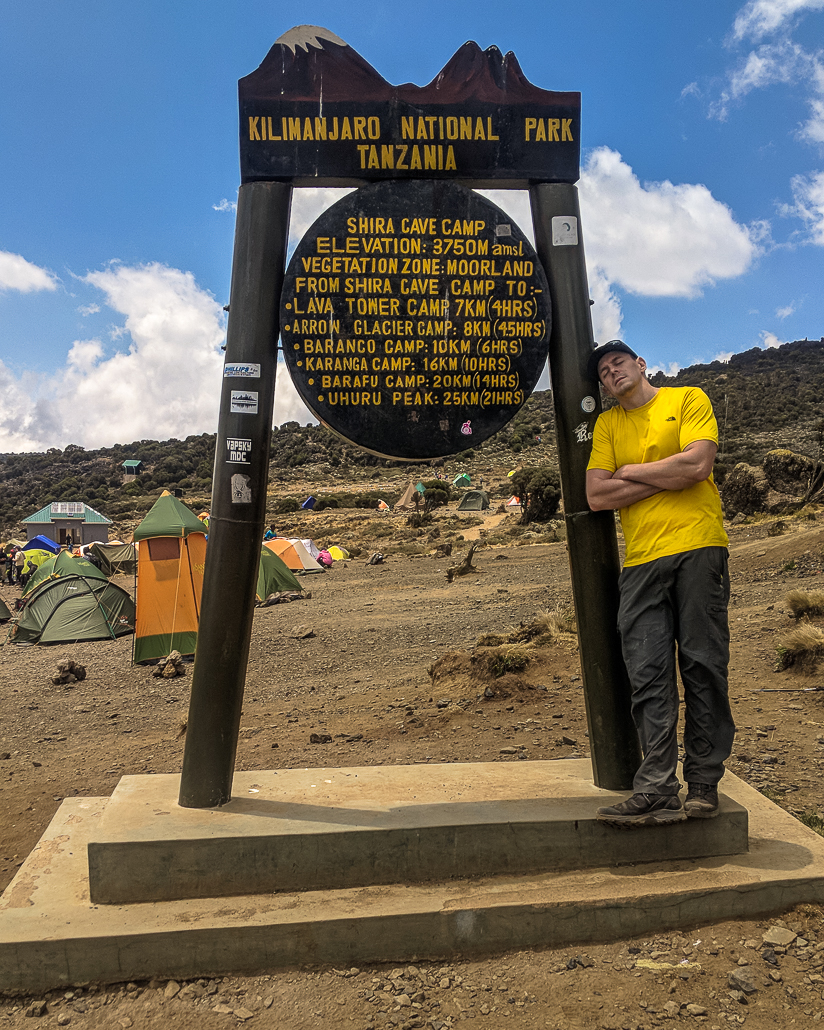
Day 4: Shira Camp to Lava Tower to Baranco Camp
- Hike Time: 7 hours
- Distance: 15 km
- Elevation: 3,840 – 4,630 – 3,950 meters
- Habitat: Semi-desert
As I went to sleep the night before, I worried about the possibility of getting too sick to continue climbing Mount Kilimanjaro. This does happen to people. Thankfully, I woke up the next day feeling on point. My stomach was fine, and my headache was gone. I attacked the day with a vengeance.
This is considered to be one of the more difficult days, but after my brief fight with altitude sickness the day before, I felt fine.
It’s considered to be difficult because it’s the second-longest day, and it gives you a pretty substantial altitude gain before dropping back down. This is the Machame route’s best example of climb high, sleep low.
The climate zone here is also referred to as the “Arctic Desert,” given the cold air and the endless lava fields. I personally didn’t find it very cold, but I also got no snow for my entire climb. I’ll stick with Semi-desert.
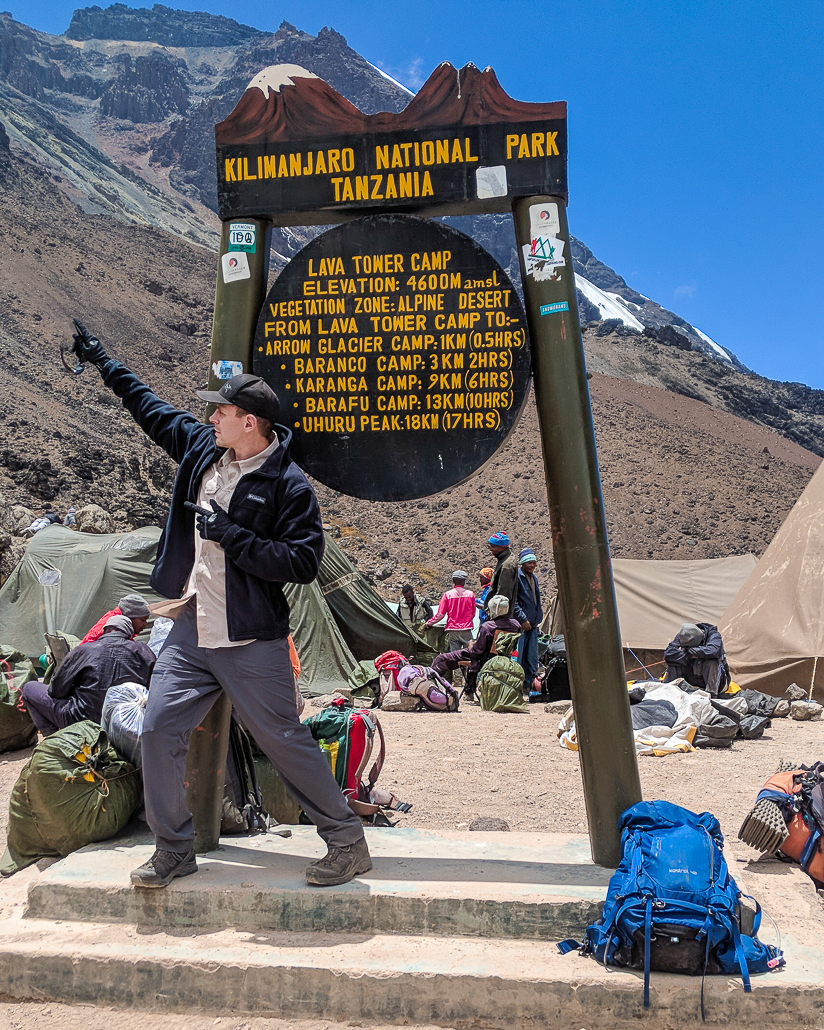
Lava Tower
At around the halfway point you’ll stop at the Lava Tower, which is exactly what it sounds like. It’s a ninety-meter-tall tower of lava that was formed by volcanic activity ages ago.
In the past, people were permitted to climb it for the panoramic views, but that has since been stopped due to safety reasons.
Instead, you’ll be having your lunch at the base of the tower at Lava Tower Camp. There will be tents here because there are trek options that include an extra acclimation day spent at the tower. Personally, I’m glad we skipped that because this is a big sleep-low opportunity.
One interesting thing to be aware of here is the white-necked ravens who hang out at the camp. They’re gigantic, extremely smart, and will steal your food if you’re not paying attention.
These ravens are so smart that they’re able to tell the difference between the porters and the climbers. They’ll hang around the climbers because they know that they’re less likely to protect their food and are easier to steal from. They also know that a climber is more likely to throw them any scraps.
From there things are pretty straight forward to Baranco Camp, though this day as a whole suffers from being able to see miles down the route as you walk. Actually staring the distance in the face and knowing how far you still have to go can be mentally draining.
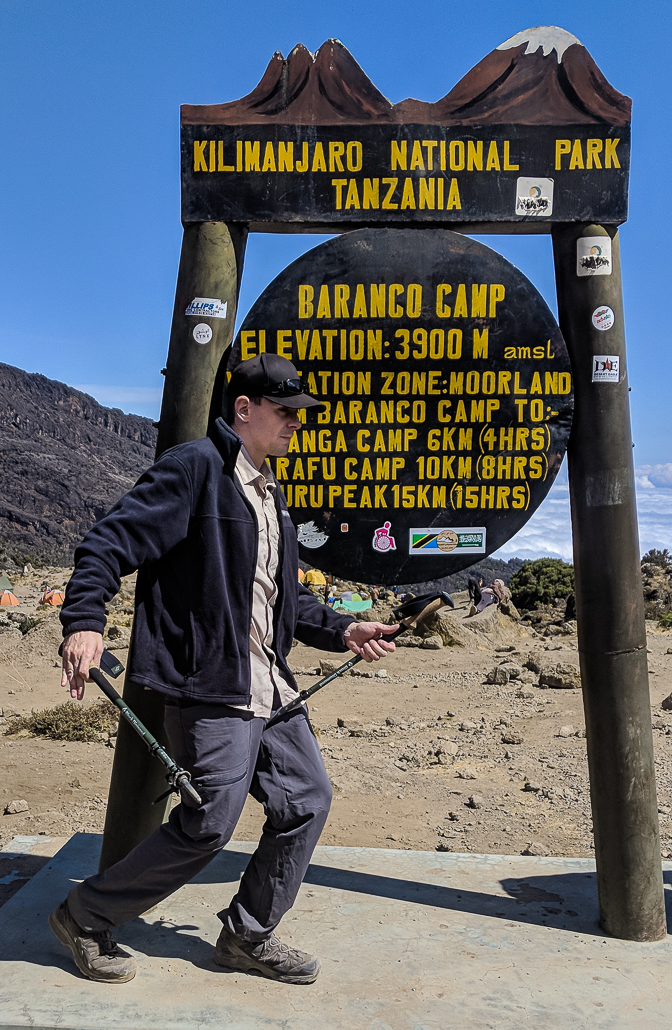
Day 5: Baranco Camp to Barafu Camp
- Hike Time: 7 hours
- Distance: 13 km
- Elevation: 3,950 – 4,550 meters
- Habitat: Alpine desert
This is the day that you climb the famous “Kissing Wall.”
By the time you get out of your tent, you’ll already see a long line of ant size people climbing up a wall off to the side of the camp. It looks steep and imposing, but don’t be concerned; it’s not nearly as bad as it initially appears. I personally was a little let down by that, but I knew nothing about this trek was technical.
Think of it more like scrambling up a series of rocks in a very long line of people. Don’t get me wrong; this was one of my favorite parts of the climb. Just don’t approach it expecting anything like a Via Ferrata.
The Kissing Wall
As for the kissing wall section itself, I read so much about it leading up to my climb. Other bloggers, writing about how heart-pumping it was. The rush of adrenaline as they hugged the wall and inched their way around the rock, your face so close to the stone that you could kiss it. The thrill!
I ambled past it without even noticing. We were about twenty feet farther up the trail when one of the guides asked me if I had kissed the wall. I recall my surprise (and disappointment) of that having been it. I ended up going back to have my picture taken on it.
This is something I’m not going to do to you. I’m not going to write an over the top heart pumping exaggeration of an experience. If it rips, I’m going to tell you that. If it doesn’t hold up, I’ll tell you that as well. None of the, “Would this be my last adventure!?” nonsense while in a perfectly safe environment.
From the kissing wall it was on to Barafu Camp. This was a fairly short day both in terms of time and distance, but that is by design, so you can get plenty of rest before summit night.
Mine didn’t, but some groups will continue an hour beyond Barafu Camp. This might be something you’d like to look into as it allows you to skip what’s one of the more difficult parts of summit night, a steep slog up switchbacks of heavy scree.
Instead, we went over the game plan for the upcoming summit night and headed to bed as early as possible for maximum rest.
I managed to sleep for about an hour and a half.
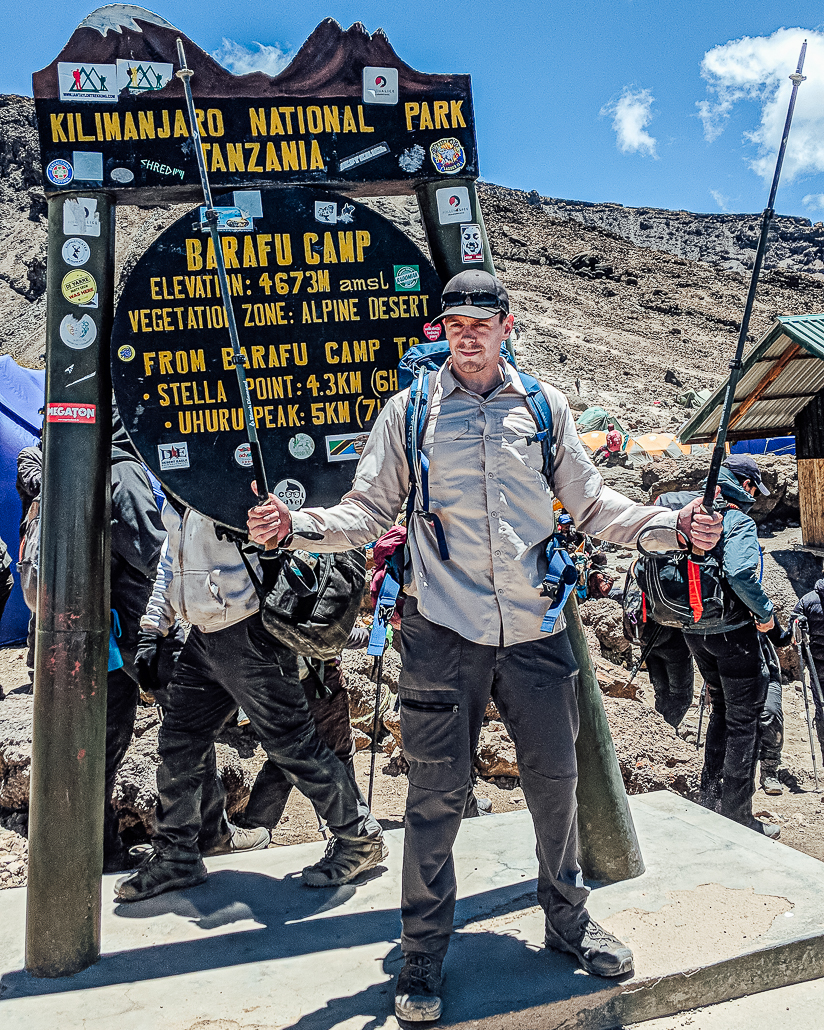
Day 6: Barafu Camp to Uhuru Peak to Mweka Camp
- Hiking time: 8 hours to reach Uhuru Peak, 7 – 8 hours to descend to Mweka Camp
- Distance: Approximately 7 km ascent – 23 km descent
- Elevation: 4550 – 5895 – 3100 meters
- Habitat: Stone scree and ice-capped summit
I personally would have loved to skip that first hour because, to put it bluntly, summit night is brutal. It’s a dangerously flawed concept that needs to go by the wayside in its current form. I’m not going to get into it in depth here, but I did already write a full post about it which I’ll share in the future.
That aside, you’re going to be waking up around 11:00 PM on the same day you arrive at Barafu Camp. After a light snack, it’s off into the night.
This is a long and punishing climb. The first six hours are the most physically and mentally taxing of the entire trek for most people. I wholeheartedly agree.
It’s steep, cold, and very windy. A Gore-Tex hard shell (raincoat) is a real difference-maker in this situation because a windproof storm-hood will protect your neck from the wind far better than a neck gaiter will. This was the only point where I wore my hood.
Along the way, I saw numerous climbers turn around. It was a sad sight to see because I knew just how long and hard everyone had worked to make it to that point. Nobody in my group turned back, but one party member expressed a strong desire to do so more than once.
Two of them also started randomly sitting down in the middle of the trail to rest. The guides pretty much picked them right back up and put them on their feet every time it happened. There will be breaks along the way but sitting in the middle of the trail isn’t exactly safe or practical.
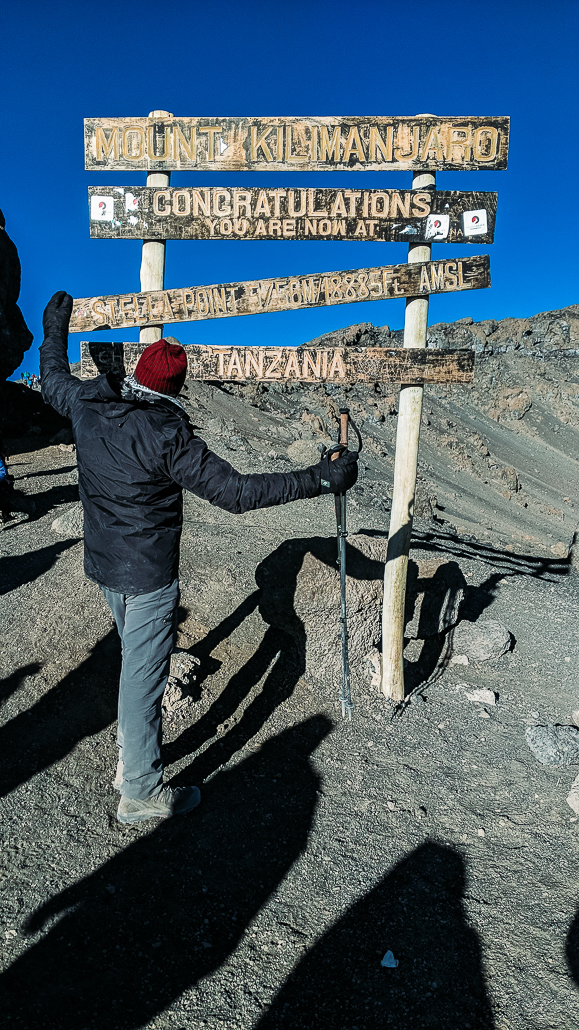
After around six or seven hours, we made it to Stella Point (5756 meters) on the crater rim. It’s here that, weather permitting, you’ll have a quick rest and eat a little if you can. Your blood sugar is going to be really low at this point, so try to have something.
The Goal of Climbing Mount Kilimanjaro – Uhuru Peak
From Stella Point, it was on to Uhuru peak and ultimate victory. Things really level out for these last two hours, and you only gain an additional 139 meters.
For my group, the sun was already up, the air was warmer, and the wind had subsided. Now it was just a battle against the elevation. By this point, we were taking a break around every five minutes. I couldn’t do it. Every time we stopped, my head started to hurt. I told them I couldn’t keep stopping like this and took off ahead with one of the guides.
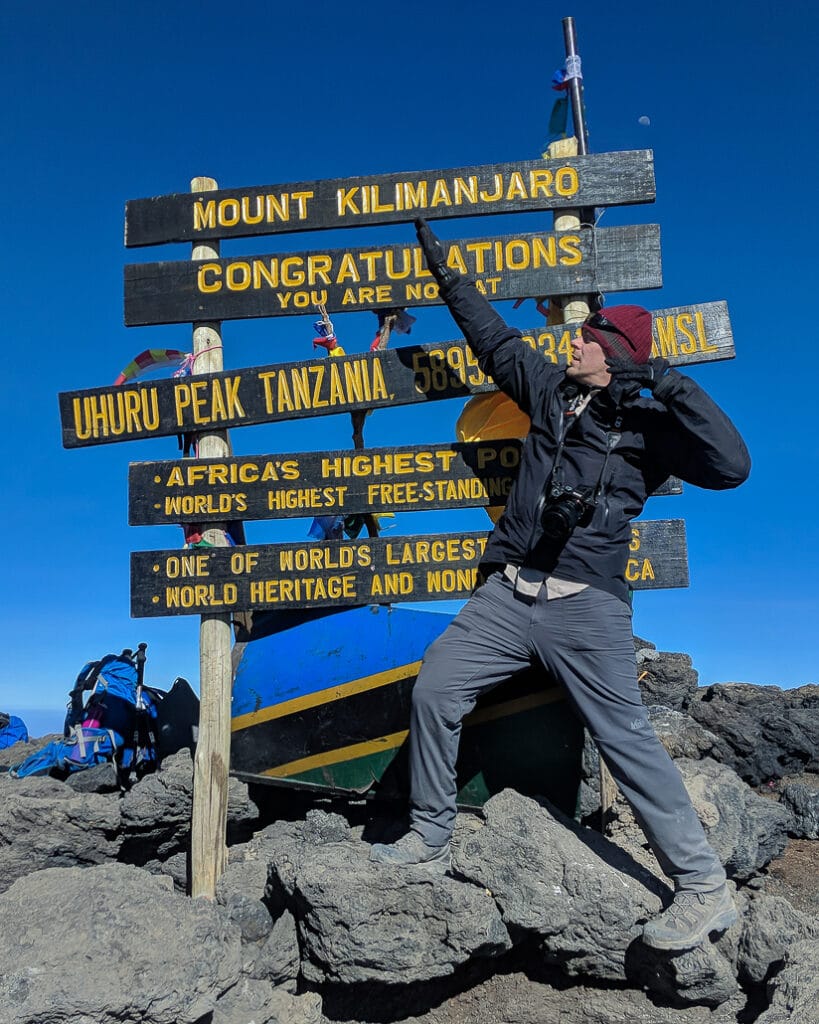
About thirty minutes later, the summit came into sight, and with it, that blissful satisfaction.
The culmination of climbing Mount Kilimanjaro.
While waiting for the others, I hung out at the summit, taking pictures probably for longer than I should have as AMS was slowly creeping up on me.
I might not have gotten along with one of the others, but I still wanted a group picture. Unfortunately, there was no snow, and the ever-shrinking glaciers had greatly receded over the past years, so most of the pictures I took looked like the surface of Mars.
Say what you want about climate change, but our guides were adamant about the fact that based on when we climbed, the majority of our last two days should have been covered with snow and ice. And that snow had been absent for the past decade.
Things of the past.
The Descent
The descent back to Barafu Camp will take most people around three hours. It took me four.
They say when climbing Mount Kilimanjaro that you shouldn’t stay at the summit for too long because the cold and fatigue make it difficult to get started again. For me, it wasn’t the cold or fatigue, it was the splitting headache that I had developed from the altitude. That combined with my low blood sugar.
A few power gels would have been clutch had I known to bring them. I actually added these to my packing guide.
The headache didn’t really kick in until I made it back to Stella Point. It was rough. My pace slowed, and every step was a throb in my skull, but I still didn’t give up my bag! Complete with my ten+ pounds of camera equipment that I was too nervous about leaving at the camp.
I had one main camera body, four lenses (one a 100-400mm telephoto), a GoPro, and a drone on me because I’m some sort of an adventure masochist.
One of the guides and a porter (the same one from the beginning) stuck with me, so I asked about taking headache medicine on more than one occasion. My guide kept saying no because it hides the symptoms of Acute Mountain Sickness, and you won’t know you have it.
Dude. I already knew I had it. Finally, I just took something regardless. He wasn’t thrilled, but my stomach was so empty that I began to feel better within minutes. My headache disappeared, and my pace quickened back to a normal speed.
Back to Barafu
After that, we made it back down to camp and safer altitude levels in no time.
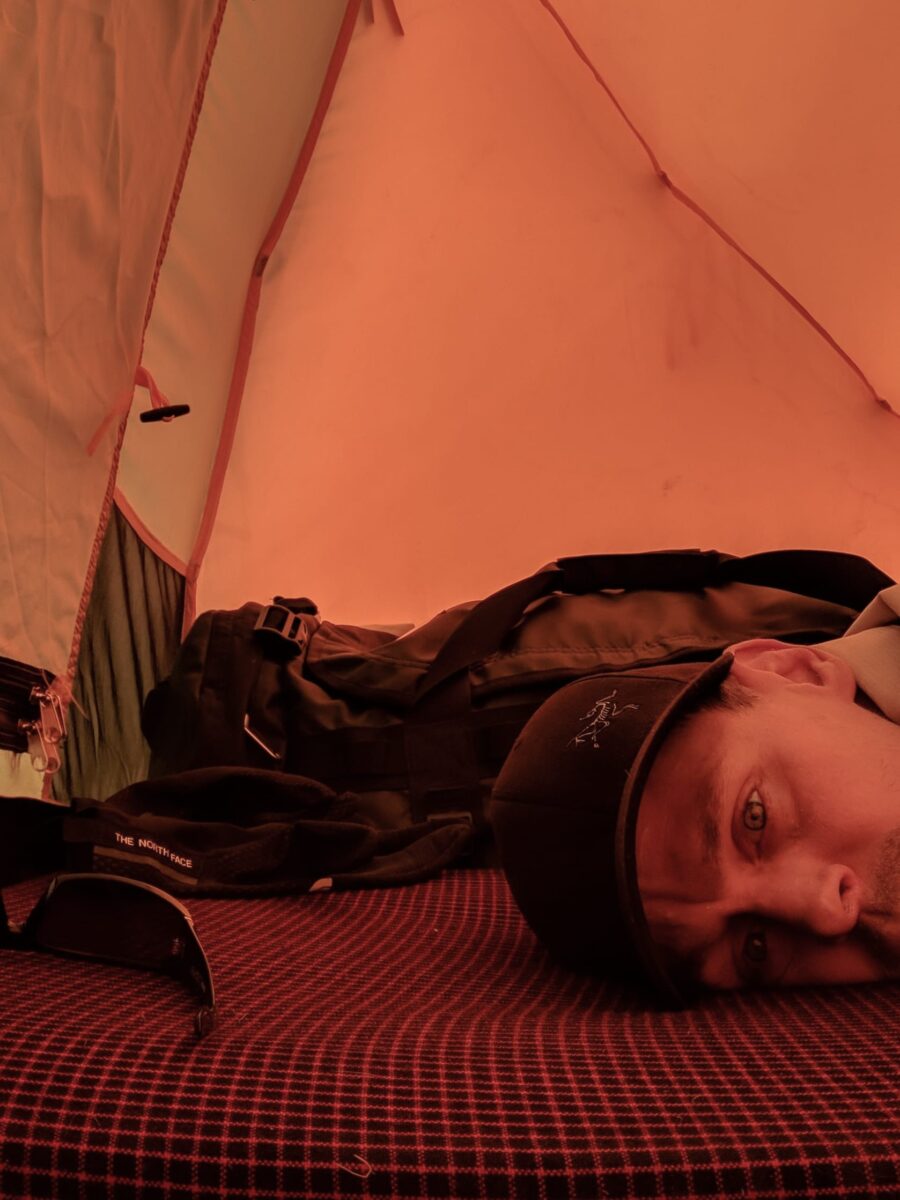
We stayed in Barafu Camp for about an hour, resting and recharging. While there, I took a twenty-minute power nap, and then after grabbing the rest of our things, we continued the descent to Mweka Camp.
I remember looking back up towards the summit in awe of how far away it looked. Reminiscing about how just a few hours ago, I had been standing up there on the Roof of Africa.
Shortly after, fog settled on the beloved mountain, and Uhuru Peak disappeared from sight.
Hiking through heavy fog for an extended period of time can be a surreal experience. This was only amplified by being in what is classified as a desert environment.
It was an endless expanse of dark grey in all directions on an empty, shattered landscape. I had no idea where we were or what direction we were headed. At one point, a rescue crew came flying out of the mist, pushing an incapacitated climber on a massive cart designed for emergency rescue.
I just followed my guide to camp, trusting that he knew where we were.
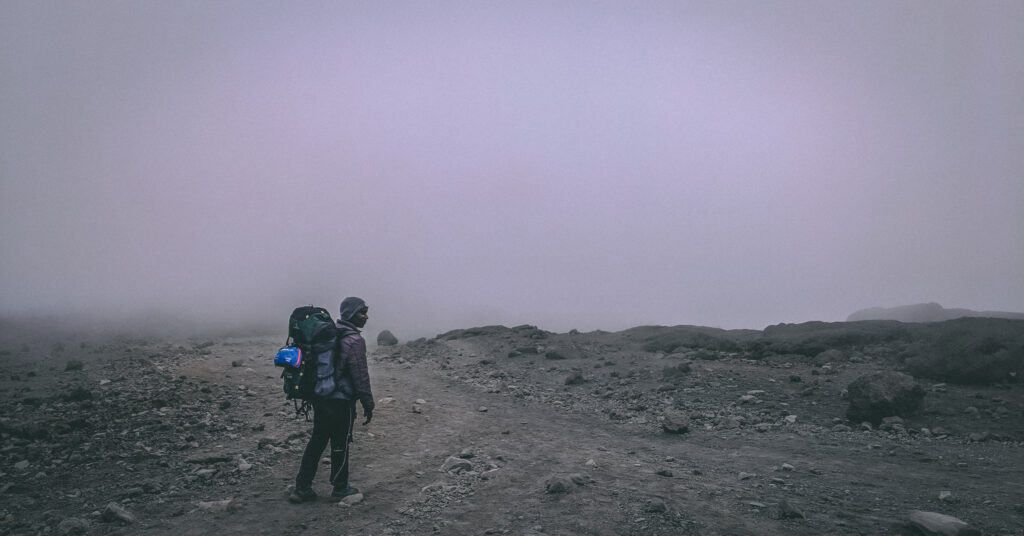
I got lost while climbing Mount Kilimanjaro!
No, it’s not quite what you’re thinking. I actually got lost for an extended period in camp of all places.
Camp size varies throughout the trek depending on where you are on the route. Mweka Camp, however, due to all routes converging there for the descent, was the largest I saw.
The fog never went away after arrival. Instead, it got thicker. Much thicker… and eventually, nature called. I recognized that navigating to and from the latrines would be difficult. Heck, I couldn’t even tell where they were. So I got some good directions from my guide, noted some landmarks and unique tents around our section of the camp, and set out.
I found the latrines easily enough. Getting back, however, was a different story. I went back in what appeared to be the exact way I had come from. The big orange tent, the weirdly bent tree, then…
Cripes.
I was lost.
As I said, this camp was huge and in almost no time I was wandering blindly, looking for any sign of our tents. After about twenty minutes of searching and more than one restart from the latrines, I started to get a little annoyed.
Eventually, I made my way to the edge of the camp and started walking in a rough grid. I say rough because with how things are laid out, you can never go straight for long.
This would have been a million times easier had visibility been more than four feet due to the fog. Often times you could see the front of one tent and not the other end.
I never worried. I knew I was in the camp and that I’d find our tents eventually. It wasn’t like I had fallen through the back of a wardrobe.
After a while, I found one of the obnoxiously large tents that belonged to a luxury operator. I knew those were very close to my camp. From there, I started to spiral around it, and eventually, I spotted the blue from our mess tent.
Crisis averted! I returned to camp like a conquering hero.
Other than the guide, nobody even noticed I had disappeared.
This is why it’s always important that someone knows where you’re going. Had I never found my way back, he would have known why I was missing.
Tipping and Gear Donation Ceremony
Many people choose to do this at the very bottom. We did ours at the camp because of me.
Independent of the gear I had planned on donating, I gave the assistant cook my shemagh since the head cook wore the same one. Pretty standard, black and white. At the start of the climb, one of the porters actually asked me if it represented Hezbollah. Dude… Seriously?
Anyway, I gave it to him so he could match his boss. I wanted him to have something extra because he was the hardest working guy in our party.
The girls saw this little exchange, so they decided to start the tipping then.
Now tipping is a touchy subject. There are standard amounts that are widely agreed on. If you don’t agree on the amount to tip, keep it to yourself, and tip by yourself. You don’t have to tip as a group. More or less, don’t force others to tip the amount you feel should be done. It’s not your money.
Since this post is already quite long, I have a separate article written about the tipping which I’ll be posting in the future.
As for the gear donation, basically, all of the porters line up, and you give away whatever gear you’re willing to part with. Everyone got something, either randomly or on request.
I gave the porter who tried to take my bag my fleece jacket, a pair of wool socks, and a carabiner. Other things I gave were leg gaiters which I never used, a pair of gloves, a t-shirt, another pair of socks, and another carabiner.
Socks are a popular request. Had I not been about to head off into the Serengeti for another week, I’d have given more of them.
I half wish I had brought some funny shirts with me to give out too because some of those we saw were quite amusing.
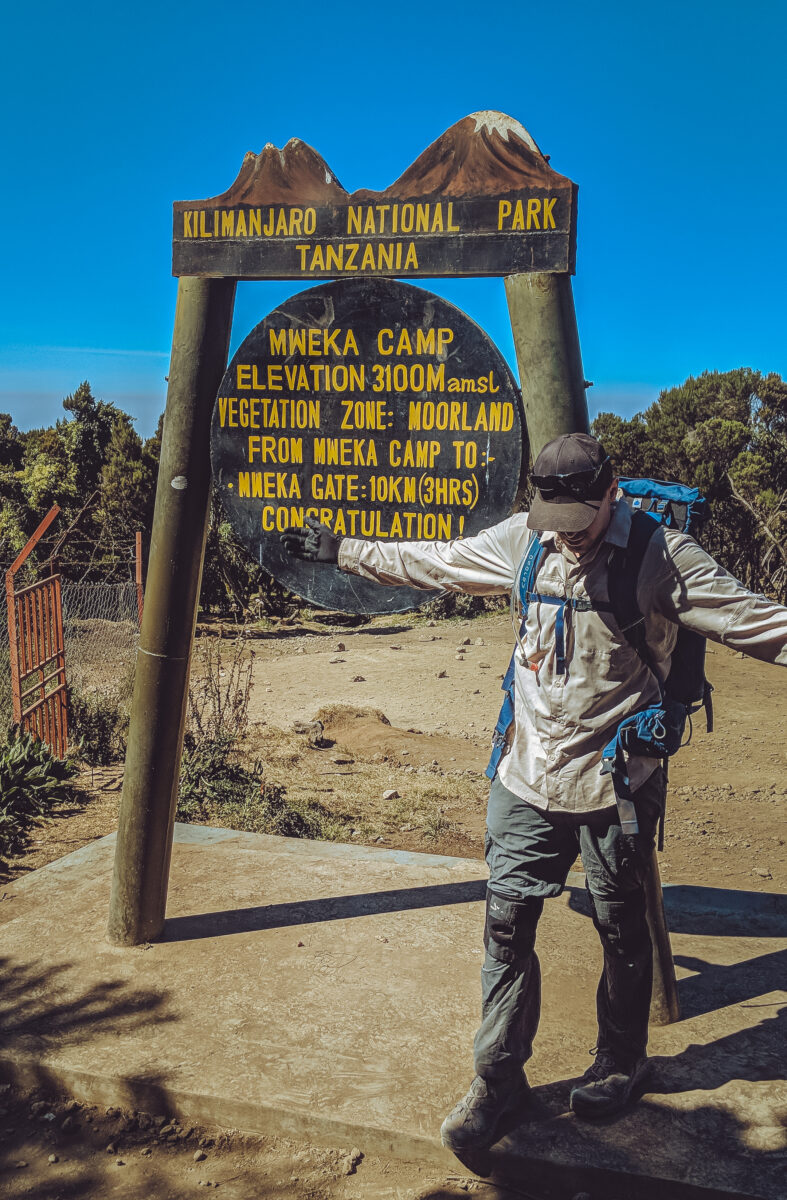
Day 7: Mweka Camp to Mweka Gate to the Hotel
- Hiking time: 3 hours
- Distance: Approximately 15 km
- Elevation: 3100 – 1980 meters
- Habitat: Jungle
The final morning.
Once again, up with the sun. Most of the sprawling camp was already disassembled.
From there, it was straight down to the gate.
Now you’d think that the descent would be easier than the ascent. In a way, yes. But overall, I’d disagree.
You see, climbing uphill for an extended period is far easier on your feet and legs than going down.
The reason you can make it down Kilimanjaro in only a fraction of the time it took to go up is because you’re basically walking straight down a steeper part of the mountain. No switchbacks. Just… down.
On its face, this isn’t bad. But after a while, your feet and toes pushing into the front of your boots start to hurt in a different way.
I came close to developing a blister on the top of my foot, and one of the people in my group had a toenail go black from the constant pressure on it.
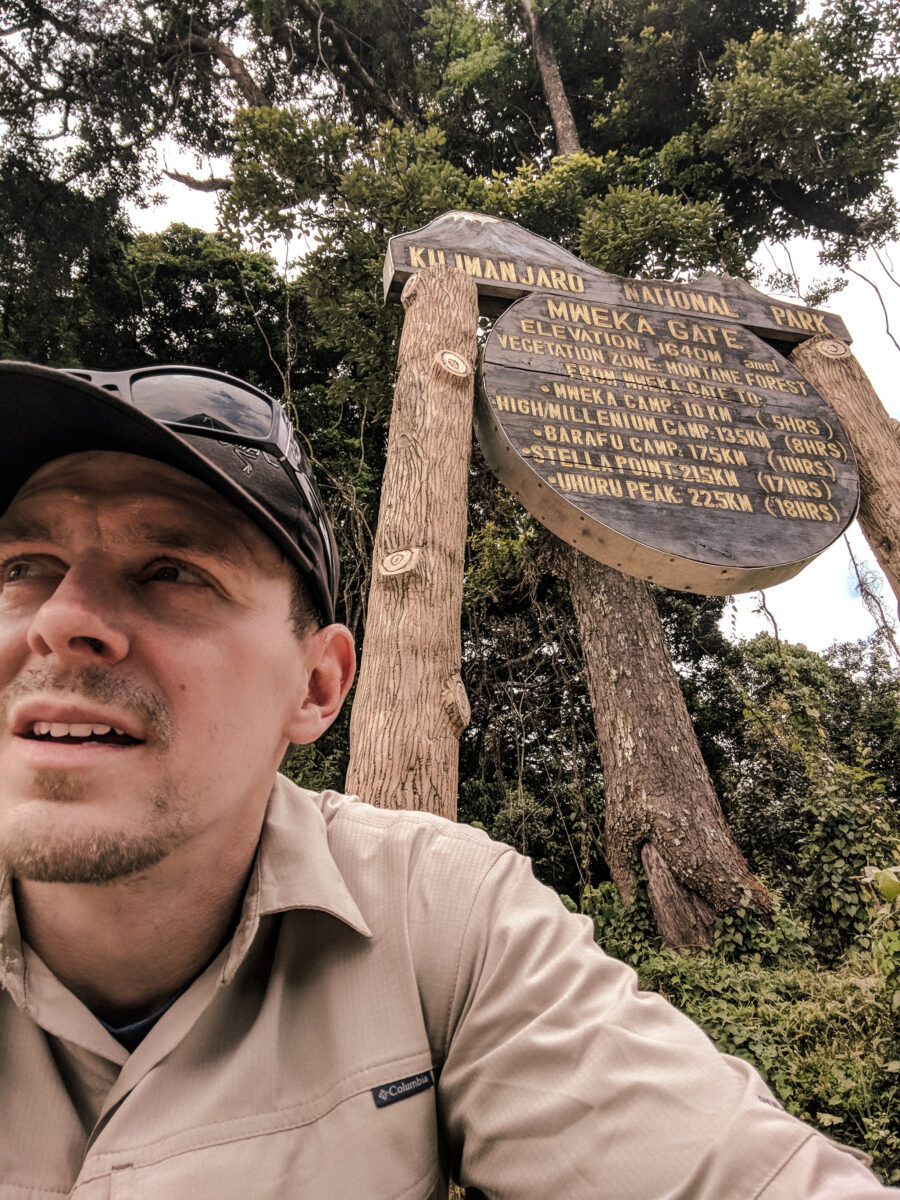
Watch out for traffic!
Before making it to the gate, an ambulance went speeding up the hill, presumably meeting another cart evacuation.
This wasn’t exactly a common sight. On the entire trek, I only saw a cart in use twice, about four people being half carried under the arms of two others, heard an unseen helicopter two or three times, and saw the one ambulance.
Given the number of climbers on the mountain at any given time, this isn’t a lot. But it does happen, so be ready for the possibility.
Unfortunately, someone did die on the mountain while I was there in a paragliding accident from the summit. It was tragic and sad to hear. I wasn’t present and only learned about it from a friend I made after the climb.
R.I.P. Brother
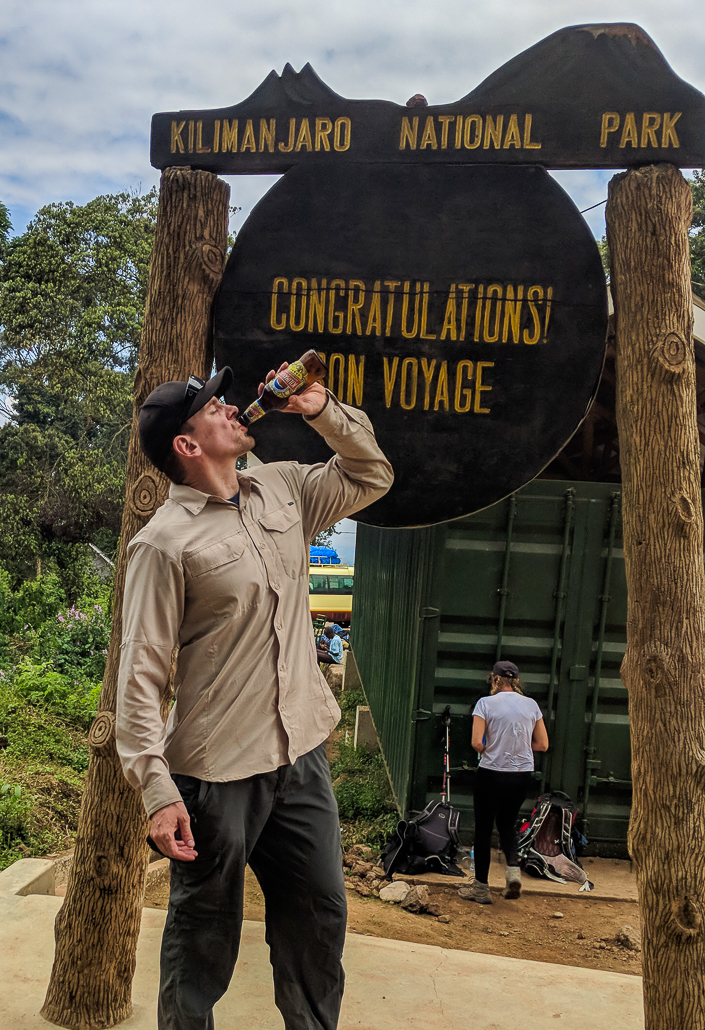
Victory beers
At last, my amazing trek had come to an end. At the gate, we met with one of the managers of the tour who had local Kilimanjaro brand beer waiting for us.
After pictures all around, we piled into a vehicle, and it was time to leave the mountain. We did make a few stops along the way. We hit the gear rental shop, a souvenir store, and tried some homemade banana beer before being brought back to where we were staying.
Day 8: Departures to New Adventures
The final day will just be spent at your hotel. I opted to stay somewhere different from the rest of my group as I would be continuing on alone with multiple safaris before flying to Zanzibar. I also needed to be away from my “favorite” travel partner of all time ASAP. Blissfully, karma is real.
*Notes* The times and distances listed above are all approximate and relative. Some groups will obviously be faster than others. Mine was slow as can be. As for distances, check ten operators, and you’ll find ten different distances. I used the ones listed by my operator: Oreta Adventures
So what do you think about Climbing Mount Kilimanjaro? Is this something you think you’d like to do? Let me know in the comments below, and don’t be afraid to ask any questions!
DID YOU ENJOY THIS ARTICLE? PIN IT!

I have to admit, I’m pretty jealous of this one. I’d love to climb Kilimanjaro but this has always seemed like such an expensive trip to take. And now you’re telling me that there’s no budget options heh
Hello! Yea, I’m sorry to say, but any way you shake it, Climbing Mount Kilimanjaro is going to cost you a pretty penny. Any operator labeled budget shouldn’t be used or trusted. I’ve got an upcoming post about exactly that!
[…] you were wondering, when I climbed Mount Kilimanjaro, the company I used was Oreta Adventures, and I couldn’t recommend them more highly. […]
[…] what my favorite destination is, I always list Tanzania for the pure adventure. While there, I climbed Mount Kilimanjaro, went on four safaris, saw four of the big five, and got my Advanced Open Water Diver […]
[…] cover this more in depth in my main Climbing Mount Kilimanjaro post, but anything you don’t want to risk getting stolen needs to go with […]
[…] depending on your pace. For comparison, the largest single-day elevation gain I encountered on my eight-day Mount Kilimanjaro Trek was summit night which, was only a 4,045 foot gain in about eight or nine […]
[…] climbing gym doesn’t want me putting anything rented on my feet. It’s the same with the sleeping bag rentals on Mount Kilimanjaro. […]
[…] 2 activities over the years, the best example of Type 2 Fun that I’ve ever experienced was climbing Mount Kilimanjaro. Particularly summit night. It was miserable. I was freezing, tired, exhausted, and loopy from the […]
[…] probably came the closest with my climbing of Mount Kilimanjaro, but that’s more prolonged hiking at altitude, with no technical skills needed. We also had […]
[…] I climbed Mount Kilimanjaro, reaching the summit was incredible. The feeling that rolled through my body after that week-long […]
[…] it further, I’d say Tanzania just for the sheer amount of adventure I had there. While there, I climbed Mount Kilimanjaro and learned about Type-2 Fun, took four different safaris, got my advanced open water SCUBA […]
[…] already had an Africa trip in the works so that was out, Australia was too far away for such a short trip, and I didn’t want […]