CLIMBING EQUIPMENT
When I climbed Mount Kilimanjaro, reaching the summit was incredible. The feeling that rolled through my body after that week-long battle was intense. I knew that I had to experience it again, and I knew where I had to start.
I needed a new set of skills that would let me further my pursuit of summiting big mountain peaks.
To do this, I needed to take a course and study under seasoned guides who would teach me… umm… how not to die? Too blunt?
Anyway, mountaineering requires more than just the gear I used on Kilimanjaro. Things also needed to be more specialized now as well, because there is no porter to carry a bag for you.
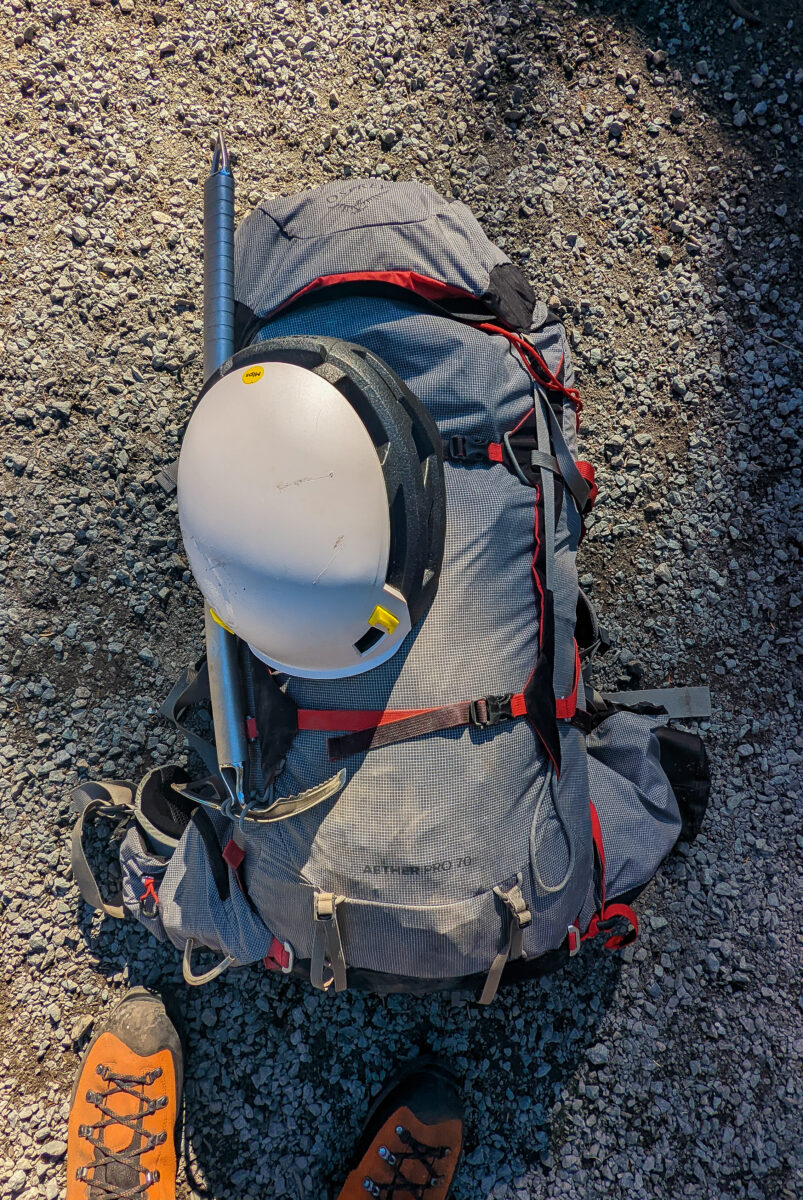
My pack and 100% of the gear I brought. Slim, trim, and efficient.
Why care what I brought?
Well, much like with my Kilimanjaro list, I’m including why I chose certain things. Usually, when I see gear lists, they’re little more than a list. They don’t even tell you what anything is for. For example, take the Mont Blanc gear list I was recently provided for my upcoming climb.
It contains two items in particular, a survival sack, and a survival sheet. Neither of which is what an American would expect it to be.
It was just another dry list with none of the love. I’m not putting anyone on blast, but there were people on Baker who didn’t know about the almighty pee bottle. Or something I learned of on this trip, the pee bag. I’ll get to that, but I wouldn’t recommend it based on what I heard!
Now you may notice the lack of a stove or tent on my list. Well, for the mountaineering course I took, I used the operator Northwest Alpine Guides and they maintain a fixed tent camp throughout the summer. This will save you some weight, but if I had needed to bring either, I would have more than managed.
Now let’s look at my Mount Baker Gear List so we can dive into some Type-2 Fun!
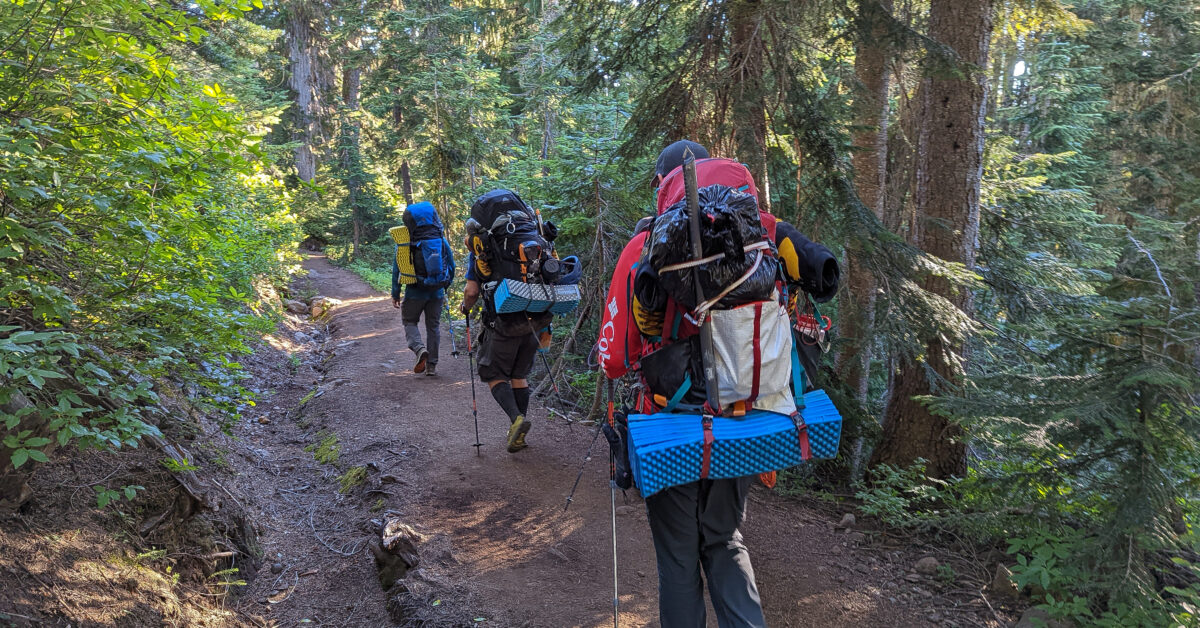
My teammates with their large, over stuffed, and super heavy packs. And this was taken on the way down so they aren’t even loaded with food! Why break your back with this? The one at the front is my guide Ryan. You can see that his pack was done right!
Climbing Gear
Climbing Gear is the newcomer to my gear guides, so I’ll start here. How much of it you’re bringing depends on how technical the climb is, but Mount Baker is pretty basic in terms of what’s necessary.
ICE AXE

Black Diamond Raven Pro Ice Axe To start, you’ll need a general mountaineering ice axe. There are several sizing guides that you can follow, but what length you need depends entirely on who you ask. The classic standard is to have the pick reach the center of your ankle as your arm hangs down at your side.
Now, however, axes are trending shorter, both to shave weight and to aid you in your progression, as certain more technical mountains do require a shorter axe. My opinion on that? Get the axe that fits your climb. Need something shorter for your next mountain? Deal with that when it comes up.
Compared to the other things you’re going to need, they’re relatively cheap. Plus you can usually rent one.
I am 6’0″ tall and my spike fell to the top of my boot, which is a good length. But, as she said, I would have liked a few more inches for Baker. 2-3 more would have kept me standing straighter with less hunching over whenever I needed to stick it in the snow as a third point of contact.
I already bought the next size larger axe to use when I climb Mont Blanc.
Crampons
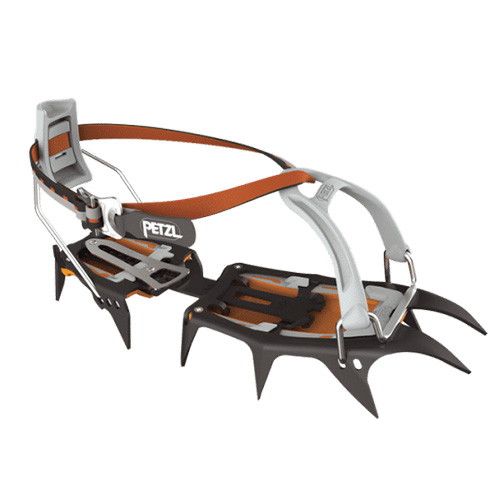
Petzl Vasak These modern, general mountaineering crampons with 12-points and anti-balling plates will give you excellent traction and support.
Anti-balling plates are mandatory for any crampons you use, but no worries as they now come pretty standard. These plates keep the snow from accumulating beneath your boot to the point where it negates the crampon’s effectiveness.
They made it clear that 10-point, aluminum, or single-piece rigid crampons aren’t good enough.
ACCESSORY CORD
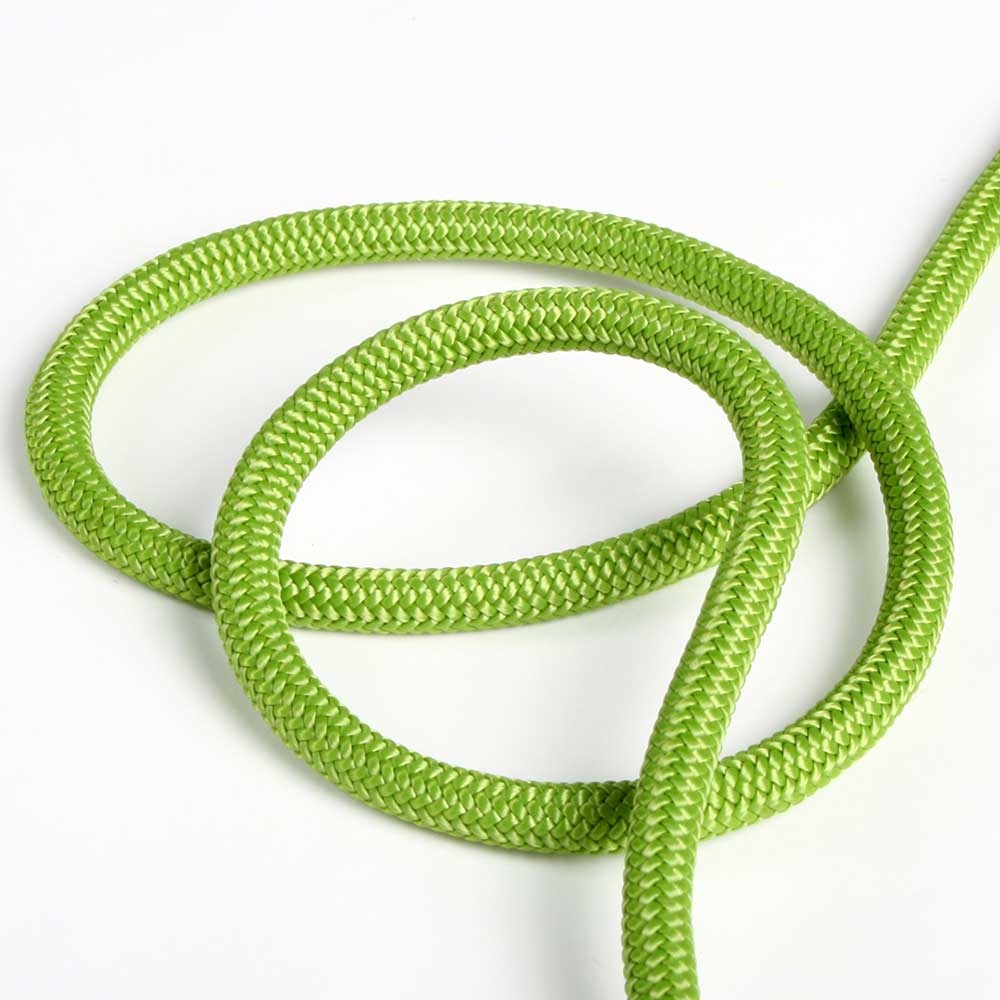
Petzl 6mm Accessory Cord 40 feet of 6mm accessory cord which will be cut into prusiks. This cord needs to be soft, flexible, and supple for easy manipulation both bare-handed, and with gloves on.
Most operators will sell their own personally recommended choice of cord. The cord we used was made by Petzl. Premade prusiks are also available on the wider market, but they still wanted extra cord as it would be used for additional things. Any extra we had just hung from my harness untouched.
This is one of the more specialty items that was used during the crevasse rescue portion of my mountaineering course only, but prusiks are often carried by climbers as a, “just in case” option. Even though they aren’t on my necessary gear list for Mont Blanc or Mount Rainier, I will be bringing two with me regardless.
ALPINE CLIMBING HARNESS
Petzl Tour An alpine climbing harness that is designed to be light and fit over all of your clothing. It’s going to need gear loops with adjustable leg loops and a waist belt. It also must be able to fully separate at the legs. This last part is important because you’ll be putting it on and taking it off over your boots.
The Petzl Tour harness I used was admittedly, a rental. I prefer the blue color, but I have since made my purchase for climbing Mont Blanc and Rainier. I went with the Petzl Altitude (pictured above) instead as it is slightly lighter.
One important thing to understand about these harnesses is that they are super minimalistic. They have absolutely no padding and are made of webbing and little else. This is because they are designed to be as lightweight as possible.
Given this, these aren’t harnesses you’d want to use for any type of rock or ice climbing. While wearing them during crevasse rescue training (if you do it), you’ll feel it in your legs. They are uncomfortable as heck and not designed for prolonged hanging/comfort.
LOCKING CARABINERS

Petzl Attache 3D Screw-Lock Carabiners Four (4) large screw-locking carabiners are required for the mountaineering course. If you’re doing the three-day summit climb only, then you’ll only need two (2).
You’ll be using two of these with opposing gates to connect yourself to the rope as your team climbs the glacier.
I’m the sentimental type and the Attaches were what I learned to climb with as a teenager, albeit an older model. Much to my envy, I spotted that my guide Ryan had one of them still. He said he’d sell his firstborn before parting with it. Kindred spirits lol
STANDARD CARABINERS
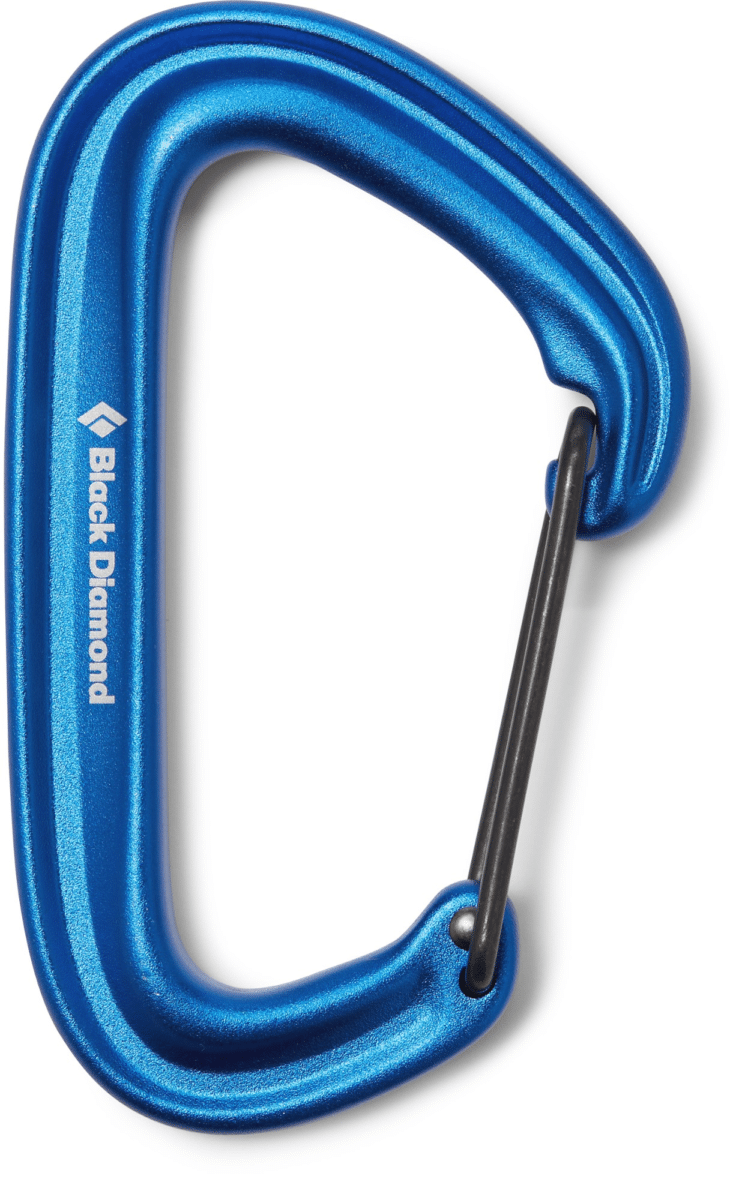
Black Diamond LiteWire Carabiner Four (4) non-locking, wire gate carabiners.
These are only necessary if you are taking the mountaineering course. These are used during crevasse rescue and while setting up anchors.
Everyone just brought a five biner rack pack by Black Diamond, except for me. I used the same type, I just paid extra so they’d all be the same color.
While I do own dozens of quickdraws and random biners from my active rock climbing days, I wanted the lighter wire gates. I never owned any wire gates before because I didn’t like sport or trad climbing on them.
For the life of me, I couldn’t tell you why, but seeing as I was a teenager, I’m sure I had a perfectly illogical reason.
Oh, and by the way, I rack gates in. Fight me.
BELAY DEVICE (OPTIONAL)
Black Diamond ATC-Guide A modern tube-style belay device for belaying and rappelling. Belay devices with a guide mode are preferred, as they can be set up as a regular belay device or they can be set up in a way that locks automatically if a climber falls.
This is another item that you’ll only need if you’re taking the five-day mountaineering course.
I chose the Black Diamond ATC-Guide through past experience with it. I’ve always found it to be a solid device. Just be sure to check with your operator which device you should bring as the ATC-Guide is designed for 8.1-11mm rope diameters while the ATC-Alpine Guide Belay Device is designed for 6.9-9mm ropes.
TREKKING POLES

Black Diamond Alpine Carbon and Cork Trekking Poles Collapsible three-section trekking poles with snow baskets.
You’ll want three-section poles because they give you far more adjustability than ski or two-section poles offer. The need for three sections comes from the grade of the slope. On summit day you’ll only be using one pole, while your other hand will be holding your ice axe.
Then, should you choose, (most do) you’ll leave it at the crater while you climb the steep Roman Wall and head to the summit. Should you wish to keep it with you, however, fully collapsing it will allow you to store it in your bag.
You’ll also want snow baskets for the tips. These are wider than the standard trail baskets and are similar to what you see on a ski pole. This keeps them from sinking into any fresh snow, a real possibility early in the season as Mount Baker is officially the snowiest place on earth.
These poles are on the expensive side, but they’re strong, light, and I’ve been using the same pair for about five years now.
FOOTWEAR
MOUNTAINEERING BOOTS

Scarpa Mont Blanc Pro GTX You’ll need crampon-compatible, full-shank, insulated leather or synthetic mountaineering boots.
These boots feature a super-tough leather upper with an integrated cuff gaiter that protects and performs over snow, ice, and mixed alpine terrain, and they kept my feet toasty as can be. Not once did I have to do the toe wiggle.
These are single boots, but double boots are needed in the early season of May and June when it’s far colder. They also listed doubles for late September, but 100% of the people I saw were wearing single boots and we were the second to last expedition of the year.
If you arrive at your gear check with single boots and the weather is too cold to allow them, you will be asked to rent double boots. Not the end of the world, but I’d rather arrive with the proper boots, so it may be prudent to check in advance.
GAITERS

Outdoor Research Rocky Mountain High Gaiters Unless you’re wearing a boot that includes a built-in gaiter, you’ll “need” full-sized, waterproof gaiters that fit snugly over your boots.
I BROUGHT these gaiters. Did I use them? No. They never even left my bag. My other four team members all wore gaiters, and I don’t know if this is a controversial opinion, but I hate them.
Aside from trying them on, I’ve never used gaiters. I just haven’t seen the point. In years of hiking, I’ve never gotten anything in my boots.
It was the same on Kilimanjaro. I didn’t use them at all and ended up giving them to one of the porters. I’ll never bring gaiters again unless they’re mandatory due to deep snow.
My guide did say that they help with preventing putting any holes in your pants from crampons, and that is true. I snagged my pants once or twice and did end up with a little pinhole in them, but that’s not enough to change my mind. If I rip my pants bad enough I’ll just get a new pair.
The only place I could see that being an issue is maybe if you’re wearing expensive GORE-TEX rain pants and accidentally rip those. I’ll take my chances.
HIKING SOCKS

REI Co-op COOLMAX EcoMade Midweight Hiking Crew Socks It’s recommended that you bring two to three pairs of midweight synthetic hiking socks and one pair of heavyweight hiking socks which are for summit day.
I brought three and one. My feet are something that I don’t mess around with. I almost always pack on the high end where socks are concerned.
I usually use the darn tough wool hiking socks, but this time I took a synthetic REI sock which I liked more. The reason for the switch is that I’ll occasionally wear the DT socks I own at work so I wanted something a little newer and squishier.
The DT socks are also much tighter, though that may just be due to shrinking. I tried to avoid putting them in the dryer, but in times like having laundry service in a hotel, it becomes progressively more difficult to stop it from happening.
The heavyweight sock I brought for summiting was the Smartwool Mountaineering Crew Socks.
Some people like to use a pair of liner socks on summit night. I didn’t and was fine.
LIGHTWEIGHT TRAIL SHOES

Trail shoes can be worn for the first few miles of the trek before you reach any snow. If you’re going in May or June when there’s snow, you won’t need these as they’re typically more of a July through September thing.
They need to be sturdy and supportive enough to hike with a heavy pack. Regular street or gym shoes aren’t acceptable.
Everyone else had trail shoes, but I didn’t bring them. If I did, I probably would have brought something like the Salomon X ULTRA 4 WIDE GORE-TEX pictured above.
I had worn my mountaineering boots enough at this point that I knew I would be fine wearing them the whole way up. Had I used rental boots, my opinion may have changed because I wouldn’t have known their comfort level.
I did, however, bring a pair of light flip-flops for wearing around camp so I wouldn’t have to wear my boots the entire time.
TECHNICAL CLOTHING
UNDERWEAR

Calvin Klein Boxer Briefs Two to three pairs of underwear are recommended. I brought four, including the pair I wore on day one. I like to stay fresh. Like with the socks, you don’t want cotton. Moisture-wicking synthetic or wool fabrics only.
These are just what I wear in my day-to-day life. You now know what kind of underwear I wear. Don’t blush.
BASE LAYER BOTTOM
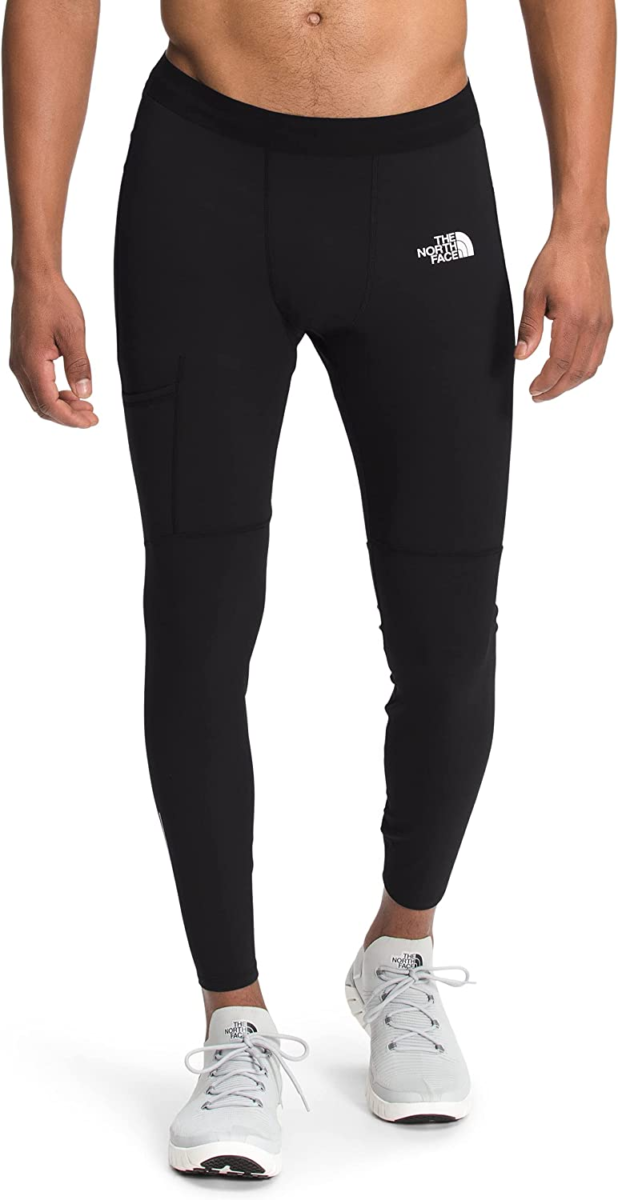
The North Face Cold Gear A base layer bottom that is made of moisture-wicking material. While these are on the packing list, I was told I wouldn’t need them.
I needed them.
These, combined with my softshell pants gave me the perfect amount of warmth to make it to the summit while still being aware of the cold at the higher elevations.
For the early season climbs you may want to bring the tops and bottoms, but for September, I brought bottoms only. They were the warmest set available by The North Face and I was completely satisfied with them.
The sizing is a bit difficult to nail down so it might take a try or two. I physically had to go to a North Face store and try them on to figure out what fit me.
Unfortunately, while TNF does still sell the pair linked and pictured above, I believe they have discontinued the specific pair I use.
These were the same pair that I wore on Kilimanjaro.
LONG SLEEVE SUN SHIRT
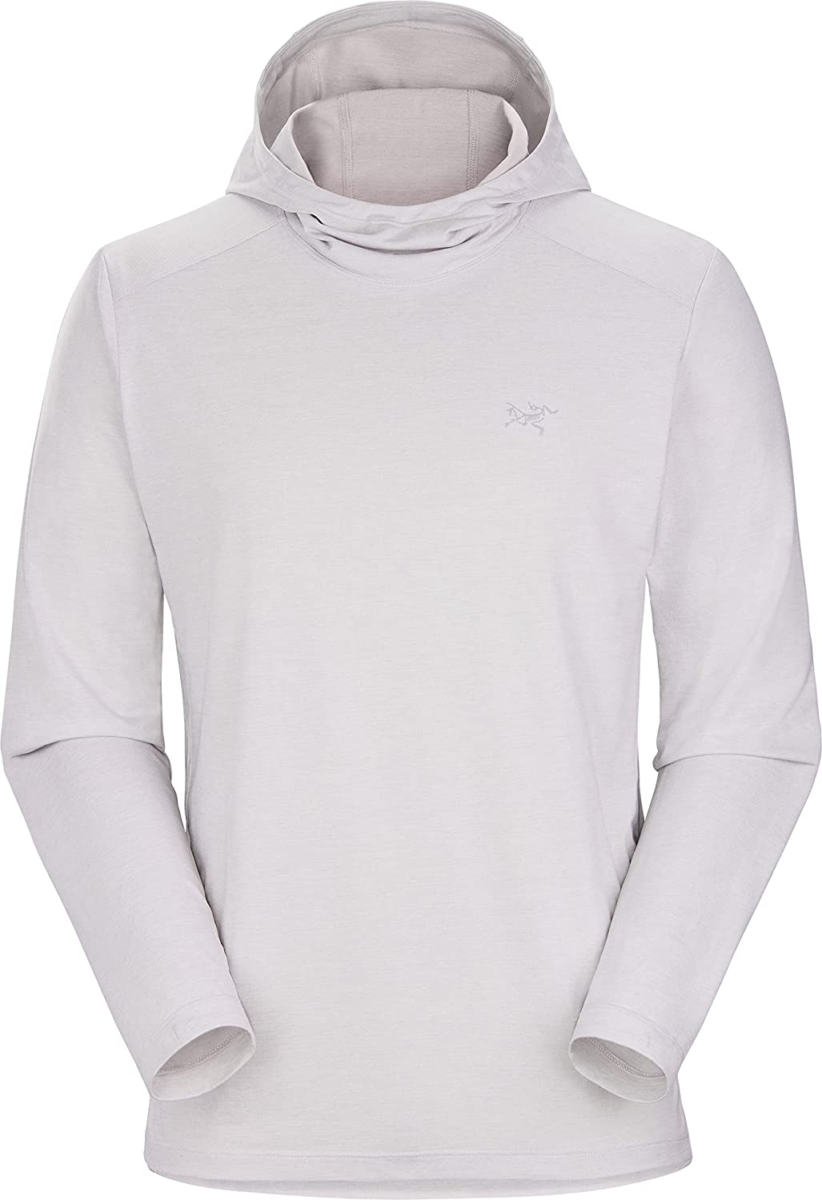
Arc’teryx Cormac Hoodie Two long-sleeved, base layer tops/sun shirts. You’ll want something light and synthetic that provides UPF sun protection. Helmet-compatible hoods are strongly recommended. You’ll see these being worn by literally everyone.
My guide only had one, and I would have been fine with one as well. For the five-day course, two were recommended in case the first gets wet since you’re going to be rolling around on the glacier and in the crevasse a lot. For the three-day, summit-only climb, I’d only bring one.
With the Cormac, the fit is good, they’re light, comfortable, the hood is cut for going over a helmet, and they provide UPF 50+ protection. Plus, they look great, which as we all know, is what’s most important.
SOFTSHELL PANTS

REI Co-op Activator V2 Soft-Shell Pants Stretchy, comfortable, non-insulated soft-shell pants that can fit comfortably with or without your baselayer bottoms. Softshell pants are the gold standard when it comes to breathability, stretch, and comfort.
These aren’t to be confused with light-weight hiking or travel pants such as the Columbia Silver Ridge which I frequently wear while traveling. These are heavier hiking pants that will give you a little extra warmth and the durability you’re going to need.
HARDSHELL PANTS
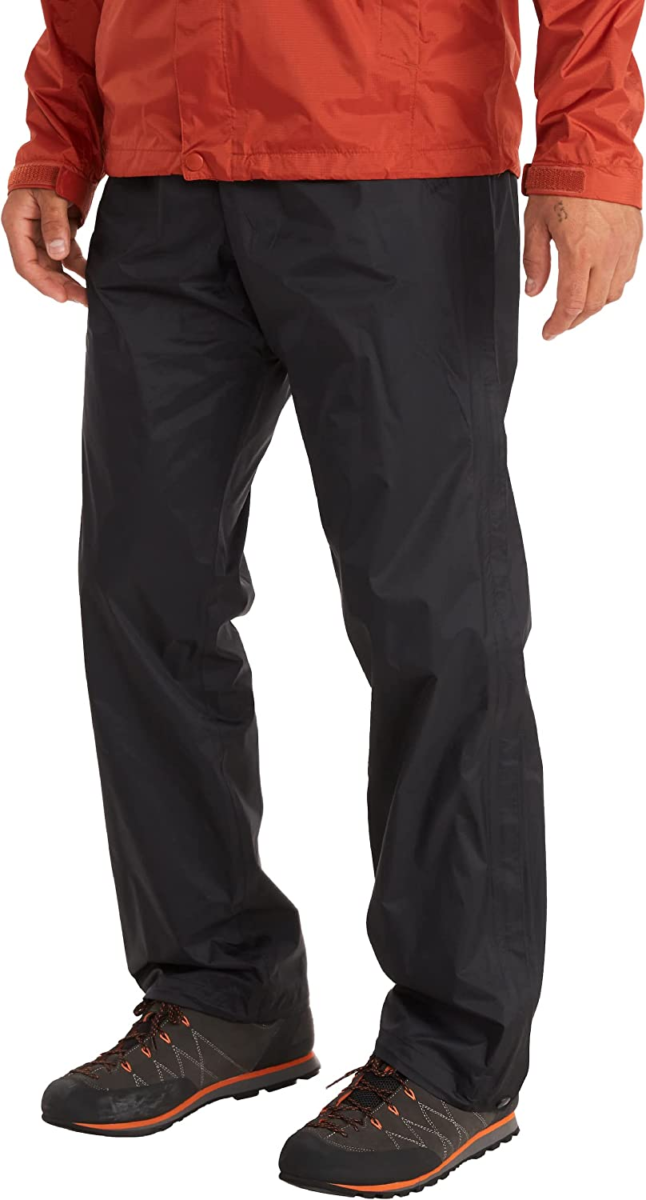
MARMOT PreCip Eco Full Zip Pant A non-insulated, fully waterproof shell pant that fits comfortably over both your base-layer bottoms and softshell pants, with full-length zippers.
Full-length side zippers are important. Have you ever tried to pull a pair of pants on while wearing boots? It’s not happening. So now picture if you may, an unexpected downpour in near-freezing temperatures. Do you want to take your boots off in that? Hip height zips can theoretically work, but they’re not recommended for use with crampons.
These pants aren’t Gore-Tex, and that would have been my choice of materials, but everything, save the $500 pairs were sold out in my size. I never needed to wear them, so I can’t comment on their efficacy, but these are the pair that was recommended by my guide company. They know their stuff, so there must be something to that.
SOFTSHELL JACKET

Black Diamond Alpine Start Hooded Jacket A breathable, but wind and weather resistant softshell jacket is considered to be a key part of a mountaineering layering system. It needs to fit well over your mid-layer top and base-layer top without being restrictive.
The Alpine Start is an ultralight softshell that’s designed to shield climbers from ridgeline gusts and light weather. It’s touted to provide highly breathable and highly packable weather resistance.
Well, it’s certainly breathable and water-resistant… Breathable as in the wind blows straight through it and it’s about as water-resistant as a paper towel.
As you may be able to tell, I’m not sold on softshells. Or at least not this one. I understand that this is supposed to be ultralight, but I don’t consider that to go hand in hand with the other ultra term… ultra-useless.
In the future, I’m going to explore bringing a softshell with a little more substance to it, especially since my next three planned climbs are all going to be in colder conditions.
At least it looks good in my pictures.
MID LAYER TOP

Black Diamond Men’s Coefficient Hoody Designed to go over your base layers, mid-layers are a form-fitting, lightweight fleece. Gridded/waffle interior patterns tend to offer increased wicking performance and added breathability while also providing the best warmth-to-weight ratio. Hoods aren’t necessary for these, but they’re recommended.
I liked this fleece a lot. It’s warm and fits perfectly. The hood is cut to fit under your helmet, but I didn’t zip it all the way so I wore it over the top of my helmet with no issues.
I just wish I had it in a different color. Unfortunately, I bought it at the Black Diamond store in Burlington, Vermont and this was the only color they had. I know I could have just ordered a different color, but the amount of customer service they gave me was over the top so I felt bad about not buying anything. LOL
Two more things to note… While these are quite expensive at $180, especially when compared to a $30 run-of-the-mill fleece jacket, there is a marked difference. I’ve used both and this is the better choice in terms of warmth, functionality, and comfort.
Also, in my opinion, Black Diamond has a problem with sizing. It’s not only with these, but in this case alone, my large softshell was bigger than this extra large fleece. It feels like they must have multiple mannequins and scales they use when deciding on what size to call something.
“Hey, Mike! Get out the extra tall mannequin this time! That will throw them for a loop!”
HARDSHELL JACKET
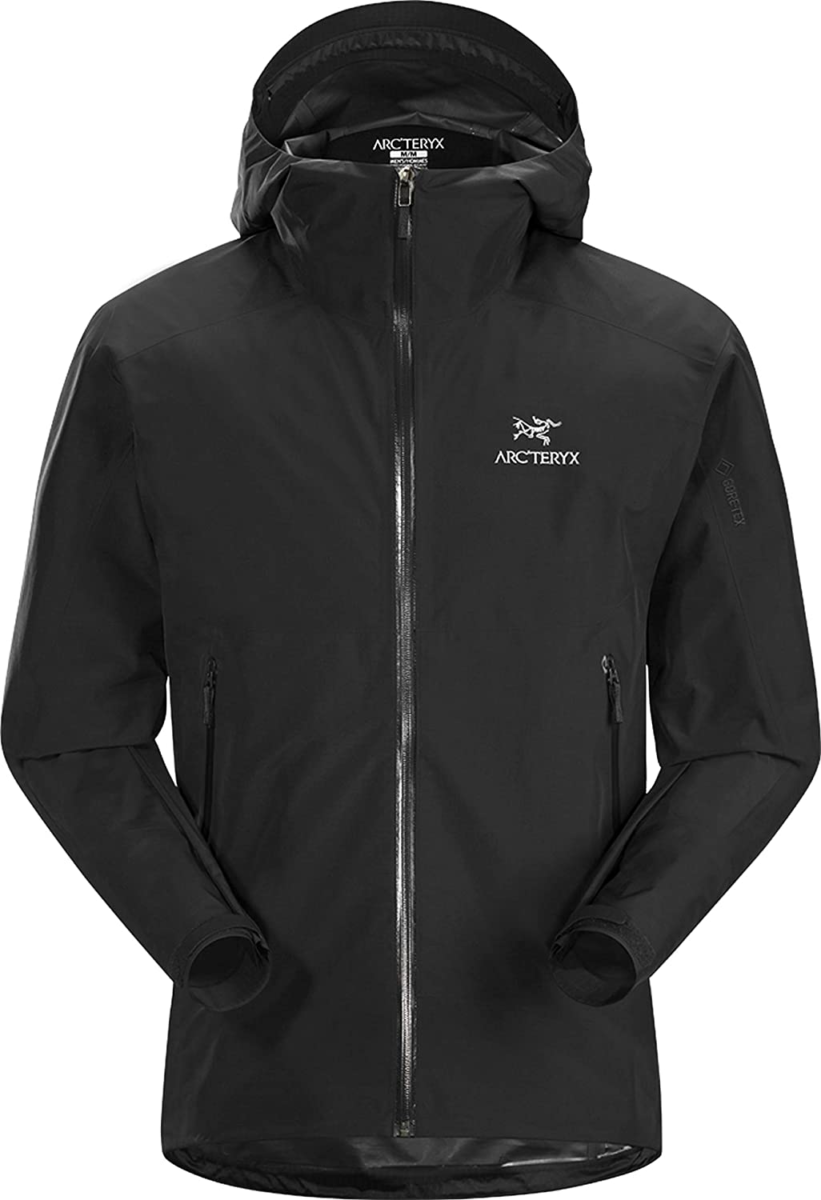
Arc’teryx Zeta SL Jacket A non-insulated, fully waterproof shell jacket with a hood is mandatory. This needs to fit comfortably over your base layer, mid layer, softshell, and possibly your puffy. Helmet-compatible hoods are also required. Protect ya neck!
This coat is waterproof, windproof, bombproof, and breathable. This Super Light (SL) Gore-Tex jacket is amazing for keeping you dry. I did a ton of research on waterproof hard shells and the Zeta SL won the prize.
It never rained while we were climbing, but the wind was so relentless towards the summit that the storm hood really saved me from a ton of unnecessary misery.
The only change I could possibly make to this would be the addition of pit-zips for rapid heat dumping, but with no rain, by the time I got hot enough to need them (yes, hot), I was able to just take the entire coat off.
It makes zero sense, but this model has been retired by Arc’Teryx, so if you’re able to find it, you’ll be able to score quite a deal. Outdoor Gear Lab rates this jacket as more water resistant than others with more layers.
INSULATED DOWN OR SYNTHETIC PUFFY JACKET

Arc’teryx Cerium LT Jacket A warm, insulated puffy jacket with a hood to provide added warmth. I went with down fill, but there is a strong case to be made for synthetic in the event that you have to deal with any wet weather.
You may think that your hard-shell will protect it, but while climbing, you’re not going to be wearing it much beneath your shell. With the amount of exertion you do, you’ll most likely only be wearing this while taking breaks and then putting it back in your bag when you start again.
I have a long love for this jacket. With 850 down-fill power, it is pretty warm, but there are warmer options out there. Don’t confuse it though. It’s not a parka. While you can wear this on its own, and look great while doing it, these jackets work best in conjunction with the hard-shell over top.
I wore the Cerium/Zeta combo on Kilimanjaro where it was much colder and was perfectly fine, even while my water bottle froze solid.
I didn’t exactly climb baker at the coldest time of the year. When I climb Mont Blanc and Mount Rainier next year, I’m planning on bringing something warmer. Possibly the Cerium SV which is the warmer version of this jacket. (SV SeVere weather vs LT LighTweight– get it?)
Just know that these Arc’teryx jackets will cost you a lot more than some of the alternatives.
HANDWEAR
LIGHTWEIGHT LINER GLOVES

The North Face Gore CloseFit Tricot A lighter soft-shell glove mostly designed as a wind blocker, these gloves should be close-fitting to allow for good hand articulation. It’s a plus if you can wear them inside your heavyweight, insulated gloves.
Don’t expect them to be warm on their own because they’re not. It says right on the packaging that they aren’t rated for deep cold, but for some reason, people still complain about them not being warm in reviews. That makes sense, right?
Two pairs are recommended for the mountaineering course, again, in case they get wet while training on the glacier. Only one pair is needed for the climb only.
I also used the Outdoor Research Men’s Vigor Lightweight Sensor Glove, but I didn’t like those very much so I’ll probably replace them before my next climb. The Tricot glove, however, I’ve been using for years. The only reason I didn’t get a second pair of them was to test out a bit of versatility. The tricot’s material also isn’t ideal for wearing beneath other gloves, in my opinion.
SOFTSHELL GLOVES

Black Diamond Midweight Softshell Gloves Midweight, lightly insulated gloves for use when heavily insulated gloves are too warm and liner gloves are not warm enough. Leather palms will give you the durability and grip you will need.
These gloves got the most use during the mountaineering course, and while ice climbing, so don’t skimp.
Where leather palms are concerned, I’m fond of goat leather, preferably when it’s left a bit tacky.
These weren’t my gloves of choice. I wanted to bring a pair I’ve previously owned, the Mountain Equipment Super Alpine Gloves, which have the aforementioned tacky palm. Unfortunately, I could only find these gloves in two places. Amazon had them, but only in the wrong size, and the other place was a German Outfitter who mailed them so slowly that they didn’t arrive until well after I left.
The Black Diamond gloves more than sufficed, and they cost half as much as the Super Alpines.
INSULATED GLOVES
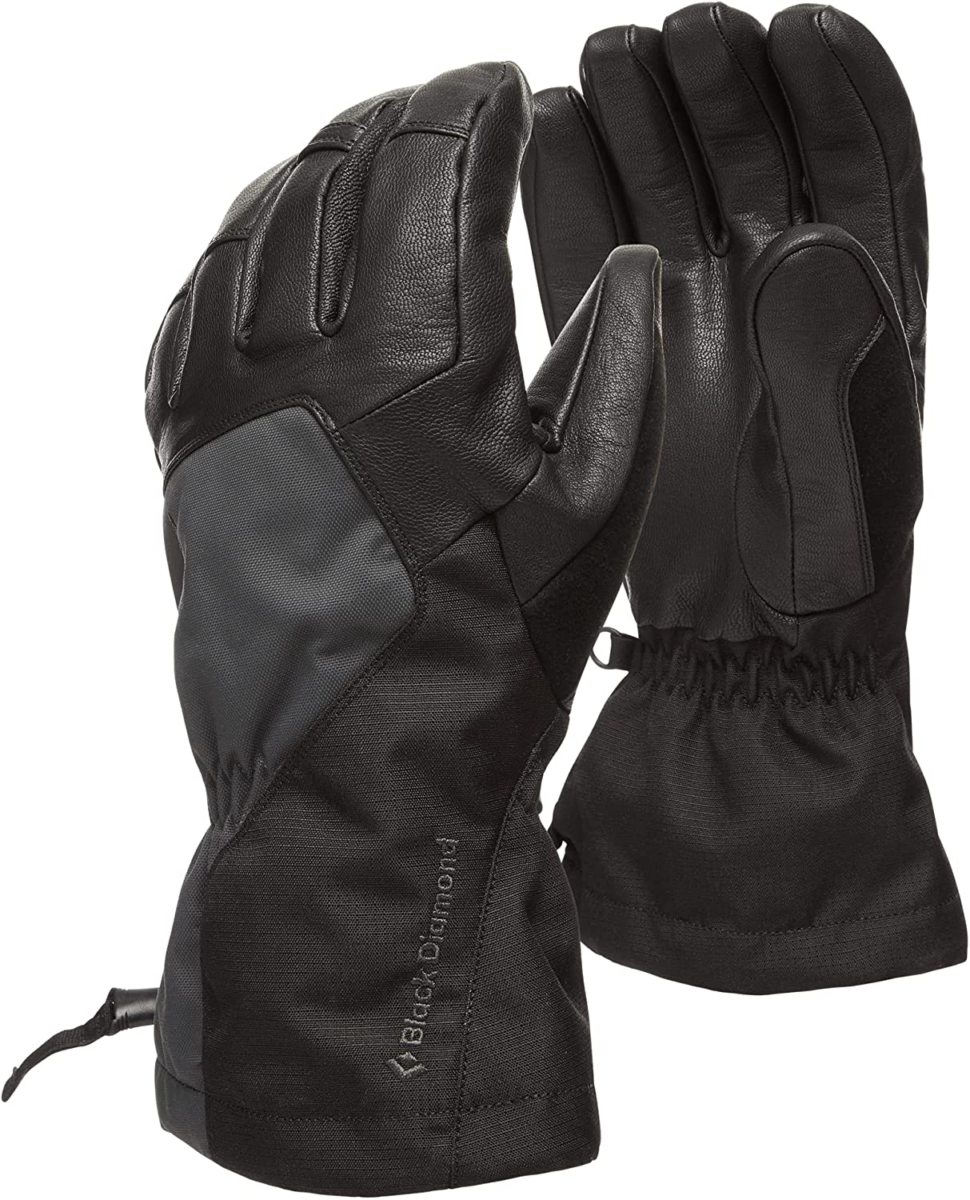
Black Diamond Renegade Pro Glove Warm, waterproof gloves or mittens with good insulation are required. You won’t need them until you get pretty high up, but once you do, you’ll know it. You’ll want to try them out to see if you can fit a liner glove inside of them in case it’s REALLY cold.
I’m more of a mitten guy, especially while doing things like snowboarding, but these gloves were nice. They kept my hands warm and were articulate enough that I was able to do anything I needed (other than unlock my phone for pictures) without taking them off.
If it were any colder, I probably would have brought mittens. When I was on Kilimanjaro I wore the Black Diamond Mercury Mitts which were perfect for the conditions.
HEADWEAR
CLIMBING HELMET
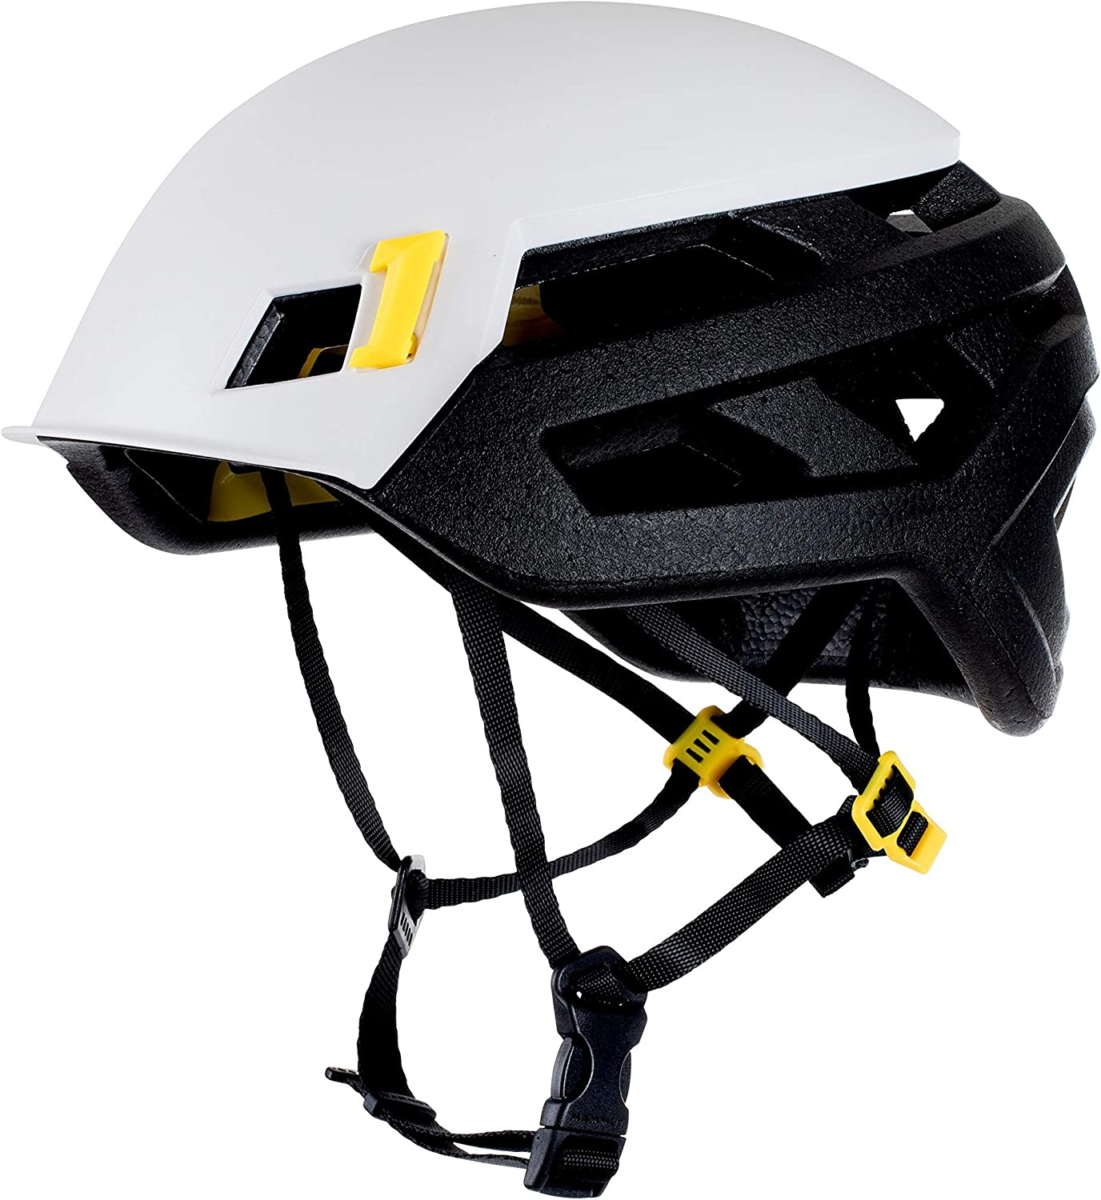
Mammut – Wall Rider MIPS Lightweight Climbing Helmet All climbers need a lightweight climbing-specific helmet. Your helmet needs to fit comfortably over your bare head, hat, and/or balaclava, or hood. It also needs to have headlamp attachments, but that’s pretty standard for all climbing helmets.
I was satisfied with this helmet. It is a bit higher profile than I’d like, but that’s at least partially due to the MIPS system. If you don’t want MIPS, they do make a cheaper version without it. The difference in cost between the two models is $60.
I don’t think MIPS is particularly necessary for this climb on its own, but if you’re taking the course, you will be hanging around in a crevasse which is a bit higher risk. I’m also getting into ice climbing, so it was a good investment for me.
Everyone I talked to about helmets said, “Oh I’d absolutely get the helmet with MIPS if it’s available.” Yet I didn’t see anyone with it except for me.
If you have no idea what I’m talking about and would like to know more about MIPS, here is the FAQ on their official website. At the bottom, the first featured helmet they list is the Wall Rider. But long story short, MIPS is a system within the helmet that allows it to rotate under impact to better absorb blunt force trauma.
BUFF

Outdoor Research Echo Ubertube A neck gaiter/buff is a versatile tool that you don’t want to be without. They protect your neck from the sun, help keep you warm, double as a bandana to cover your head, and can block out the light while you’re trying to sleep.
I chose the Echo Ubertube for no particular reason other than I wanted one that was from a reputable company, and because it was a light off-white color.
It was only cold enough to need this for the home stretch of the summit push. If I recall correctly, I put it on at the crater where we took our final break before heading up the Roman Wall. I then took it off on the descent at a significantly lower altitude when I started to overheat.
I would have been fine without it, but they’re so small that they’re a piece of gear that you don’t want to be caught without should the need arise. On Kilimanjaro where it was far colder, I wore one plus a shemagh over top of it.
Baseball Cap

Arc’teryx Small Bird Cap Any style of lightweight hat for shading the head will work well. Baseball caps work well, but if it has a button on top, be sure to check if it can be worn beneath your helmet. The super low-profile helmets can push down on the button and make it uncomfortable.
I wore one of my standard Arc’teryx bird caps that you usually see me in. Another good option is the Arc’teryx Calvus Cap which doesn’t have a button on top and is more helmet friendly.
No link because this hat has already been discontinued. As great as Arc’Teryx may be, they keep swinging and missing with their hats. Bring back the flex fit with multiple sizes ffs.
Sun Hat

Outdoor Research Helium Rain Full Brim Hat A wide-brimmed bucket hat is a great option for keeping the sun off. These are quite common and are easy to wear beneath your helmet for full, 360-degree head shade.
They told me to bring both types of hat. Completely unnecessary. I wore this once, just to take some pictures in it. Next climb, this stays at home. I can’t think of many situations where I’ll ever wear it. I think this all just comes down to personal preference in hat type. If I’m concerned about my neck burning, I’ll put on sunscreen or pull up my hood.
WOOL/SYNTHETIC HAT
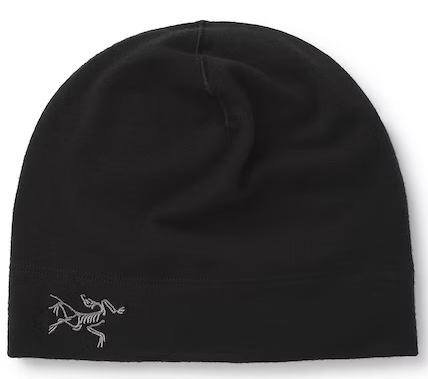
Arc’teryx Rho LTW Beanie As it’s going to be cold, you’ll need a non-cotton wool or synthetic hat that will cover your head and ears comfortably. You’d also be best off if it could fit under your helmet.
I brought this beanie, and I wear it often, even in my day-to-day. I didn’t wear it much on the mountain though aside from while milling around camp and during the mountaineering course.
Instead, once we got high up, I had all four hoods from my various layers on (LOL) and that was more than enough to keep my head and ears warm. I’d still bring a hat though.
If you’re going during the early season you might want something a bit more substantial for your downtime.
GLACIER GLASSES

Oakley Clifden Prizm Snow with Black Iridium Lenses High-quality glacier glasses that offer full coverage around both eyes are very important. A category 4 lens is required.
A wrap-around style or side-shields will seal out any outside light and make sure that you’re not getting blasted from the sides.
If you think you’ll be fine without wraps or shields, you’re running a big risk and they won’t even let you on the mountain. Getting your eyes burnt feels like you’ve gotten sand in them. My brother had that happen while on Mt Hood. Everyone on Hood without shields started using stickers where the shields go to protect their eyes from the side.
I tried on every pair of glacier glasses I could find, including every single style made by Julbo. I’ve got high cheekbones, so getting a good fit that didn’t let in light was difficult.
I tried my hardest to avoid Oakleys as I’ve been wearing the brand forever and wanted something different. Didn’t happen! The Clifdens fit me perfectly. I also think they looked cooler than what everyone else had. A few people told me they wished they had gone with the round lenses.
Unfortunately, I scratched one of those lenses. While I was being a champion and swinging my ice ace around in front of me, I managed to hit myself in the face with the spike. Yeaaa. Feel free to laugh.
If needed, prescription glacier glasses can be ordered, but the general consensus is that disposable contacts with non-prescription glacier glasses and goggles is best.
HEADLAMP
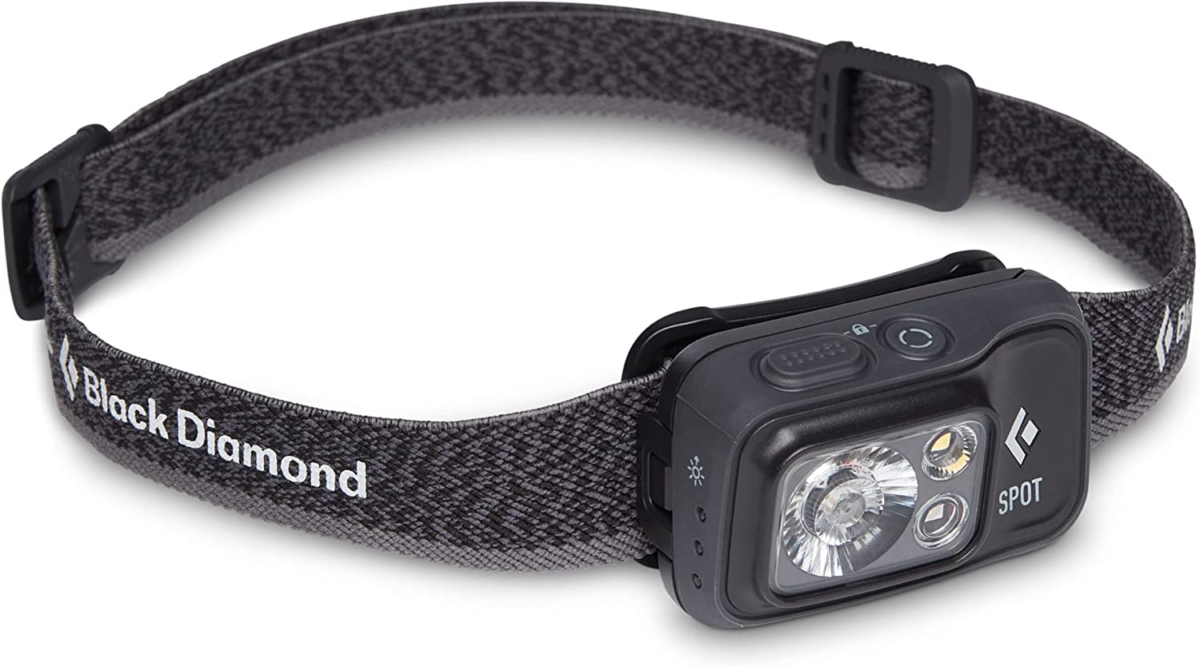
Black Diamond Equipment Spot 400 Headlamp A modern outdoor LED headlamp with 200-300 lumens of output as well as fresh batteries. Weather-resistant models are strongly preferred in the event of inclement weather. You should also bring spare batteries, just in case.
Headlamps can be rented, but rentals don’t include spare batteries.
I brought the new version of the Spot 400. I also own the Storm 450, which I brought on Kilimanjaro. The spot lighter and only needs three batteries rather than four, and while the Storm is brighter, the difference between the two is negligible in my opinion. I performed a highly scientific test in my living room.
PERSONAL EQUIPMENT
EXPEDITION CLIMBING PACK
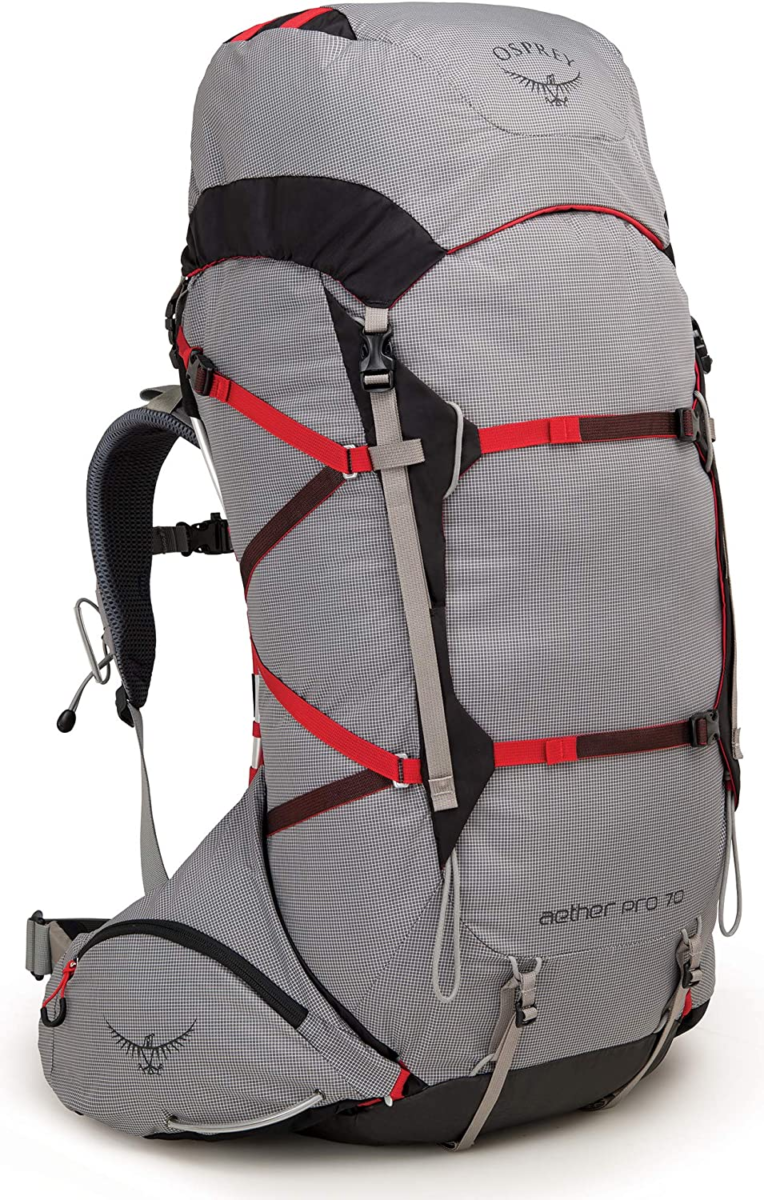
Osprey Aether Pro 70L A 65-75 liter, internal frame climbing pack designed with climber-specific features. Your bag should have a good waist belt, fit properly, and provide good support while carrying 45+ pounds.
The size of your bag depends on how well you pack. As I’ve said in other posts, the larger your bag, the more extra crap you tend to bring.
I chose the Aether Pro, not to be confused with the regular Aether 75L, which contains the unnecessary bells and whistles that add weight.
Designed for mountaineering, the Aether Pro is a very stripped-down bag that can be broken down even further for use on a summit push. The big sell, though, was that it still has incredible support and suspension while only weighing 3.45 pounds.
Usually, the first thing companies seem to cut while trying to shave weight is the shoulder strap cushioning and back support. Not the case here!
I did have the smallest of the packs, but I still had space to spare without having anything strapped to the outside of my bag other than my ice axe and helmet.
Having a little space to spare is important because you may need to carry a share of the group gear.
INFLATABLE SLEEPING PAD
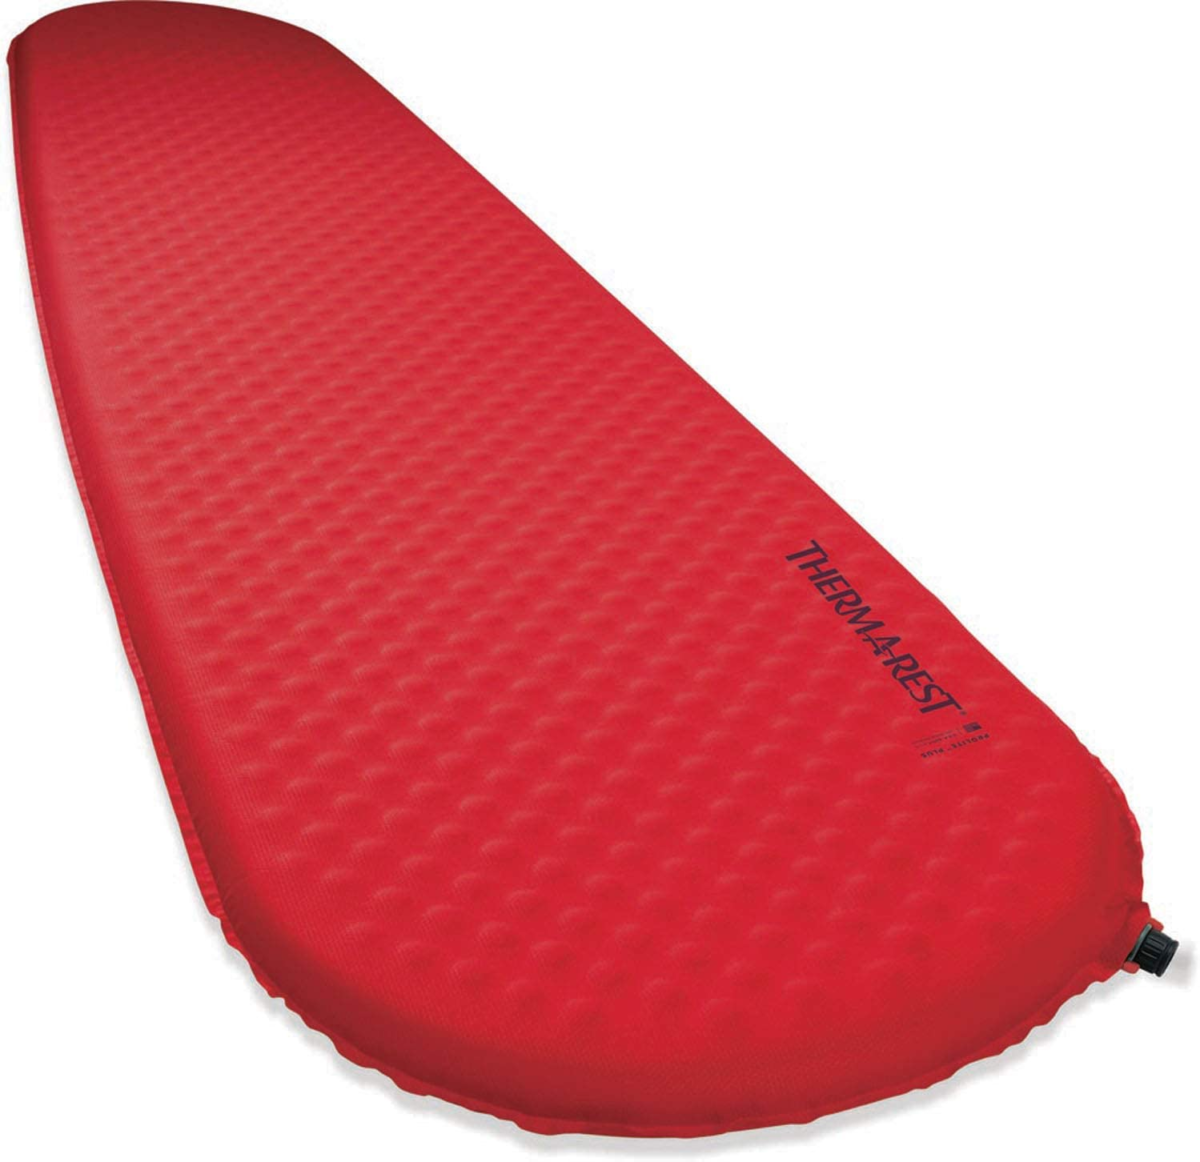
Therm-a-Rest ProLite Sleeping Pad A full-length, inflatable, insulated sleeping pad with an R-Value of at least 4 is recommended.
Since I sold my last insulated sleeping pad, the NEMO Tensor Ultralight Insulated Sleeping Pad (which I do recommend) I opted to rent instead. The Therm-a-Rest pad is the rental I was given, but I didn’t like it. In fact, I thought it sucked.
I thought the Therm-a-Rest was too thin, narrow, not warm enough, heavy, and extremely bulky while deflated for what it offered. The R-Value is only 3.2 and it’s still twice the size of the R-4 Tensor when packed away. In the future, I’m going back to the NEMO Tensor.
FOAM PAD

NEMO Switchback Sleeping Pad A 3/4 or full body length pad made of closed-cell foam. This, combined with an inflatable will greatly increase your warmth and cushioning to give you a much better night’s sleep.
I didn’t bring a foam pad. The NEMO Tensor had always been comfortable enough on its own at these temperatures. Unfortunately, because the Therm-a-Rest inflatable sucked, I wasn’t the most comfortable.
Sure, I was well enough and would have been fine for the entire trip, but when one of the groups left on day three, I borrowed a pad that their guide left in camp. The pad I borrowed isn’t the one I recommend.
I recommend (and own) the Nemo Switchback Foam Sleeping Pad. This, and the Therm-a-Rest Z- Lite Sleeping Pad (this is what I used) are the two that you’ll see the most. I prefer the switchback because it collapses into a smaller size due to its well-designed pattern.
20-DEGREE FAHRENHEIT SLEEPING BAG
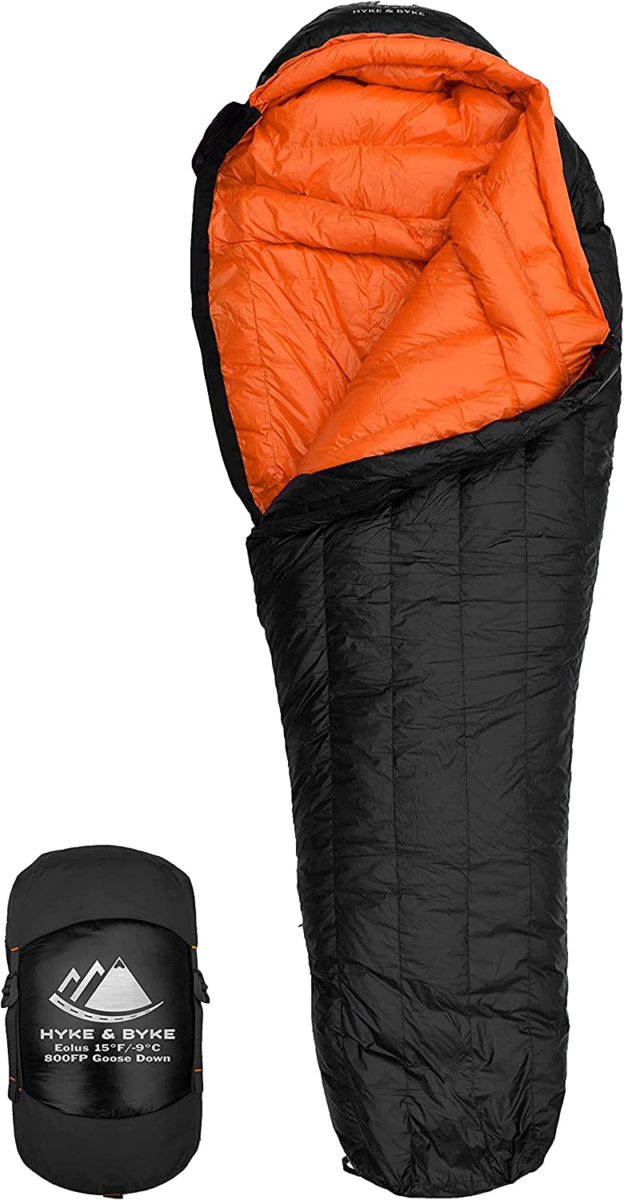
Hyke & Byke Eolus 15 F A down or synthetic sleeping bag that is rated to at least 20 degrees Fahrenheit and features a collared hood for warmth.
Be sure to include a waterproof, compression stuff sack, rather than the bag it comes in.
I brought a 15-degree bag and that was more than enough for the late season. In fact, on more than one occasion, I had to unzip because I got too hot. If you’re going in the early season, you’d be better off with a 0-degree bag.
This is the same bag I used on Kilimanjaro and it was much colder there. It did push the limits a bit while on Kili, but with a Nalgene hot water bottle, I was always fine there.
INFLATABLE PILLOW

Nemo Fillo Elite Pillow This is an optional item, more for your personal comfort. Look… they’re light, take up minimal space, and will help you sleep better on an unforgiving mountain.
I’ve tried the bundle of clothes in the past which always leaves my ear hurting since I’m a side sleeper. I’ve also done the inflated dry bag wrapped in a t-shirt. That’s like sleeping on a balloon with no give.
If I didn’t have this, it wouldn’t have been the end of the world, but sleeping at high altitudes gets progressively more difficult. You may as well help yourself and be comfortable.
Though I have used this specific pillow for several years now, I’m considering exploring other options such as a compressible down or memory foam, purely to have something with a little more cushion.
WATER BOTTLES
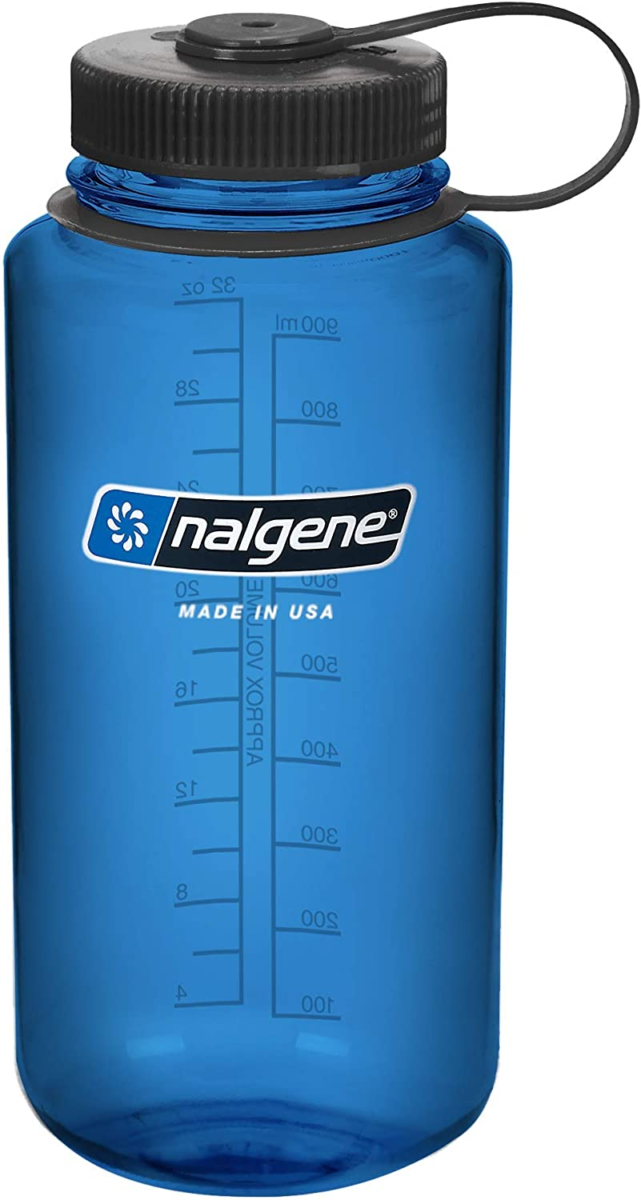
Nalgene Water Bottle 32oz You want the ability to carry at least two liters of water. Wide mouth, and made of co-polyester (BPA-free plastic).
I also brought a Hydrapak Stow 32oz- Collapsible Water Bottle – I love these bottles. They’re ultralight and extremely packable. As it’s more of a squeeze bag with a smaller mouth, they can be a little tricky to fill but it’s not a big deal.
Just a note on the Hydrapak… People like to complain in reviews that their lids cracked. Well, the lids on these are made of very hard plastic with large threads. If you start screwing it on and it’s not threading properly, cracking under the pressure is a strong possibility. If it’s not screwing on effortlessly, just back it off and try again. When it’s seated properly, the lid goes on easily, so don’t force it until it cracks. It’s not rocket science.
Backpack bladder systems and metal bottles aren’t recommended as they tend to freeze easier and double wall bottles are unnecessarily heavy.
PEE BOTTLE
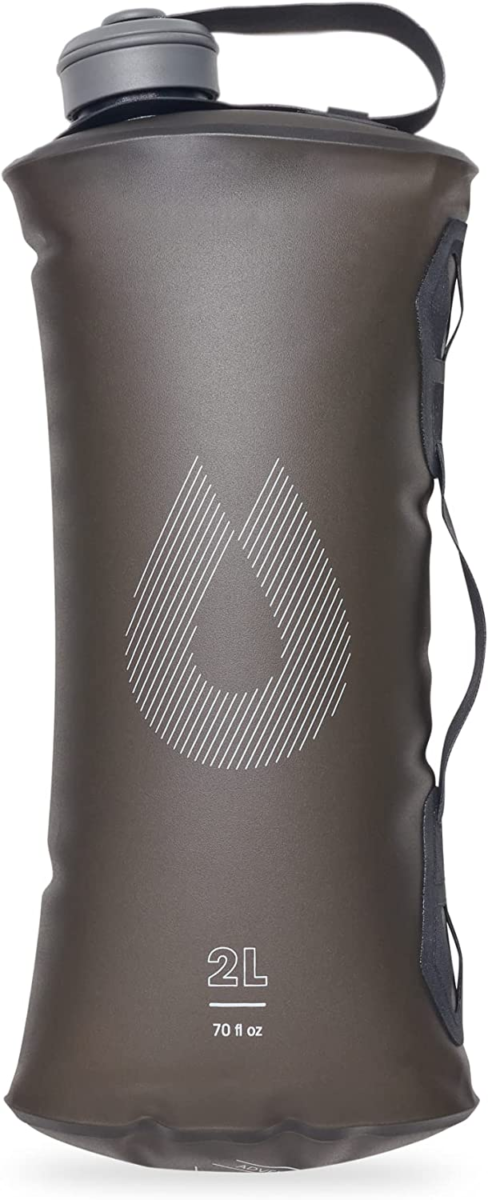
HydraPak Seeker 2L Collapsible Water Container I didn’t bring a pee bottle this time. I just got out of the tent, even the one night it was raining. If you go a lot at night, be sure that you get something on the larger side, but really, you’re on Mt. Baker, not at Camp 4 on Manaslu, so just get out of the damn tent.
Alternatively, because my teammates in the other tent apparently pee five-six times per night, a lazy man hack for after you fill your bottle, is the pee bag. This involves using an empty freeze-dried meal bag. The complaint I heard from this was that it left their tent smelling like bad lasagna. Yea… that’s gross.
Again, I’d just get up and leave the tent. If it’s not a blizzard outside, it’s not the end of the world.
BOWL
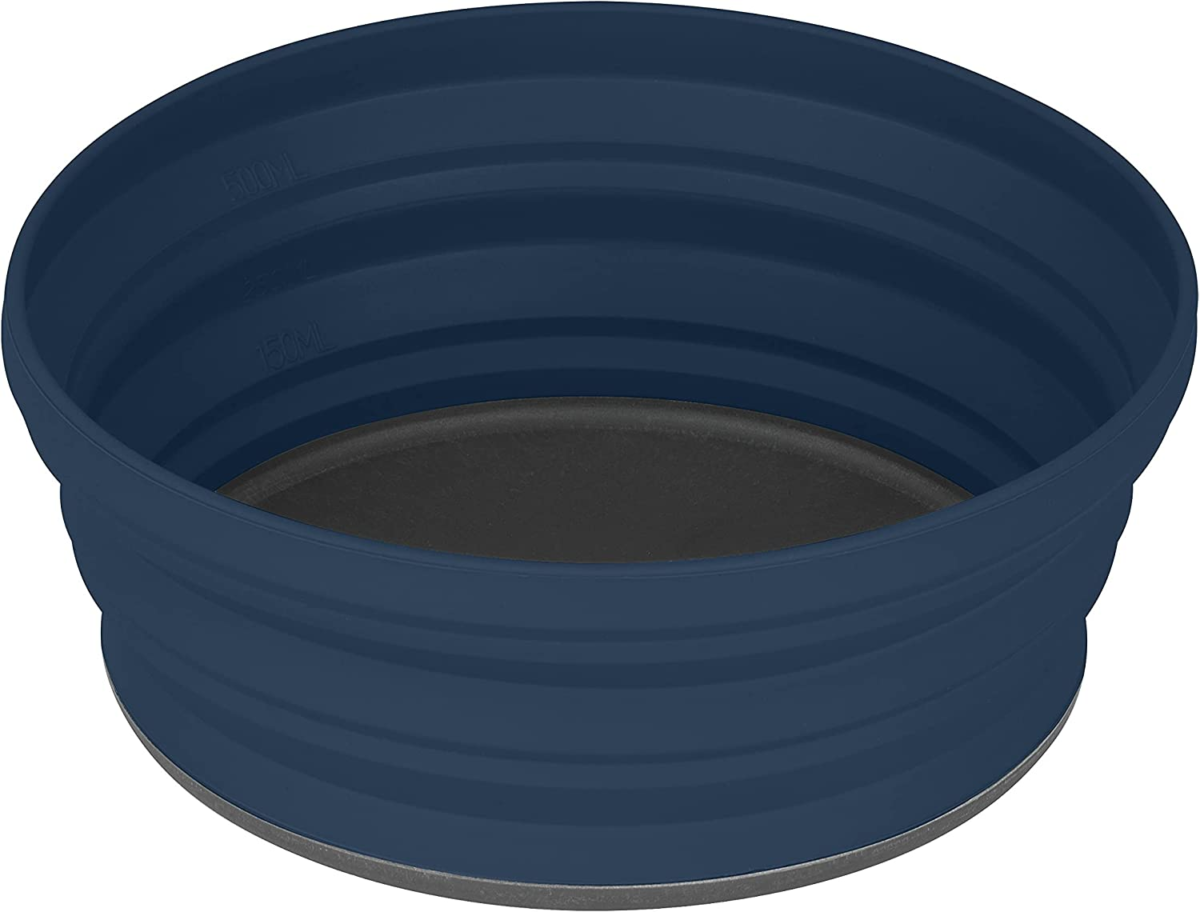
Sea to Summit X-Bowl Two-cup capacity packable bowl.
I’ve used this bowl quite a few times and it always works well for me and is easy to clean. My only complaint is that it doesn’t have an attachment point to clip it to anything as I’ve seen on some others.
Not much else to say about it. A Bowl is a bowl, and a roll is a roll. And if we don’t get no bowls, then we don’t eat no rolls. Provided you would ever eat a roll out of a bowl, of course. I made that up.
KNIFE

Spyderco Delica 4 – CombinationEdge Medium or small-sized knife.
There was no guidance on this, and it wasn’t required. I just always bring a knife wherever I go and this was lighter than my usual Spyderco Paramilitary 3. I did use it once or twice, though not that much. That’s the thing with knives. I’d rather have one and not need it, rather than need it, and not have it.
While I’m not a huge fan of serrated blades, I did go with a combo edge this time for rope-cutting purposes.
One person did ask me why I brought a knife. In case there’s cheesecake, obviously.
SPOON
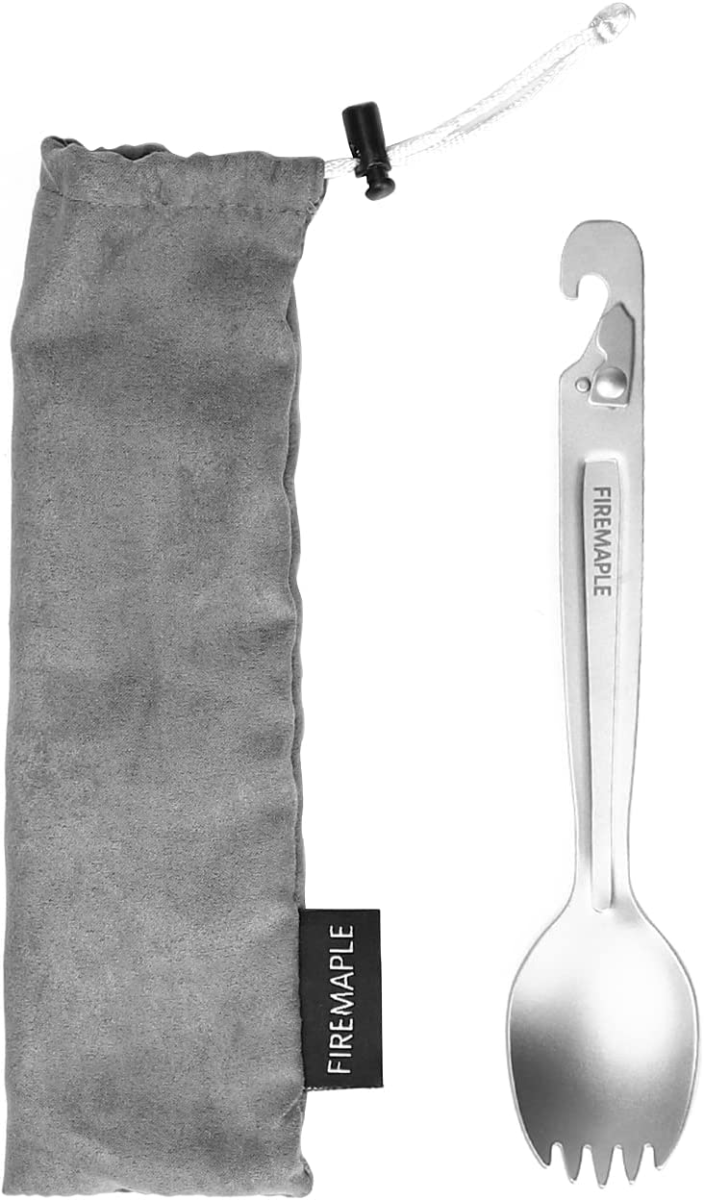
FIRE-MAPLE WOODPECKER TITANIUM SPORK Hard plastic or anodized metal spoon. This is largely considered to be the most forgotten item. Do you like eating? Then don’t forget it!
This spoon is the perfect size for eating a freeze-dried backpacker meal or MRE without needing to reach your hand inside the bag.
At 7.2″ I’ve been trying to find a titanium spork in this length for a while. 8″ would have been perfect, but this gets it done. TWSS.
Anything longer than this tends to have that stupid bent bowl that is awkward to eat with. If I’m ever going to be eating from a thermos, I’ll get one with the bent bowl then, but until that happens, cut the crap.
I also love the hook end which while designed as a hole punch for fuel canisters, can also be used to hang it from your meal bag or to open a beer.
My only complaints are that the bowl isn’t polished. That makes it a little harder to clean and stuff may stick to it a little more, but that’s not a huge deal. It could also be a little narrower.
MUG OR CUP

TOAKS Titanium 750ml Pot One insulated outdoor-style mug with a removable lid.
They wanted something that retains heat well, so I went with my usual titanium one that is uninsulated and doesn’t hold heat at all.
I don’t drink hot beverages, so I don’t need something that’s going to keep a cup of coffee hot.
I do like this titanium “pot” though because it’s small enough to use as a cup, but also just big enough that I can boil water or cook in it without problems. It also nests perfectly with a 32oz Nalgene bottle or fits a cook stove so it will save you a little space.
DISPOSABLE WASTE KITS – WAG BAGS

Cleanwaste GO Anywhere Toilet Kit Waste Bag WAG (Waste Alleviation and Gelling) Bags. Following leave-no-trace principles, all solid waste (I’m talking about your crap here… literally) must be carried out of the backcountry. One waste kit per 1-2 days is typically sufficient.
I brought four for the five-day course and didn’t use them all.
What are they? A WAG Bag is basically a toilet in a bag.
They contain a NASA-developed solidifying agent, “poo powder” (feel free to laugh, I still do) designed to hide and contain any smells within the bag.
If… it hits the fan… these kits are reusable as they contain enough gelling powder for three to four uses. Most people, like myself, are one and done.
A puncture-resistant double bag system keeps it leak-proof and hygienic. They also contain a small portion of toilet paper and some hand sanitizer. Neither is enough on their own, so I’d 100% recommend you bring extra TP.
I also recommend a giant zip-lock bag to put them all in while hiking out. It’s just another level of protection for your gear since you seal them with a knot.
TRASH COMPACTOR/CONTRACTOR BAGS

Nylofume Pack Liner Two heavy plastic garbage bags for use as waterproof pack/stuff sack liners. Trash compactor or contractor bags are made from a heavier plastic than garbage bags and will stand up well to prolonged use on a mountain.
Quite frankly, I hate garbage and compactor bags. They’re cumbersome and make it impossible to see inside your bag.
What I’ve recently discovered and like a lot more than compactor bags are Nylofume Pack Liners which are designed for backpacking.
They’re extremely inexpensive, ultralight, and durable, with a more structured bottom than something like a compactor bag. They are also clear, allowing for light and visibility if you decide to pull the entire liner out of your bag.
These come in 70L, so if you bring something needlessly large, like a 100L pack, they might not be for you. They can however be trimmed to fit a smaller pack.
If you have one, a reusable waterproof pack liner can also be used as long as it completely fills your pack. There are a couple of companies that make liners out of Dyneema, but you’ll be paying $50-$75 for one rather than $2.25.
CAMERA

GoPro Hero 11 Black Cameras are optional, but worth bringing along in my opinion. Action cams are especially useful for the mountaineering course.
I wouldn’t bring anything crazy and heavy, but something like a GoPro is great. One guy did have a DSLR, so it’s your call. He left it in camp on summit day to save weight.
I wanted to bring my DJI Mini2 drone with me, but when I called and asked if they were allowed, someone at the guide hut told me that they weren’t. I later found out that he was wrong. Drones are permitted up to Sandy Camp which is a little ways below where our camp was.
I think he might have just said that because he didn’t like drones. As usual, the second I mentioned it in camp, everyone and their mother started on how annoying they are to hear.
Well, know what else is annoying? When I can hear you snoring all night from 20 feet away. What’s worse, 8 hours of snoring or 75 seconds of a drone?
SMALL PERSONAL POWER BANK (OPTIONAL)

Nitecore 20,000mAh Power Bank Portable battery bank for charging personal items like your cell phone.
The more power these store, the heavier they get. It all depends on how much power you think you’ll need. As a blogger, I couldn’t afford to be without a charge so I brought the Nitecore 20,000mAh as well as the 10,000mAh version.
These got me through the five days with no problem at all. Being made out of carbon fiber to keep their weight down, these Nitecore power banks are the lightest, and best performing you’re going to find. Or at least they were. As of writing, these power banks have been upgraded to the second generation.
My only complaint about them was their sharp, block-like design, but the new Second Generation series fixes this problem with rounded corners and edges. They’re also far more expensive than a run-of-the-mill power bank of a similar size.
TOILETRY BAG
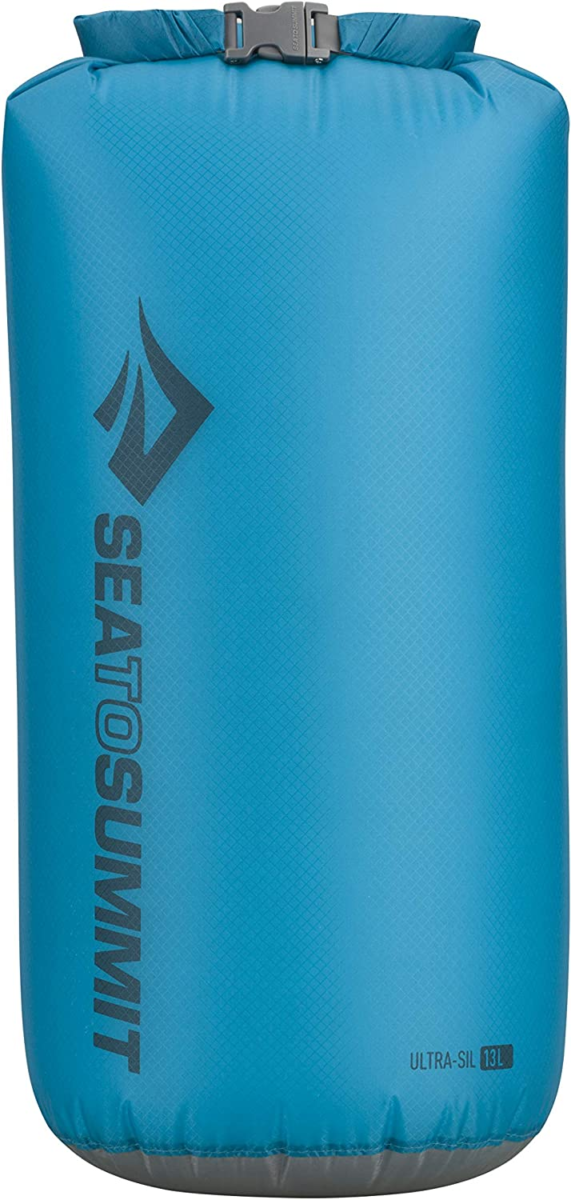
Sea to Summit Ultra-Sil Dry Sack A bag for toiletries with toilet paper (stored in a separate plastic bag), hand sanitizer, toothbrush, toothpaste, and fully biodegradable wet wipes. I also bring a very tiny nail clipper.
Be sure that the amount of everything you bring will last you for the length of your trip. I had to lend one guy toilet paper because he ran out. Just imagine if nobody had a square to spare.
I typically bring 1-3 of these dry bags depending on the type of trip. For climbing Mount Baker, I brought two. One for toiletries, and one for cords, chargers, batteries, and SD cards.
If you bring more than one, it’s a good idea to bring different colors to keep track so you don’t need to go digging around in both.
I also brought a large one for dirty clothing.
*Tip* Tents can become chaotic. So every time you get something out of one of these bags, I recommend putting it back asap, before you’re upending the entire world looking for where your chapstick disappeared to.
WATER PURIFICATION

Aquatabs Water Purification Tablets A water purification system isn’t necessary while climbing Mount Baker. Water sources at the camp are glacier-melt and are considered to be safe to drink.
I did bring a pack of Aquatabs, purely out of my “just in case” habit. They weigh nothing and take up zero space when out of the box, but I never used them.
SUNSCREEN
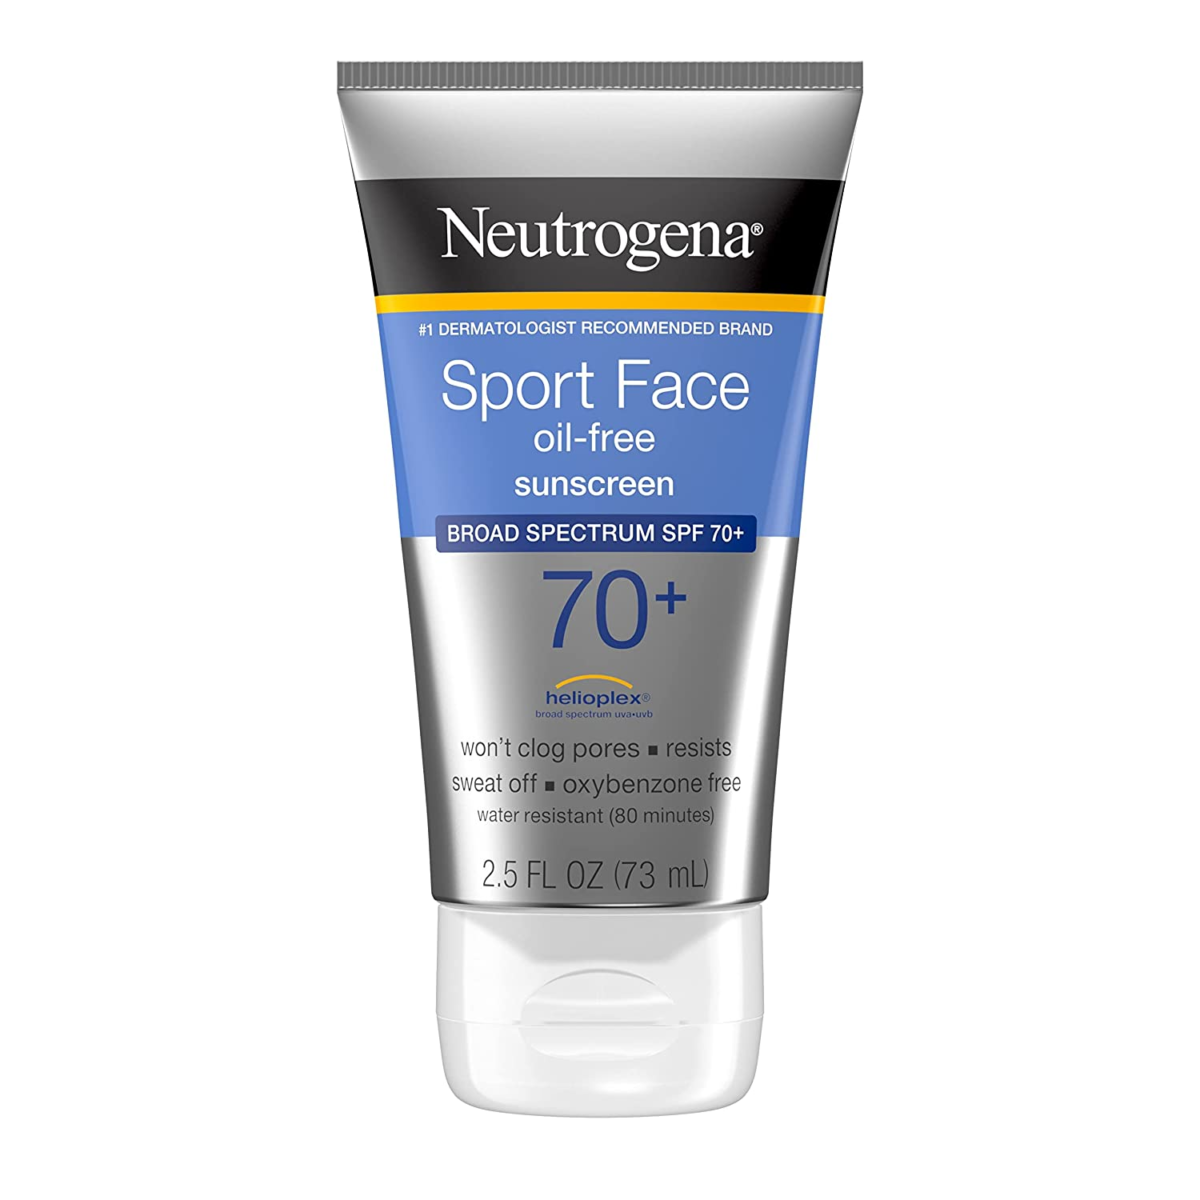
Whatever brand you like. Two to four ounces of SPF 30+ sunscreen.
I’m sure you have an idea of how much sunscreen you’ll go through. I brought one small bottle and only applied it twice. I was fine with that, but that’s because I always had a hat on and my hood was usually up as well.
Once you get to higher altitudes, it begins to get exponentially easier to burn. I typically burn easily but being fully hooded out like a Jedi kept me shielded on summit day.
LIP BALM
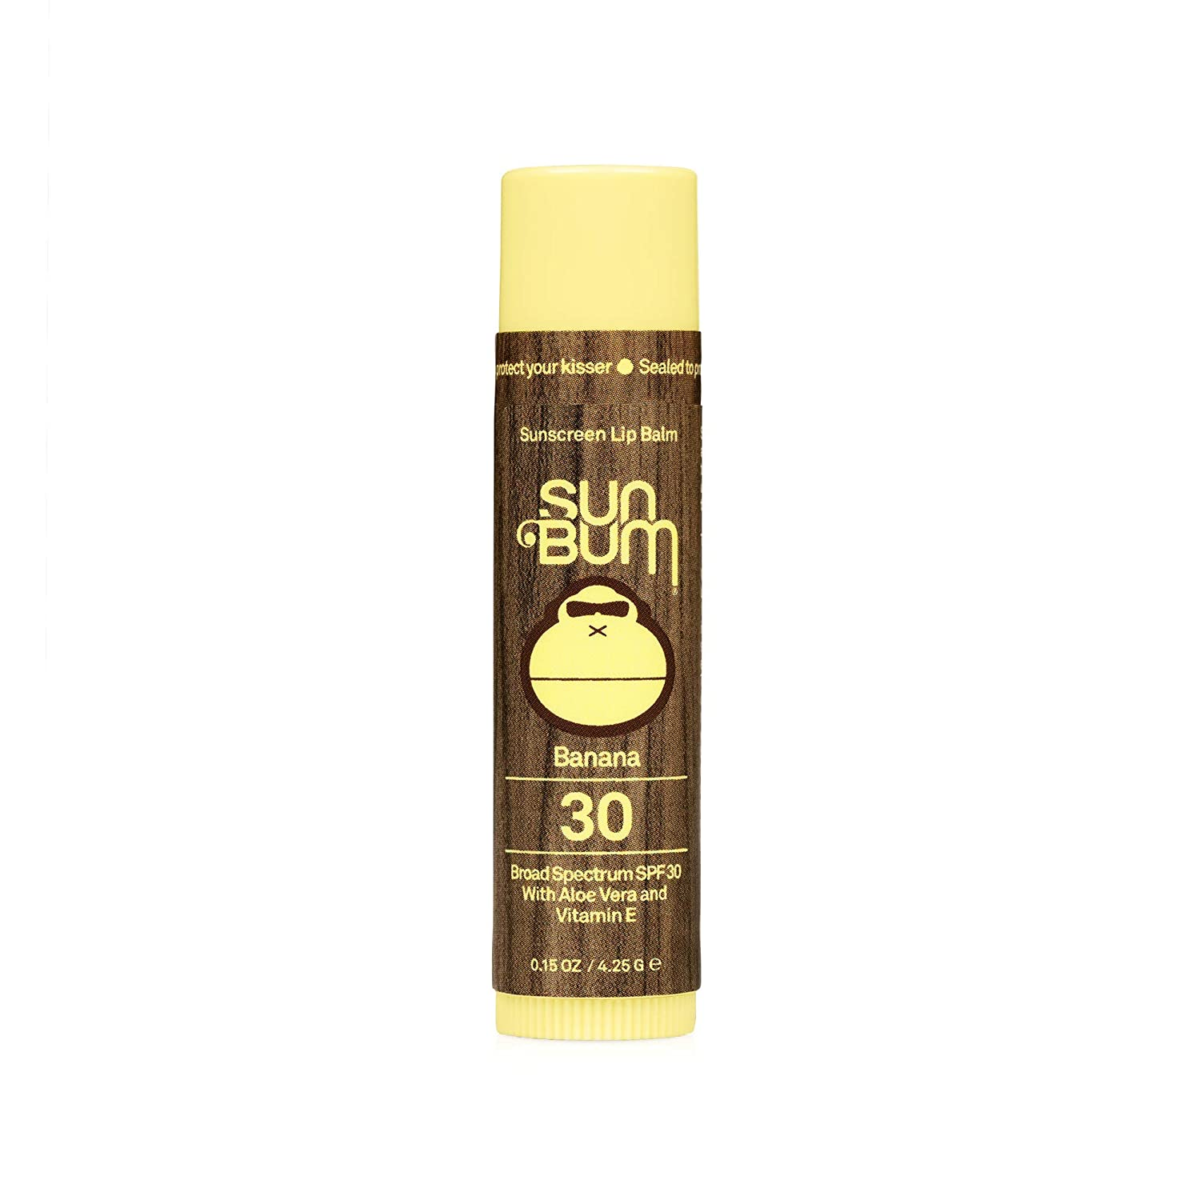
Sun Bum Lip Balm, SPF 30 Two tubes of SPF 30+ lip balm.
Since you’re going to be at a high altitude, this level of protection can be extra important. I’m sure you’ve all been to the beach before and gotten burnt lips at some point. I wouldn’t say it’s painful, but it’s not very pleasant.
Then let’s not forget the relentless wind you’ll experience on the mountain. That, combined with the high altitude and dry air can lead to split lips.
Everyone has misplaced their lip balm at some point, even if it’s just in your tent and you can’t remember where you put it. It’s for this reason that I recommend taking two. Better safe than sorry. But please, don’t lose it on the mountain. This is the easiest thing on this list to lose.
SMALL PERSONAL FIRST-AID KIT

Adventure Medical, Ultralight & Watertight .3 Basic medical supplies in a compact container with painkillers, Moleskin, medical tape, Band-Aids, and anti-septic.
These Adventure Medical kits are decent enough. I own them in three different sizes and usually swap certain things out. For example, I always add extra Moleskin and painkillers.
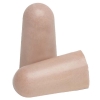
EARPLUGS
Foam Earplugs Earplugs are nice for getting good rest in the event of a snoring tent-mate.
I’m not going to recommend a brand as I tried to get fancy and bought two, more expensive, reusable silicon pairs. They both sucked and did nothing. I’m going back to regular foam.
I recommend bringing these even if you’re going to be the only one in your tent. Wind battering your tent at night can get to be quite loud. Or maybe you have some porters throwing a party not far from your tent like I did on Kilimanjaro.
HAND SANITIZER
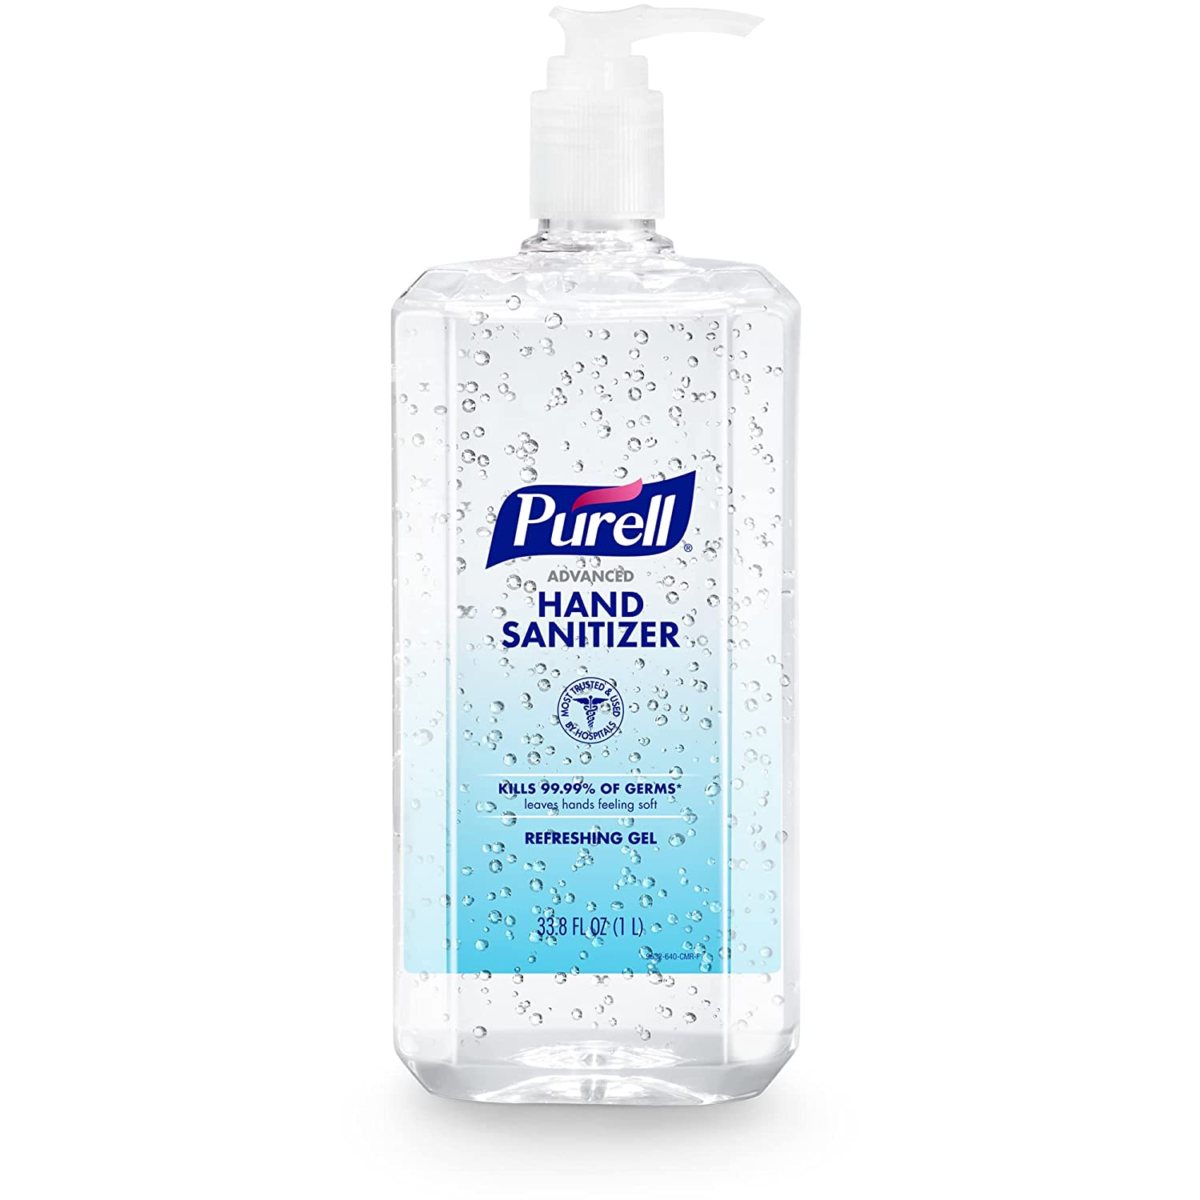
Purell Hand Sanitizer Bring a small amount of hand sanitizer, but enough that will last your trip duration. For the five day, I’d recommend one small bottle. Anything longer and I’d have brought two.
You’ll be wanting to use this before eating and after relieving yourself.
FOOD

Peak Refuel 5x Freeze-dried meals, snacks, and drink mixes.
How much food you need to bring will depend on your personal caloric needs, your operator, and the length of your climb. Climbing with Northwest Alpine Guides, they provided us with instant oatmeal packs for breakfast, freeze-dried meals, and other heatables such as bagged rice and some sort of bean mush thing that I left behind.
Just make sure you don’t leave what they give you at the guide hut like one of my team members did. Oops.
Other operators make you provide your own food for all of your meals. You carry it all yourself regardless, so it’s not particularly a big deal f they do.
Lunches were up to the climber to provide on their own.
I ended up swapping out the freeze-dried meals they gave us for my own. The Peak Refuel Meals that I prefer are much higher calorie and higher in protein than the Mountain House meals which were provided.
I also brought beef jerky, Anabars, Snickers, Peanut M&Ms, chocolate and almond bars, and energy chews for lunch and snacks. As you can see, I took the healthy route for lunch.
I finished pretty much everything except for the jerky. Common sentiment on the team was that if we ever eat another piece of it, it’ll be too soon. Two days in a row is fine, but five in a row… it doesn’t go down quite as easily.
I did opt to take lighter foods, but you’re free to carry as much weight as you’d like. Two of the guys in my group, well, let’s just say that I was of the opinion that they packed wayyyy too much.
Leave the summer sausages (one per day), 6-pack of mountain dew, and tall boys at home.
TRAVELING
TRAVEL CLOTHES

Clean street clothing is recommend for use while traveling as well as for pre-and-post trip. Nothing special is needed, just something clean and comfortable. It’s also nice to have a pair of sandals or flip-flops to change into after removing your boots on the long descent.
Nothing says I just climbed a mountain more than a white suit. Trust me. Pics or it didn’t happen.
LARGE DUFFEL BAG

The North Face Base Camp Duffel 95L For traveling to your start location, it’s recommended that you use a large, soft-sided duffel bag. Wheeled and hard-sided luggage options are not recommended. Remember what you’re doing here.
I did a ton of research while trying to choose a duffel bag for Kilimanjaro and used the updated version of the same bag for Baker. Now when I say a ton, I’m not talking hours. I mean days. I watched every video, read every article, and visited every store that sold duffels. The North Face Base Camp was the king.
It’s not as necessary for Baker, but one of my favorite things about it is that it has an extra zippered compartment that’s large enough for your camp sneakers or sandals, should you bring them. This keeps everything else from getting dusty.
I hope my Mount Baker gear list was a help!
Is this the ultimate, end all list? Maybe, maybe not. Extra weight can always be shaved. Less clothing, smartwater bottles instead of Nalgene, a lighter pack. Sure, it can be done. (Though I just can’t get on board with the suspension on Hyperlite packs!) But this Mount Baker gear list should get you really close to where you need to be, while keeping you away from the chaos of overpacking.
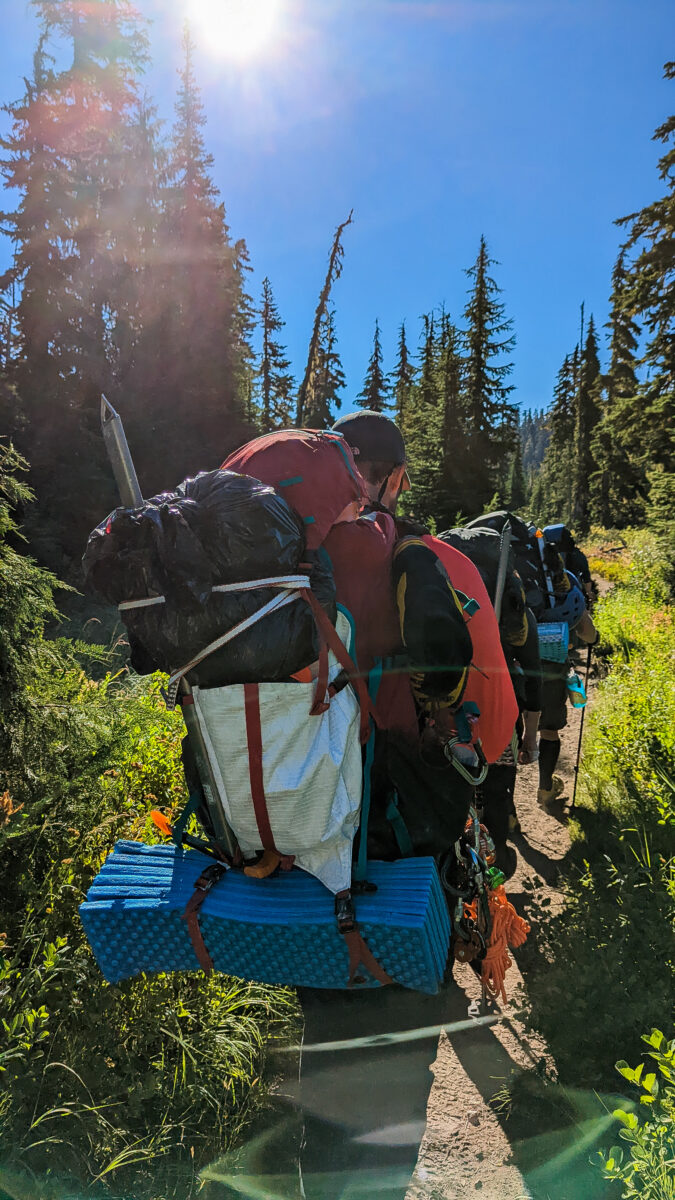
The chaos of over packing. This pack you’re seeing weights 4 lbs. and 15.4 oz. while the one in front of it weighs a whopping 6lb 4oz!

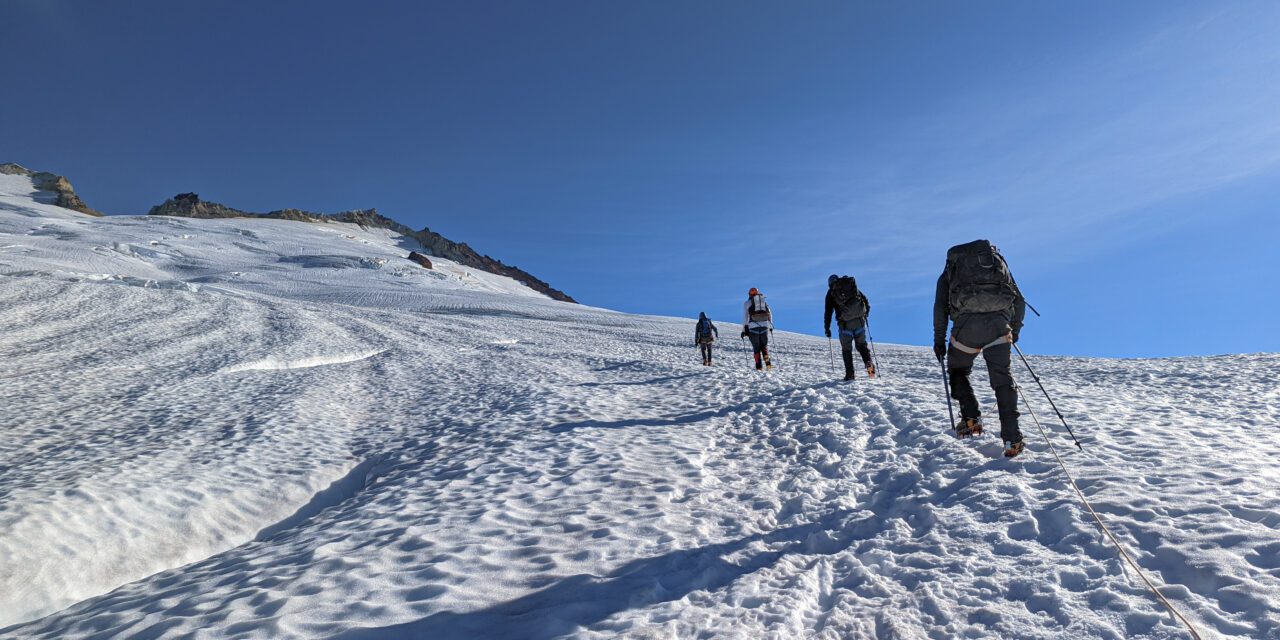


[…] While I’m still not sold on softshells, I liked this one far more than the Black Diamond Alpine Start which I wore up Baker. […]